How to add maladaptive behaviors to client profiles (for analysts)
This guide provides a comprehensive overview of how to effectively add maladaptive behaviors to client profiles, making it essential for analysts looking to enhance their practice. It details the step-by-step process for accessing client profiles, importing behaviors from libraries, and creating new entries from scratch. By following this guide, users can streamline their documentation, improve behavior tracking, and ensure accurate data collection, ultimately leading to better client outcomes.
Section I: Accessing Client Profile and Skills & Behaviors Tab
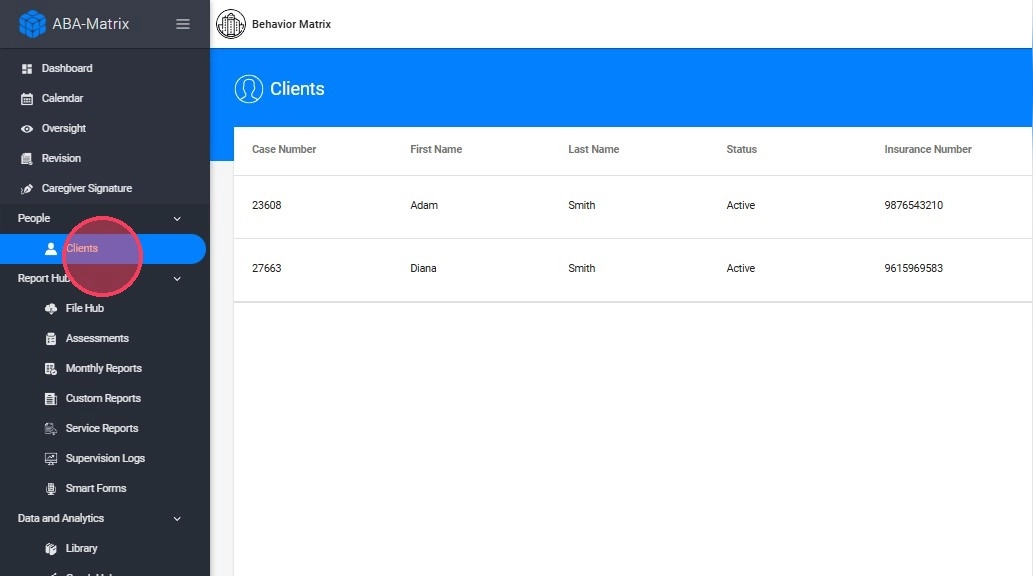
1. Navigate to the Client's Profile:
- Go to the Clients section.
- Select the client from the list.
- You can navigate to the search bar at the top right of your screen to look up the desired client. You may search using the client's name, insurance number, or phone number.
2. - A screen displaying the client information will appear.
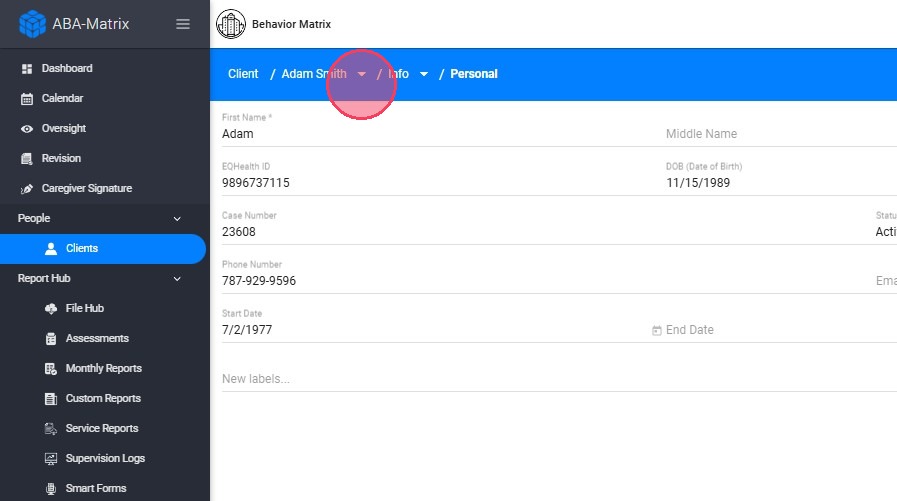
3. - Click on the client's name or go to the menu icon (☰) to display the options.
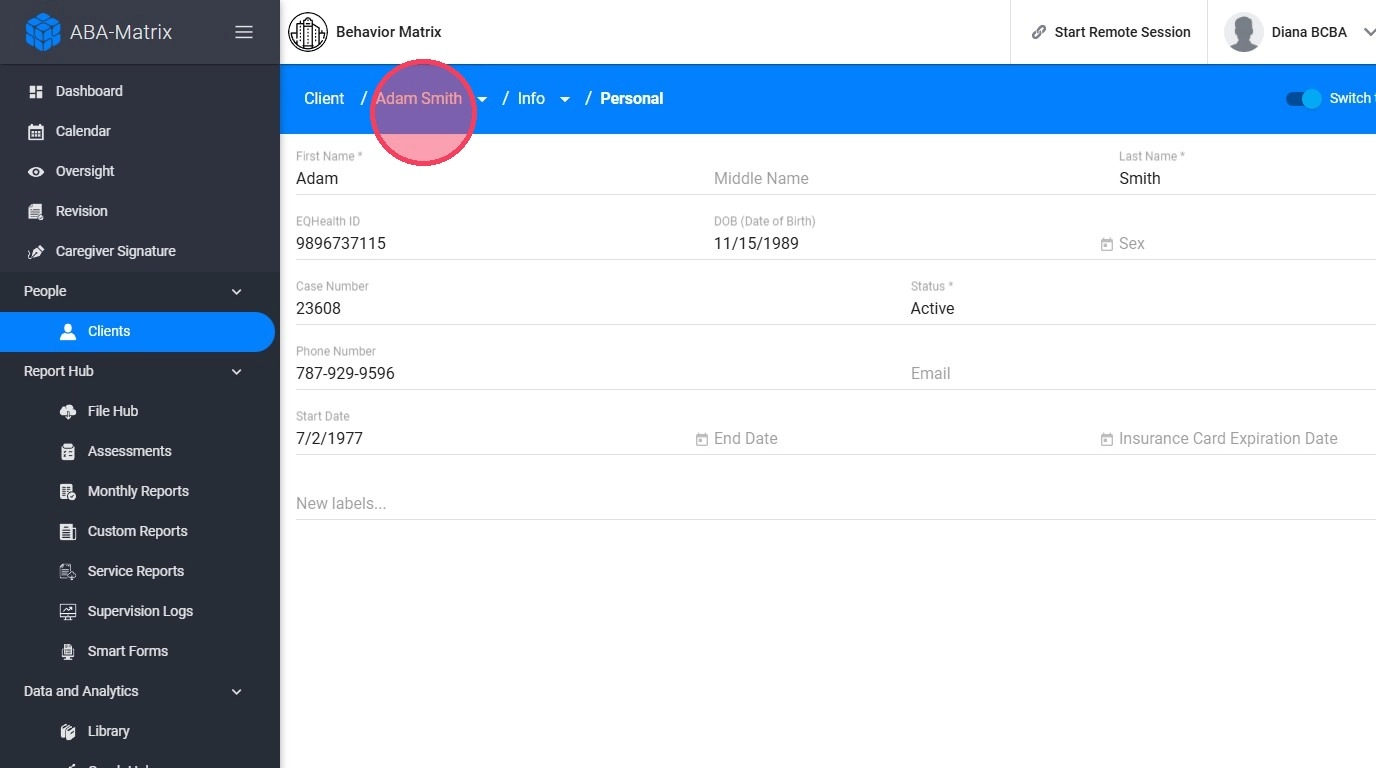
4. Access the Skills & Behaviors tab:
- In the menu, navigate to the Skills & Behaviors tab.
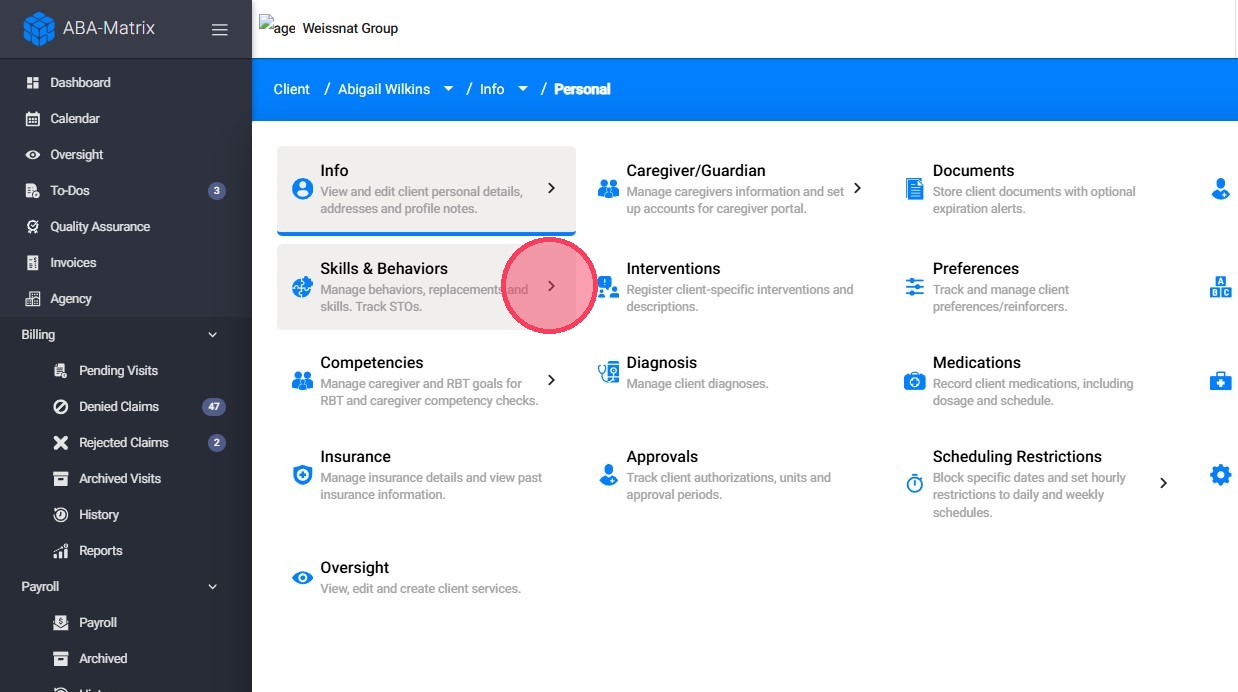
5. Select the Appropriate Tab:
Once you're in the Skills and Behaviors section, choose the tab based on what you're adding:
- Maladaptive Behavior
This selection ensures the correct category for your entry.
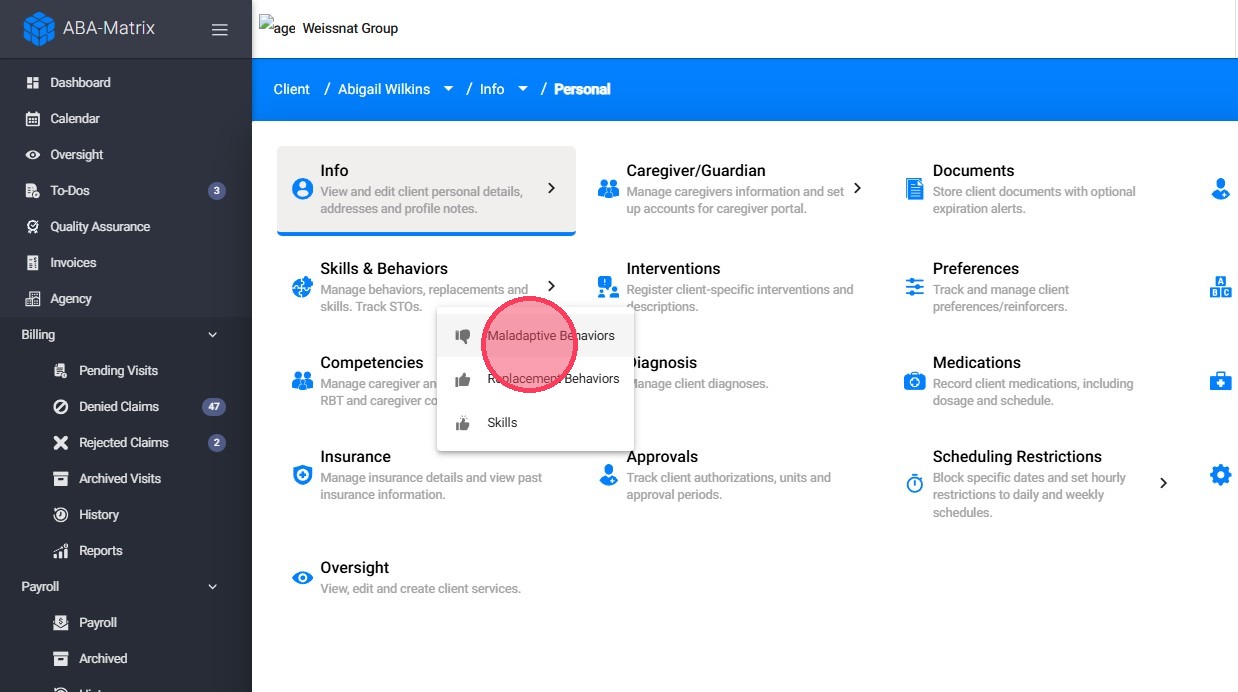
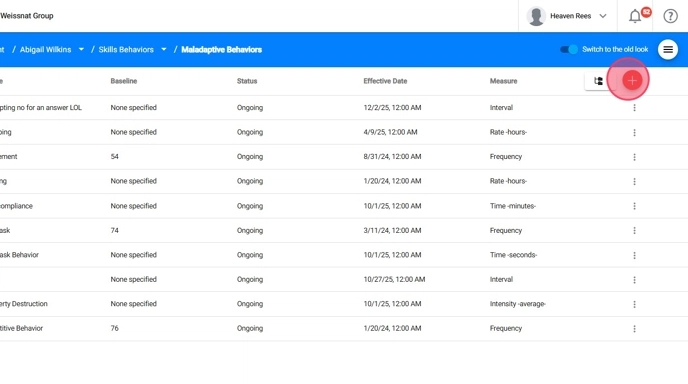
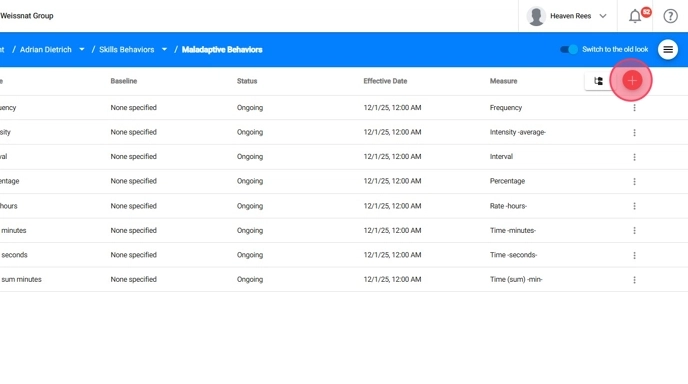
6. Once inside the Maladaptive Behaviors section, click the red + icon to create a new maladaptive behavior.
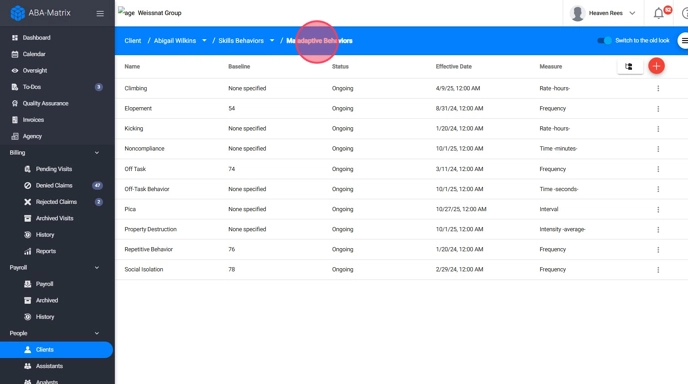
Users have the option to either manually create a new behavior or import existing items from pre-designed or custom libraries. Both methods allow flexibility.
Section II. Adding a Behavior by importing from Libraries
7. Users can import existing items from the pre-elaborated or custom libraries.
- Just click the red "+" and select Import from Library. This will open the library browser
This process is broken into key steps:
- Search
- Import
This will allow users to easily browse through libraries, select relevant behaviors, and import them into a client’s profile for further customization.
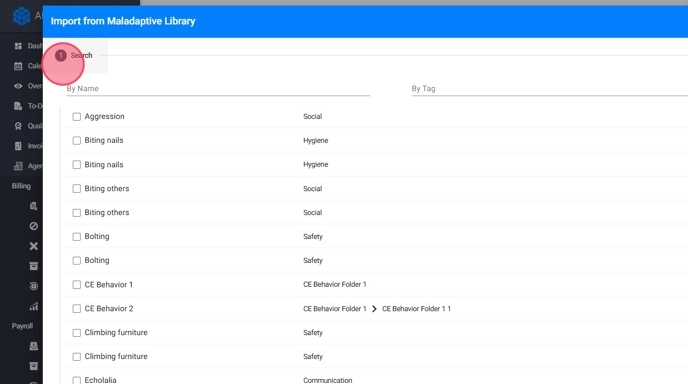
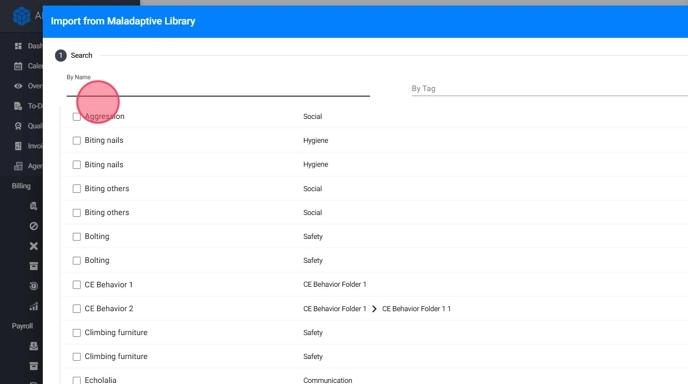
Step 1. Search
8. The Search step allows users to explore all the available libraries to find the behaviors they want to import. During this step, users can:
- Browse the Libraries: Users have access to all available libraries, including system libraries, shared agency libraries, and their own created libraries.
If you wish to create and manage your own library, you may refer to the following guide, which outlines the required steps and configurations to complete this process properly: Create a new library
9. Preview Behaviors:
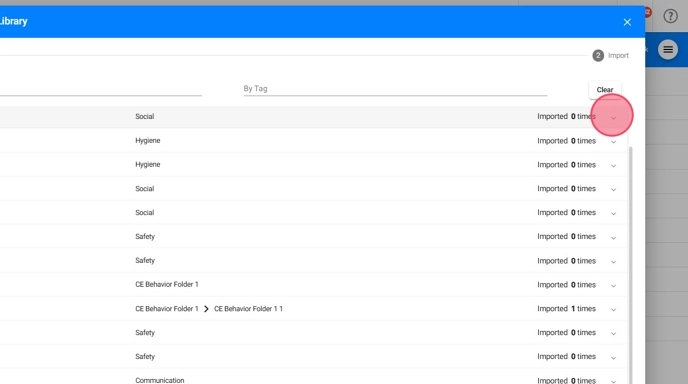
- Users can easily view a list of all behaviors, including the folders where they are stored and the number of times they've been imported.
10. - Clicking the arrow next to an item provides a quick preview of key details such as its name, description, measurement type, and other relevant information, making it convenient to review and organize content efficiently.
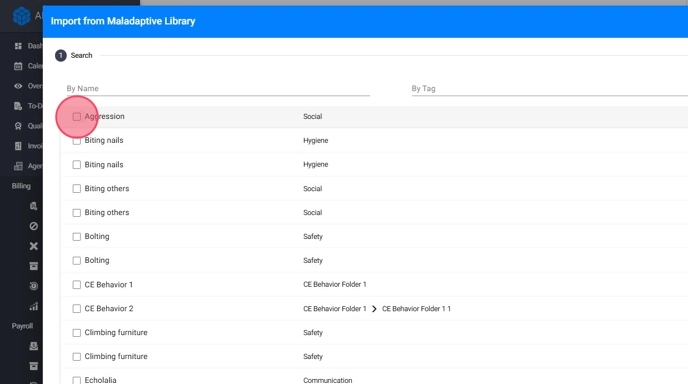
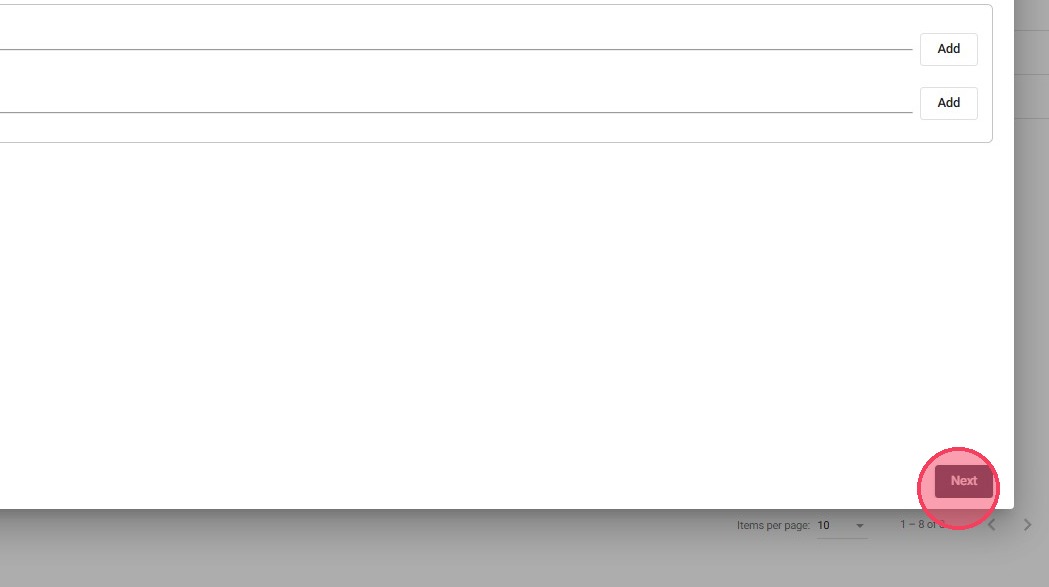
11. Select Behaviors to Import:
Once users have identified the behaviors they want, they can select one or multiple items and move forward to the import stage by clicking "Next"
Step 2. Import
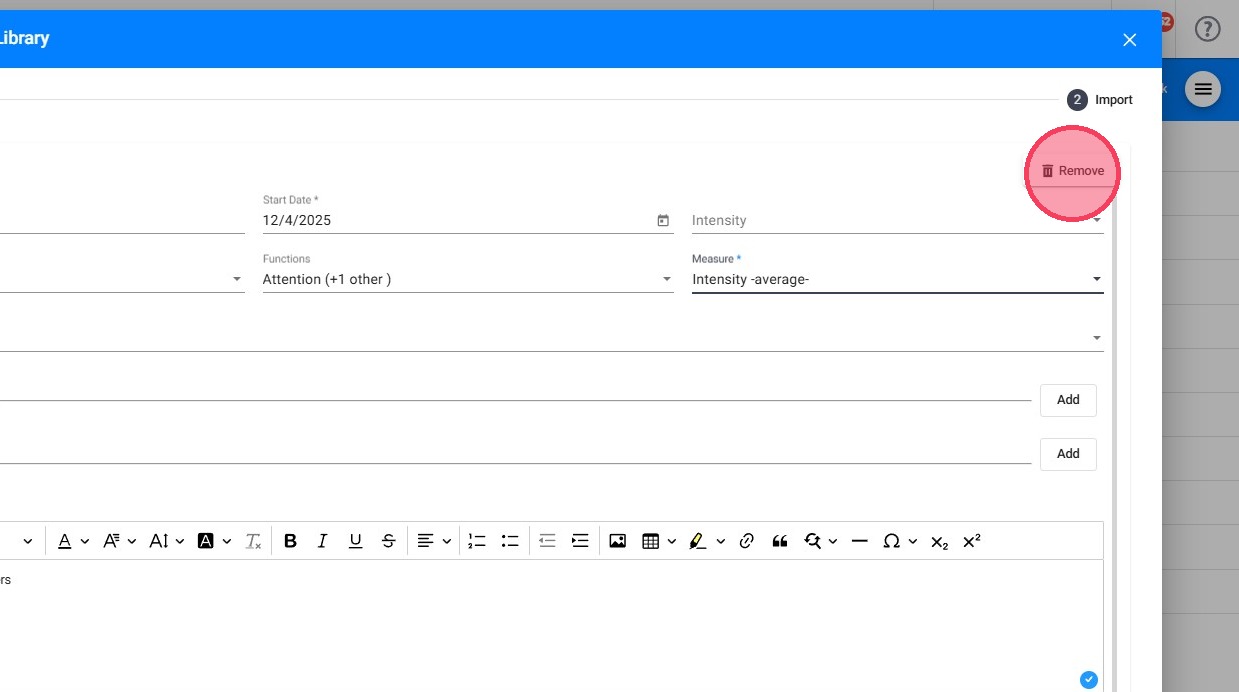
12. After selecting the behaviors, the next step is the Import process, where users can review and customize the content they’ve chosen.
1. Edit and Customize
13. Name
- You can edit the name of the maladaptive behavior before importing it.

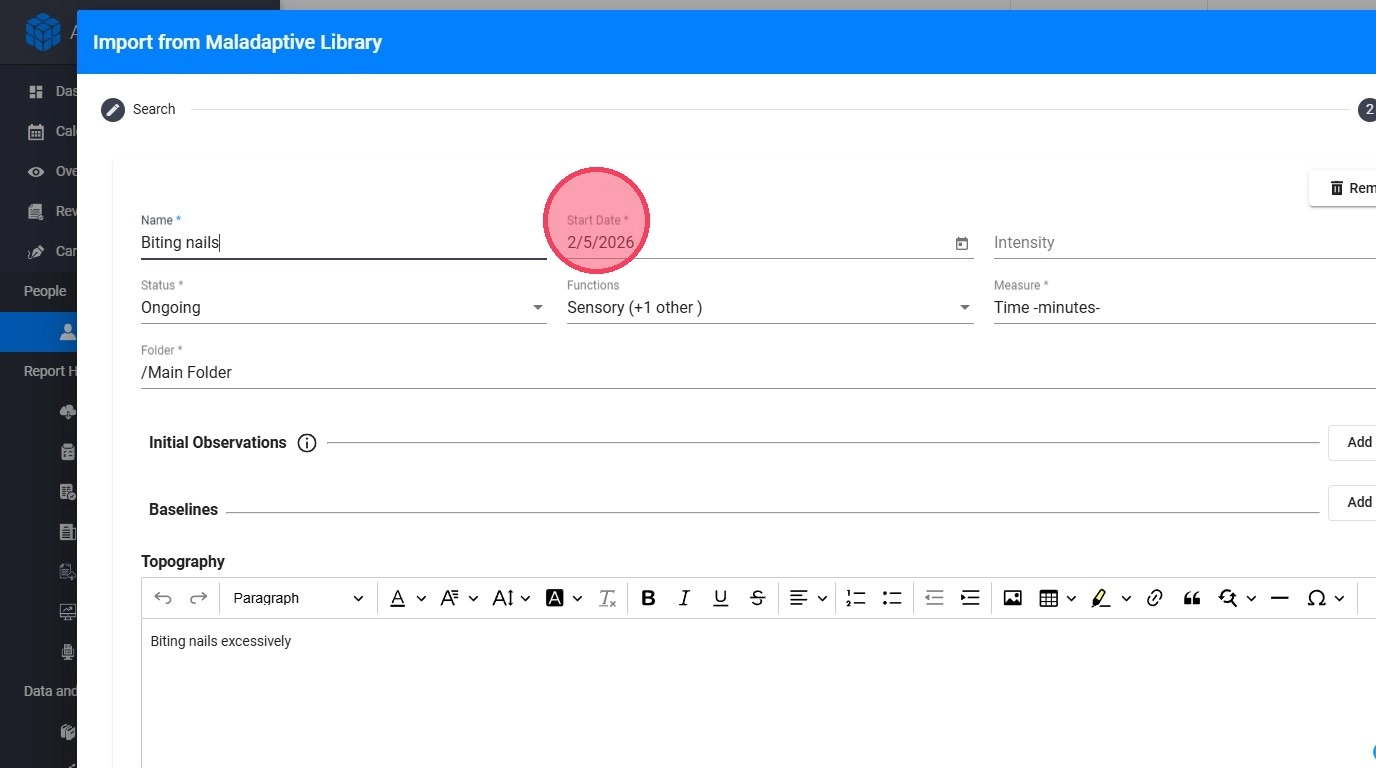
14. Start Date
- You must set the effective date from which the behavior will begin to be monitored. The effective date affects how the behavior is displayed in notes and reports.
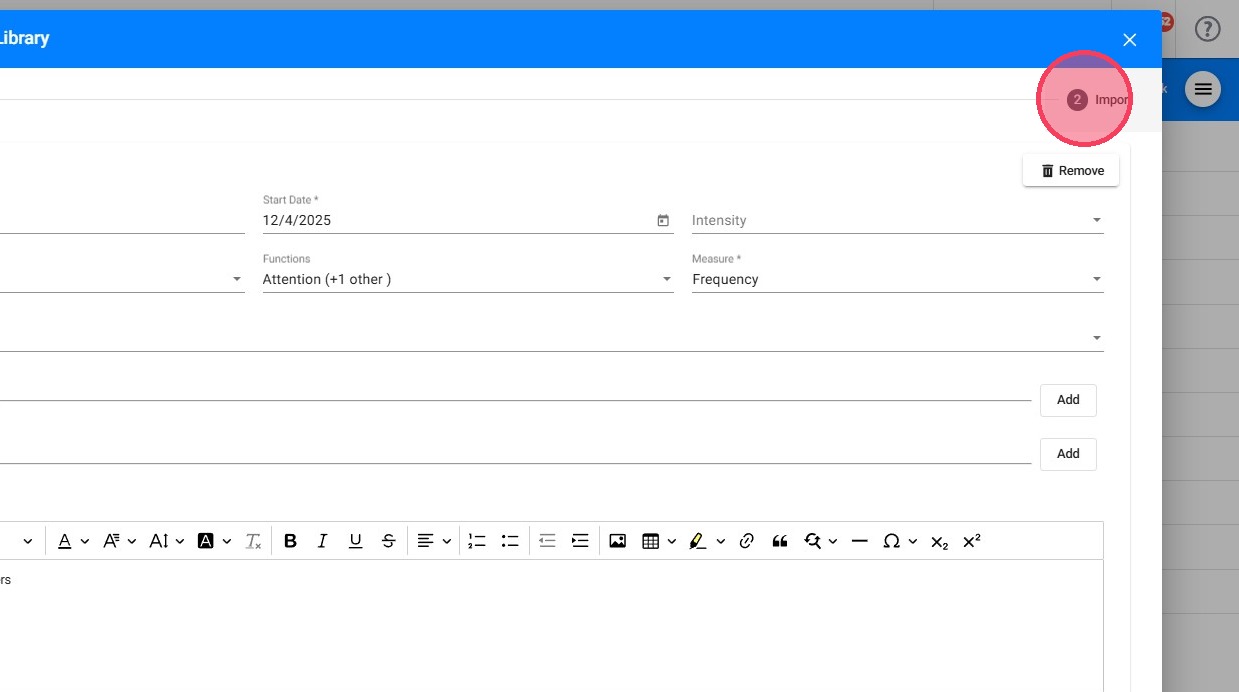
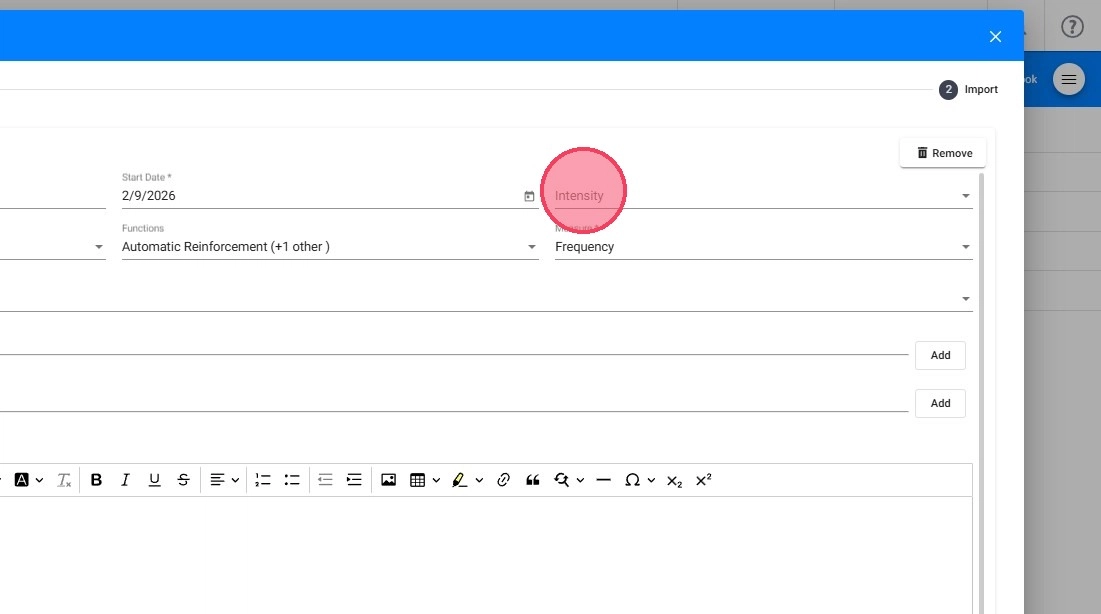
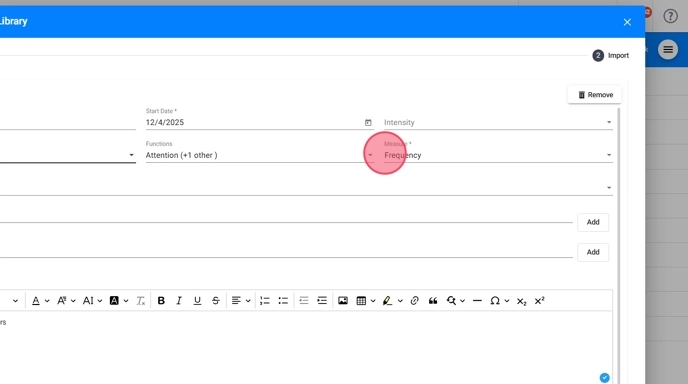
15. Intensity
- You can set the intensity of the maladaptive behavior.
If an intensity level is specified for the behavior, you can access the behavior after it has been created and add the appropriate intensity key. This ensures that the intensity data is accurately captured and properly reflected in Assessment and Reassessment reports.
For additional guidance, refer to How to change Intensity and Intensity Key

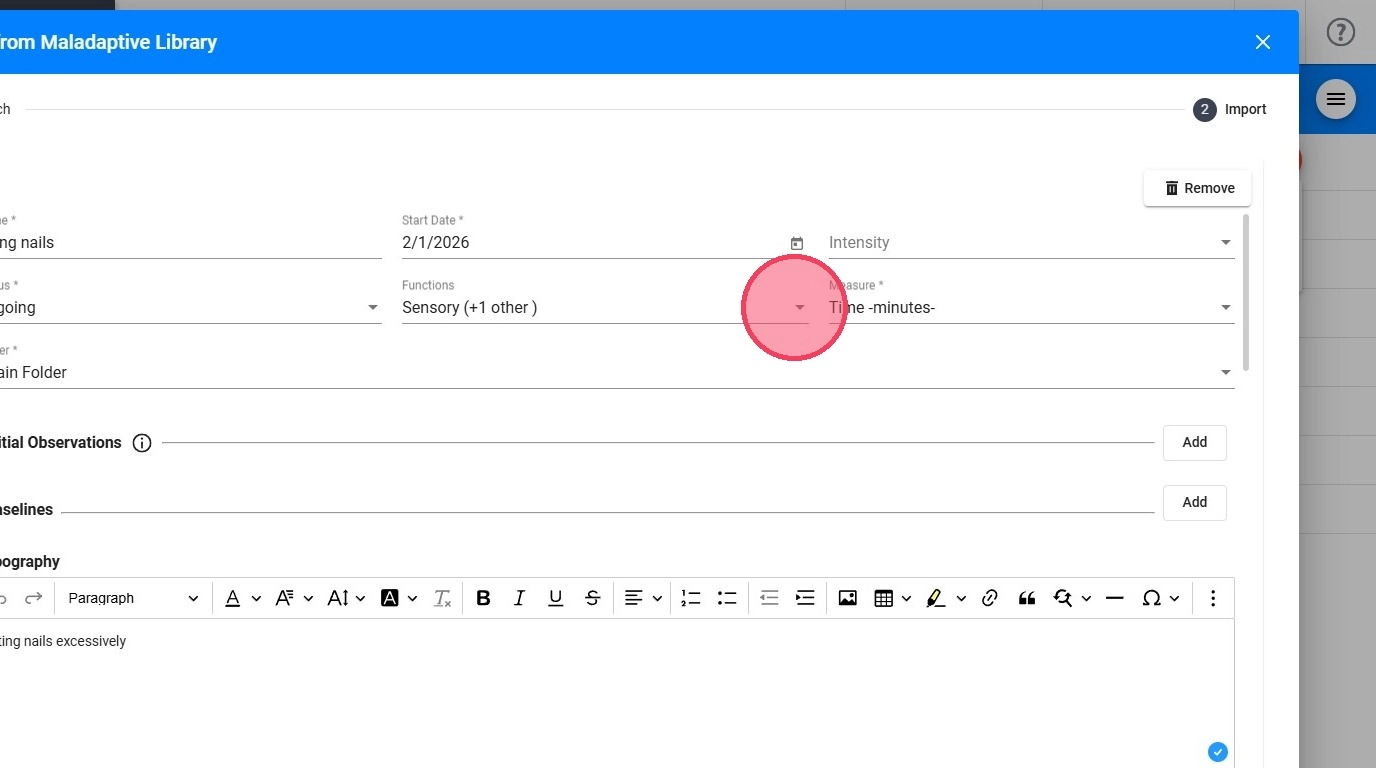
16. Functions
- Select the function of the maladaptive behavior (there can be more than one).
17. Folder
- From the Import Behavior window, you can assign a folder to the behavior. This helps you effectively organize behaviors for better structure and management.
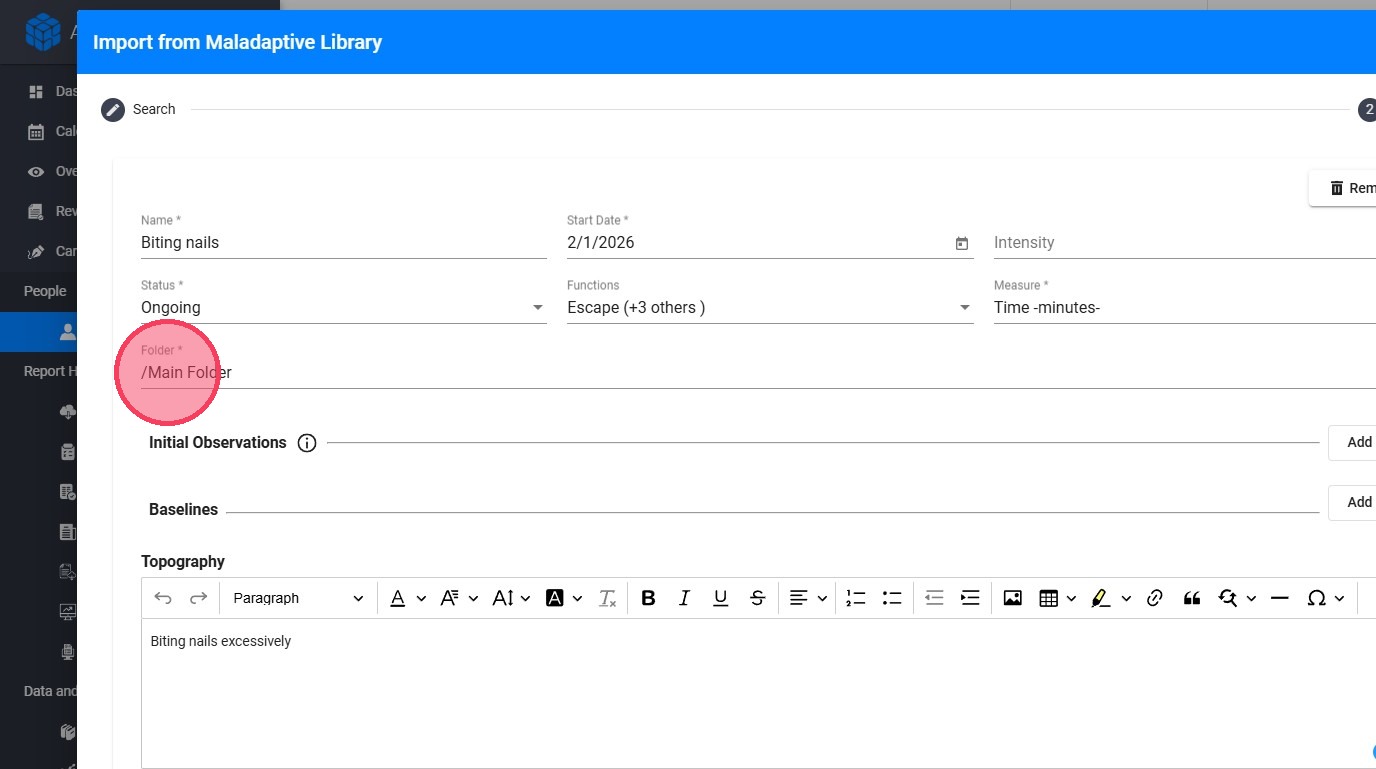
For more information about how to create and manage folders, please, refer to the following guide: How to use the folder system for skills and behaviors (for analysts)
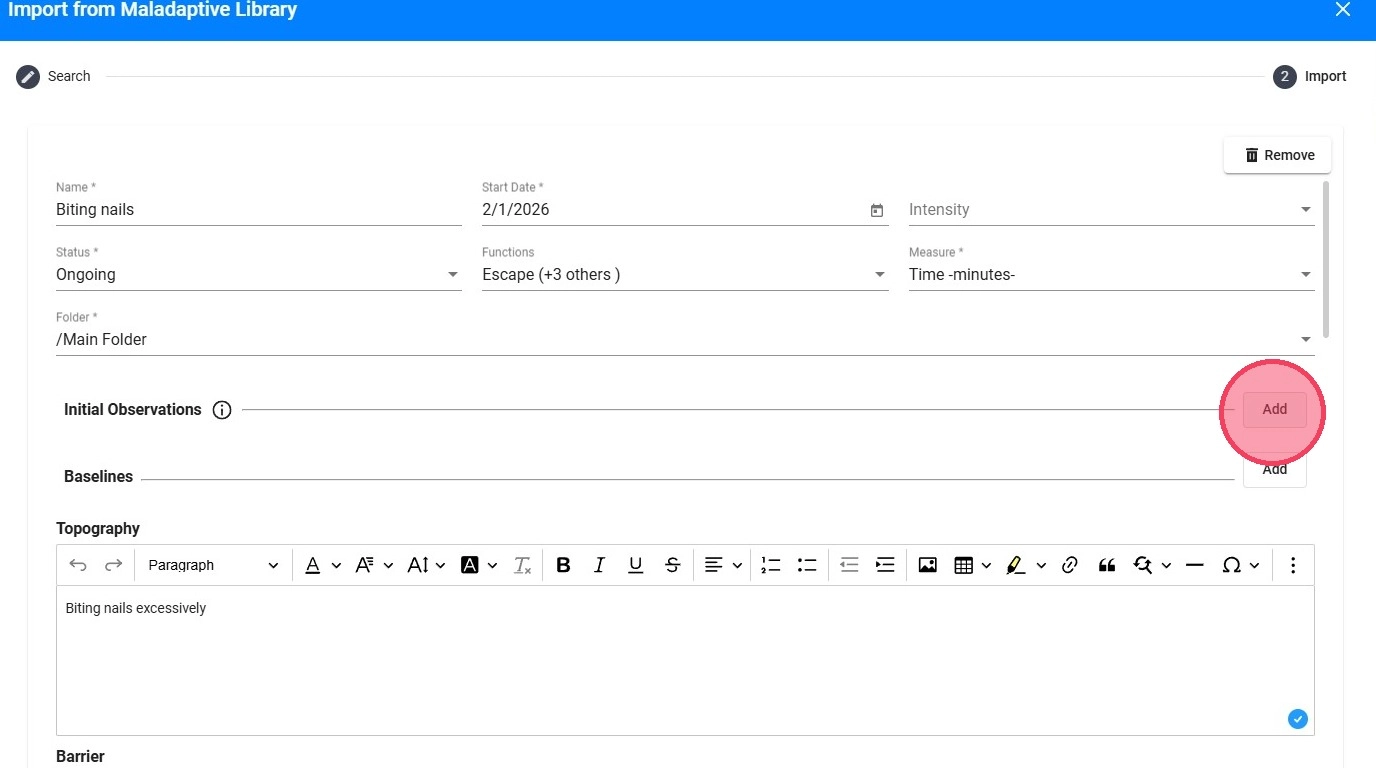
18. Initial Observations
- You can set initial observations that help establish the baseline.
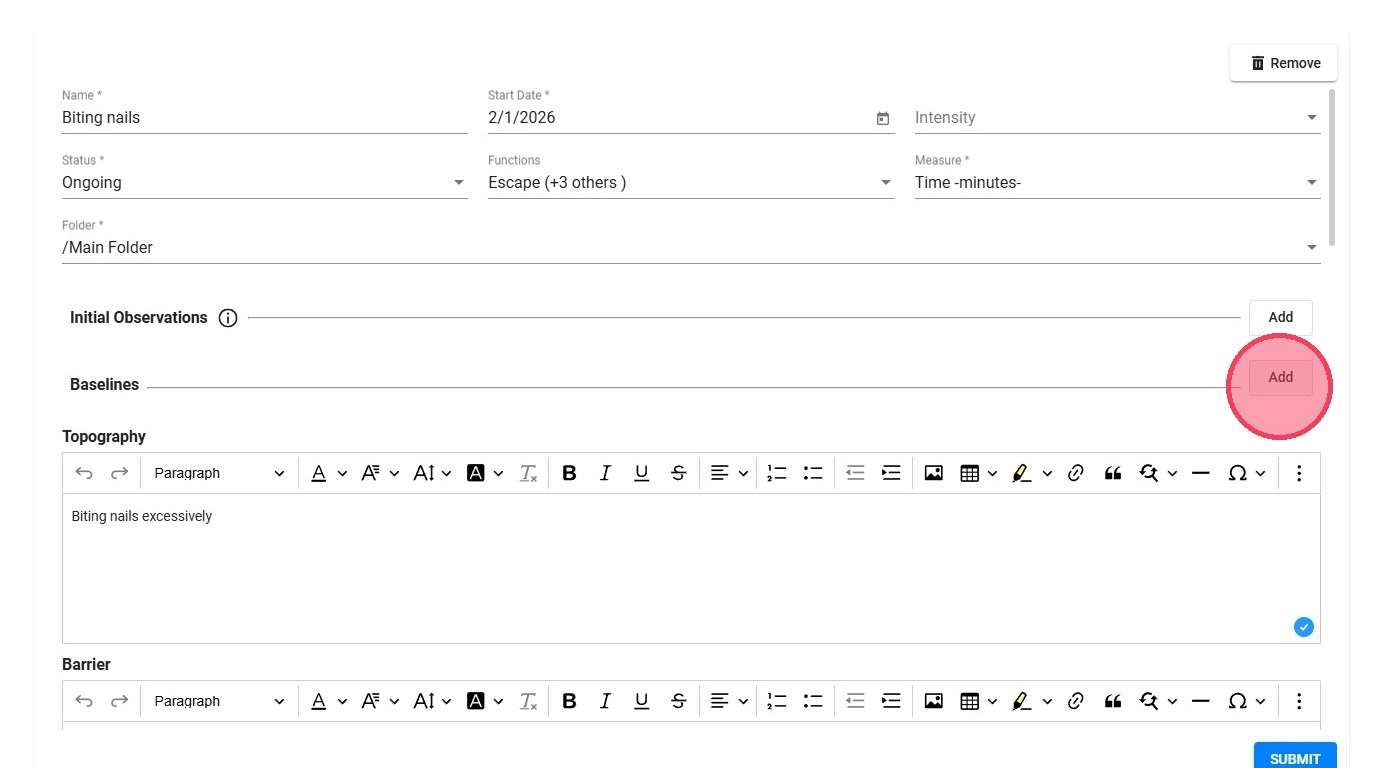
19. Baselines
- You can add one or more baselines for the selected measure.
20. Status
The available statuses within the system include:
- In Observation: This status is assigned to behaviors or programs when they are newly observed. This status is available only at the beginning of the behavior observation.
-
Data collection is allowed.
Pending: Typically used for behaviors or programs that are not currently being addressed or are awaiting further action.
-
Data collection is not required.
Ongoing: These are behaviors or programs that are actively being targeted and monitored for progress.
-
Regular data collection is required.
Mastered: Behaviors or programs in the "Mastered" status indicate that they have been successfully addressed.
- Data collection is no longer required.
-
They are not displayed in the session notes.
Discontinued: Behaviors or programs labeled as "Discontinued" are no longer being targeted or addressed.
- Data collection is not required.
- They are not displayed in the session notes.
-
Understanding these behavior statuses and their associated data collection procedures is essential for effectively managing and tracking behavior progress in our system.
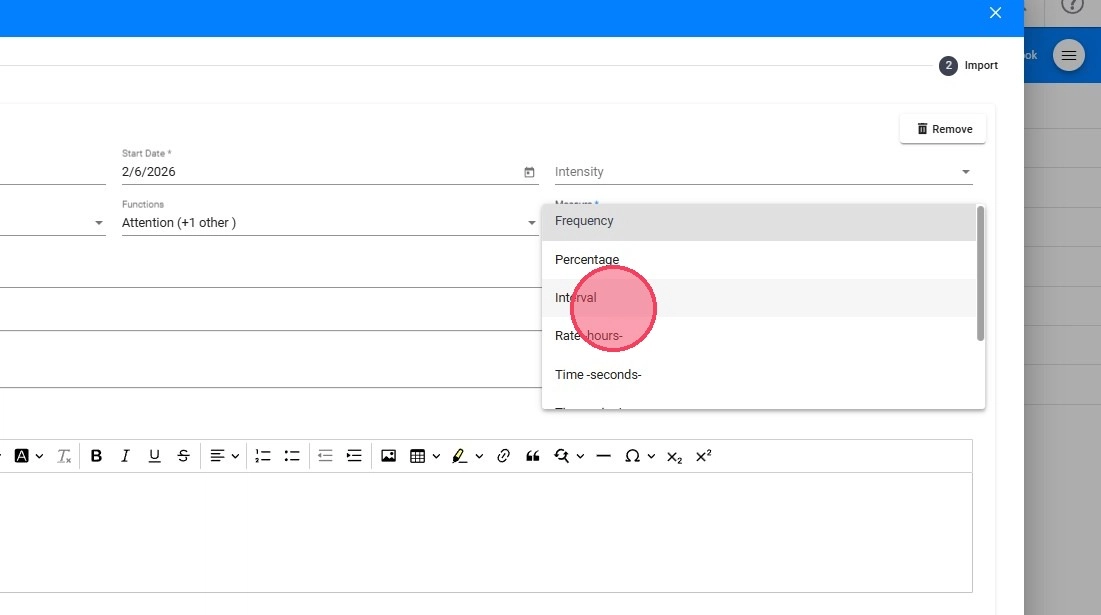
21. The available measures within the system include:
- Frequency: Tracks how many times a behavior occurs during a session, providing a count of its repetition.
- Percentage: Calculates the proportion of a specific behavior compared to total opportunities or responses as (specific responses ÷ total responses) × 100.
- Intervals: Divides the observation into equal intervals, noting if the behavior occurs, and calculates the percentage of intervals with behavior occurrences.
- Intensity -average-: Measures the strength or force of the behavior, focusing on its magnitude rather than its frequency.
- Time -seconds-: Records the duration of the behavior in seconds, suitable for short-duration behaviors. Example: (10s + 12s + 8s) ÷ 3 = 10 seconds (average).
- Time -minutes-: Tracks the duration of behaviors in minutes and calculates the average. Example: (5 min + 7 min + 6 min) ÷ 3 = 6 minutes.
- Time (sum) -min-: Measures the total duration of a behavior across all instances in a session. Example: 10 min + 15 min + 20 min = 45 minutes.
- Rate -hours-: Determines the frequency of behavior occurrences per hour, offering insights into behavior trends over time.
22. If you select Interval as the measurement type, you must also configure the interval settings.
- Add the Interval Length: Enter the length of each interval.
- Select the Interval Period: Choose the unit of time for the interval, such as seconds or minutes.
These settings define how the system will divide the observation period into intervals for data collection.
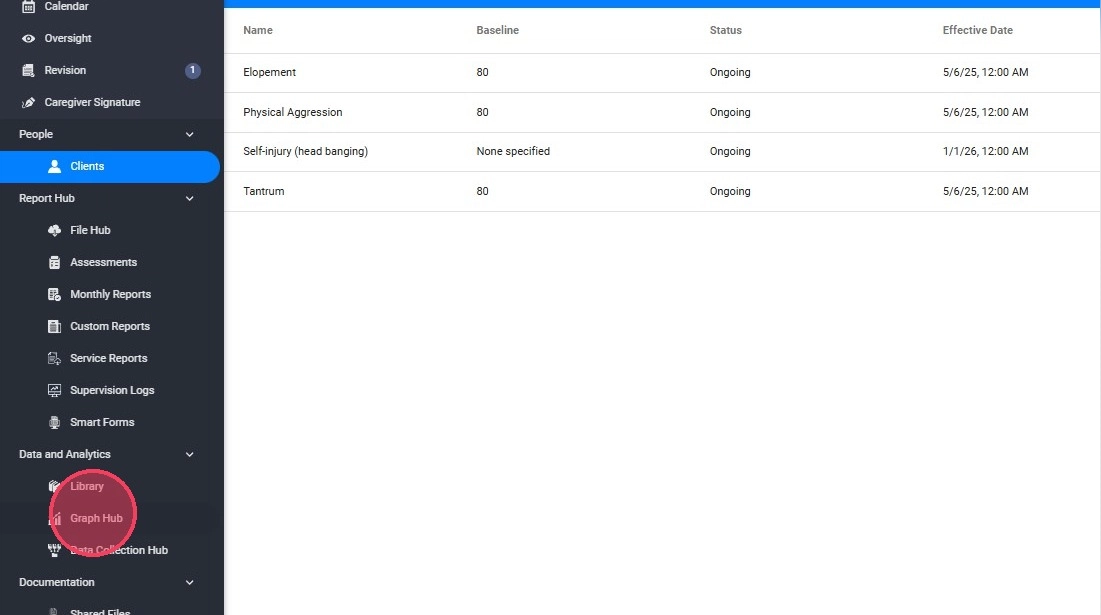
23. If you select Intensity -average- as the measurement type, you can configure the graph for this behavior in order to view the corresponding data.
- Go to the Graph Hub.
- Select the client, the Maladaptive Behavior category, and the date range you want to review.
- Click Apply.
- Select the specific behavior you want to display.
- Under Measure, you can change the graph display from Frequency to Intensity.
- Click Set as Default so the intensity graph will be reflected in monthly reports and in Assessment/Reassessment reports.
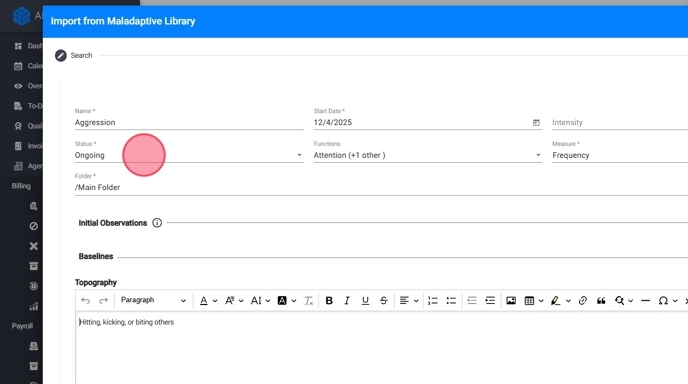
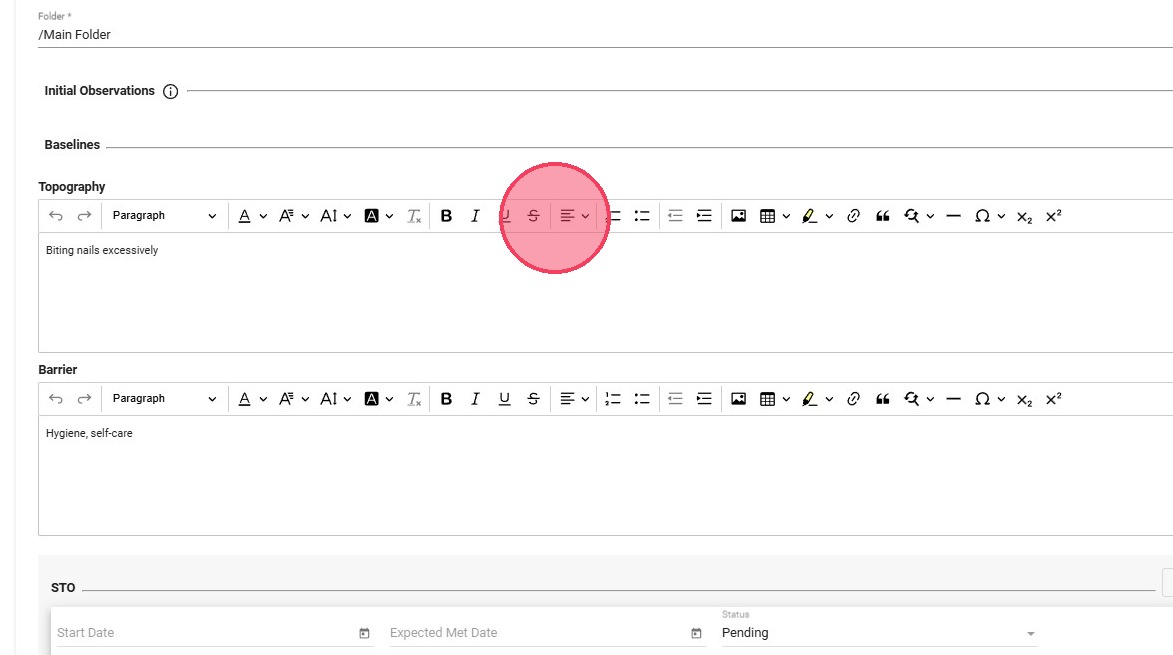
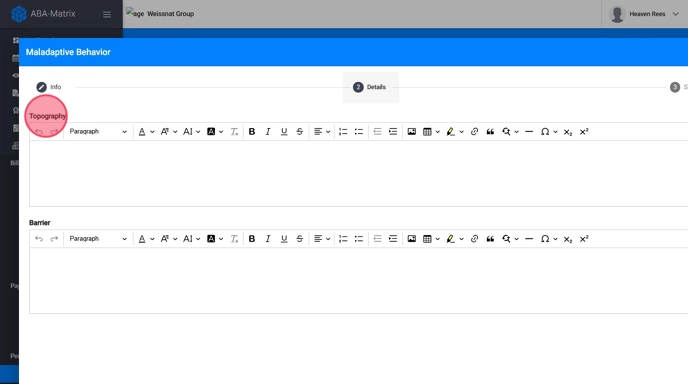
24. Topography
- You can add or edit the topography of the maladaptive behavior. This information is used as a reference within the platform in notes and in initial assessment or reassessment reports.
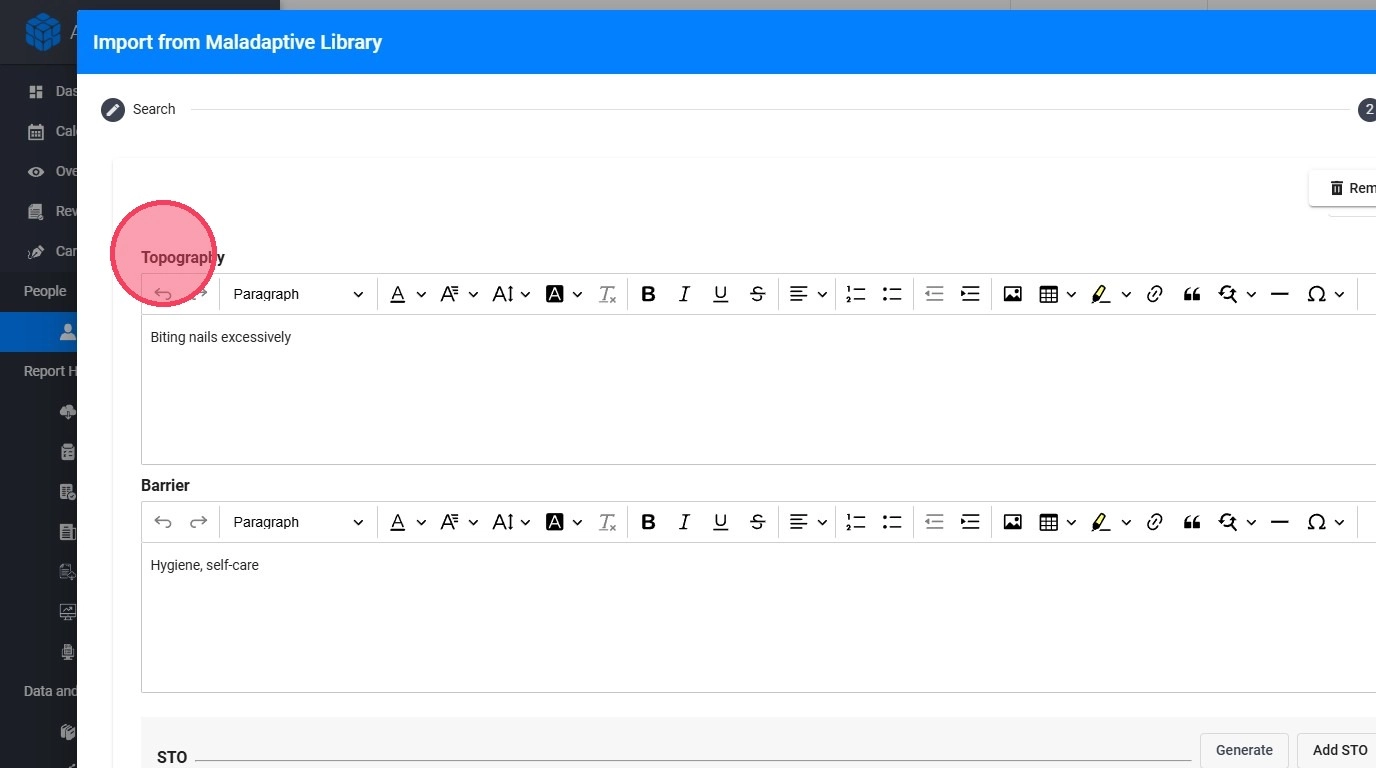
25. Barrier
- You can add or edit the barriers associated with the behavior.

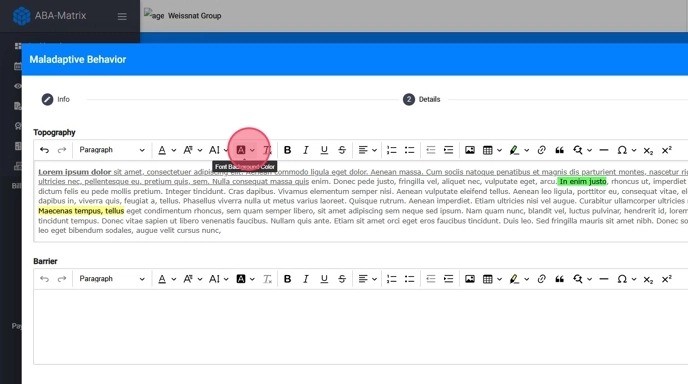
The Rich Text Editor provides a variety of options to format your text, making your documentation more effective and visually appealing.
The editor provides several useful tools:
- Text Formatting: Apply bold, italics, underline, change text color, or highlight key information.
- Content Organization: Use different heading levels, adjust paragraph alignment, and set line spacing.
- Lists: Create bulleted or numbered lists, and use indentation for sub-lists.
- Links: Add hyperlinks to external resources.
- Tables: Build tables to present structured or comparative information.
- Special Features: Use undo/redo and clear formatting to revert text to plain style.
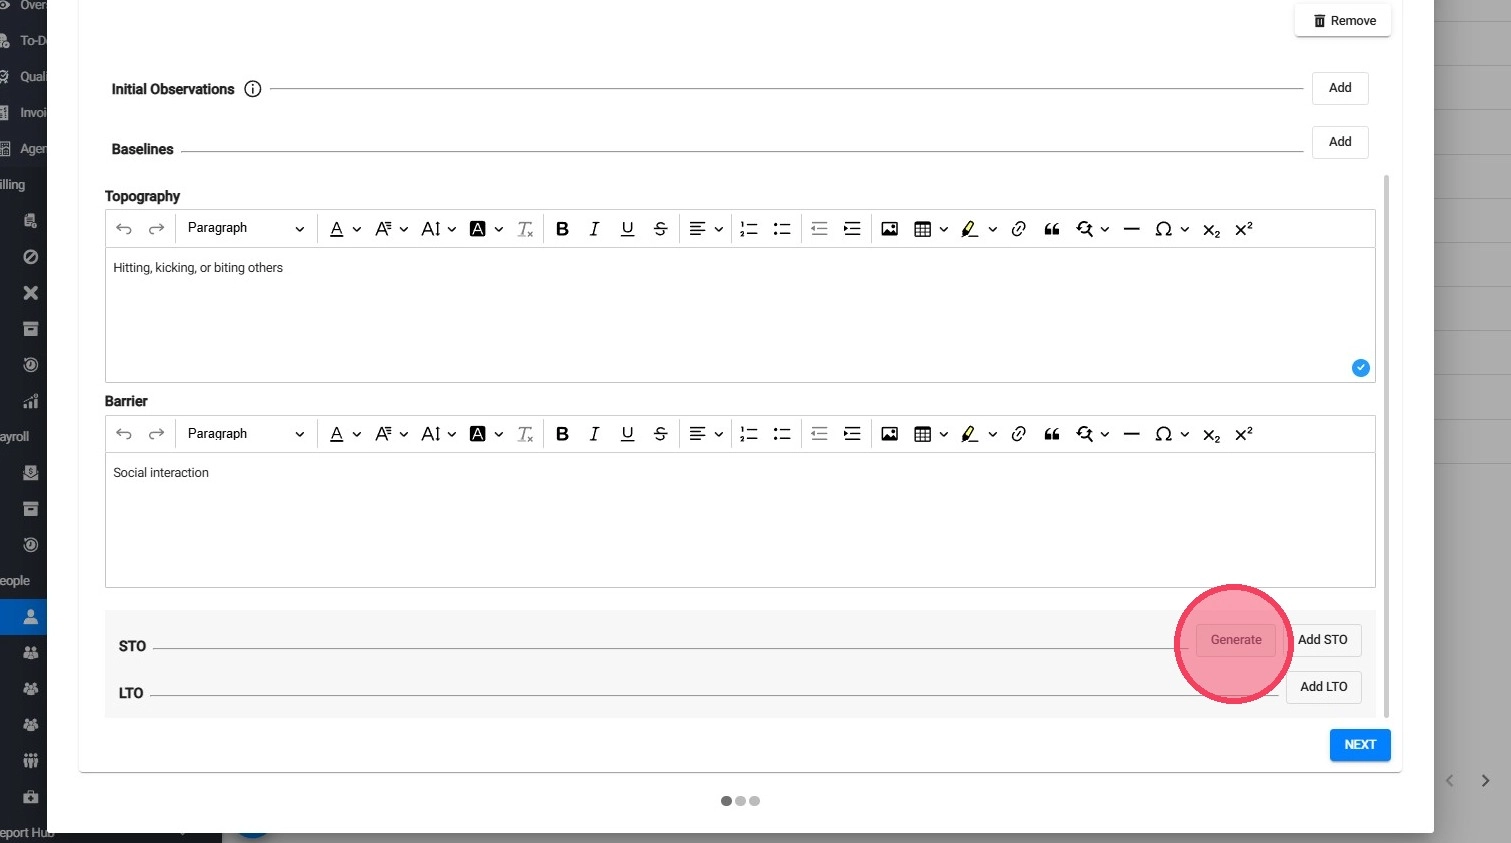
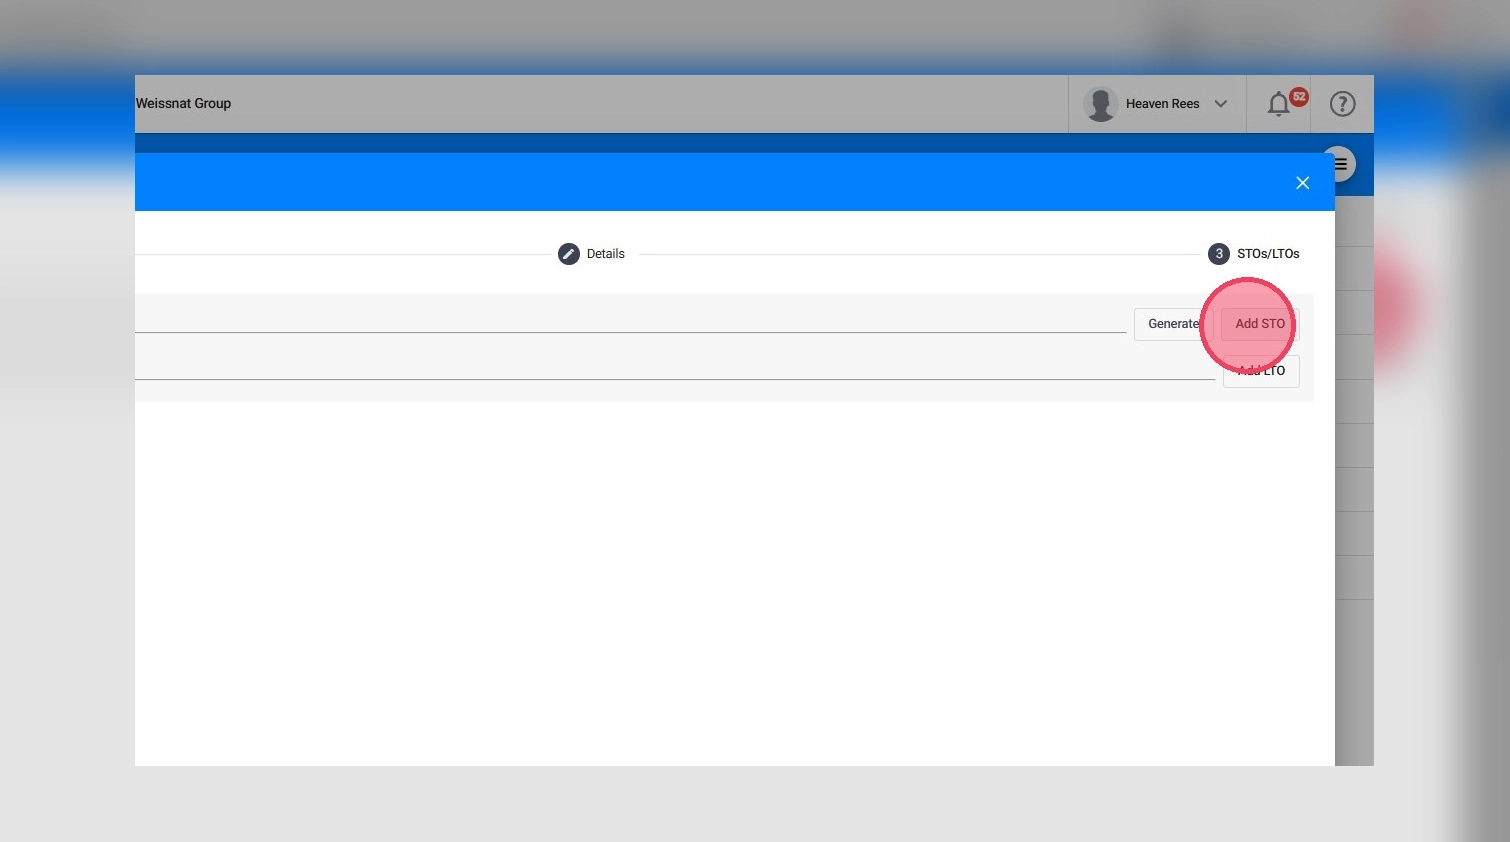
2. Adding STOs and LTOs
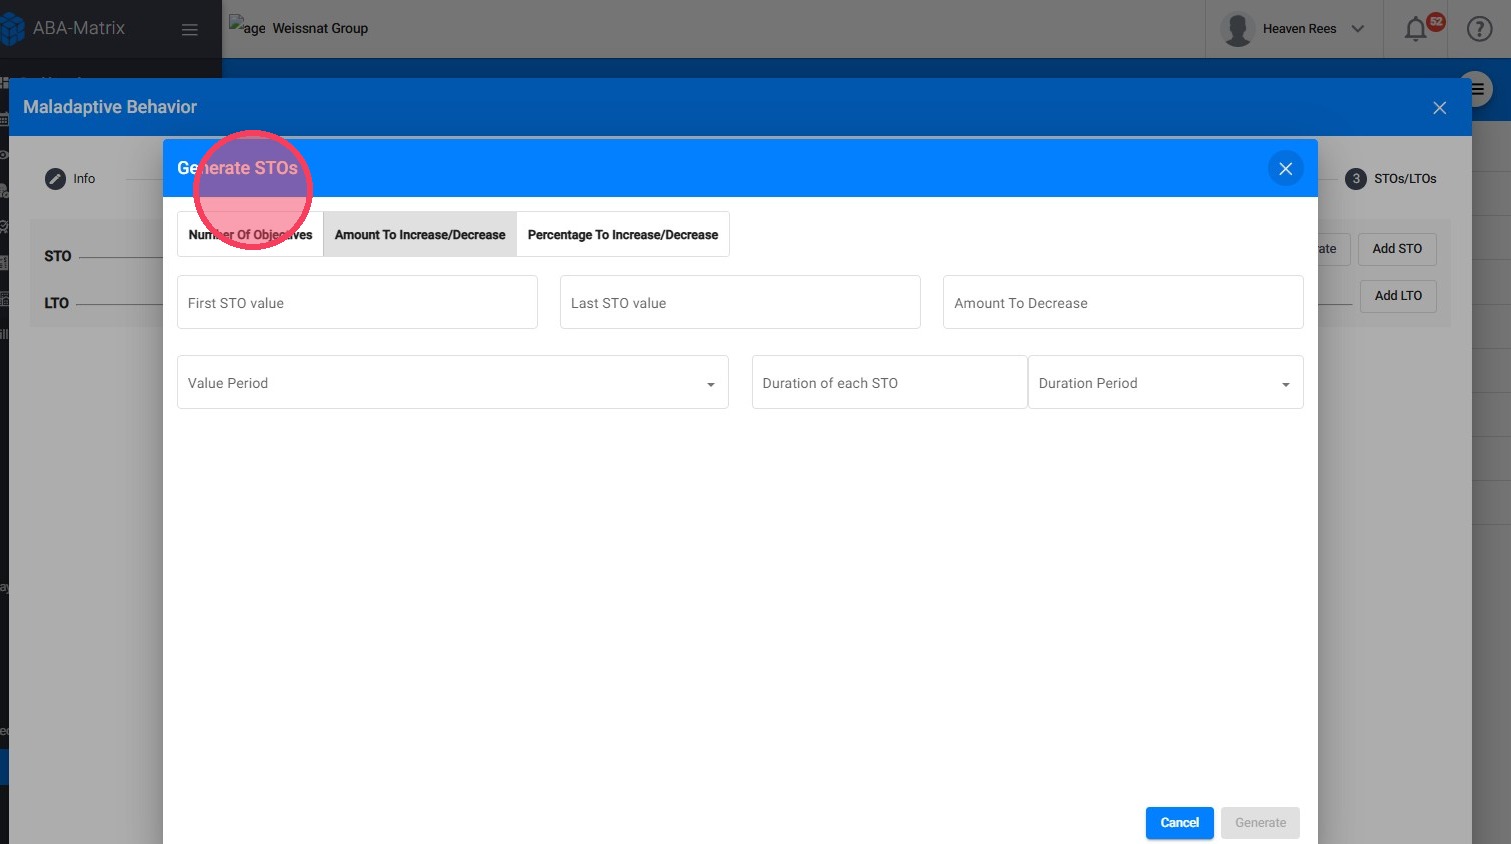
You can use the STO Auto-Generation tool to automatically create measurable Short-Term Objectives (STOs). For more details on how to configure and generate STOs, please refer to the guide linked below:
- STO Auto-Generation
Simply click Generate STOs, select a generation method (by number of objectives, fixed increase/decrease, or percentage change), complete the key parameters (start/end values, measurement frequency, duration, prompts, and template), and choose Generate to have the system build the STOs automatically.
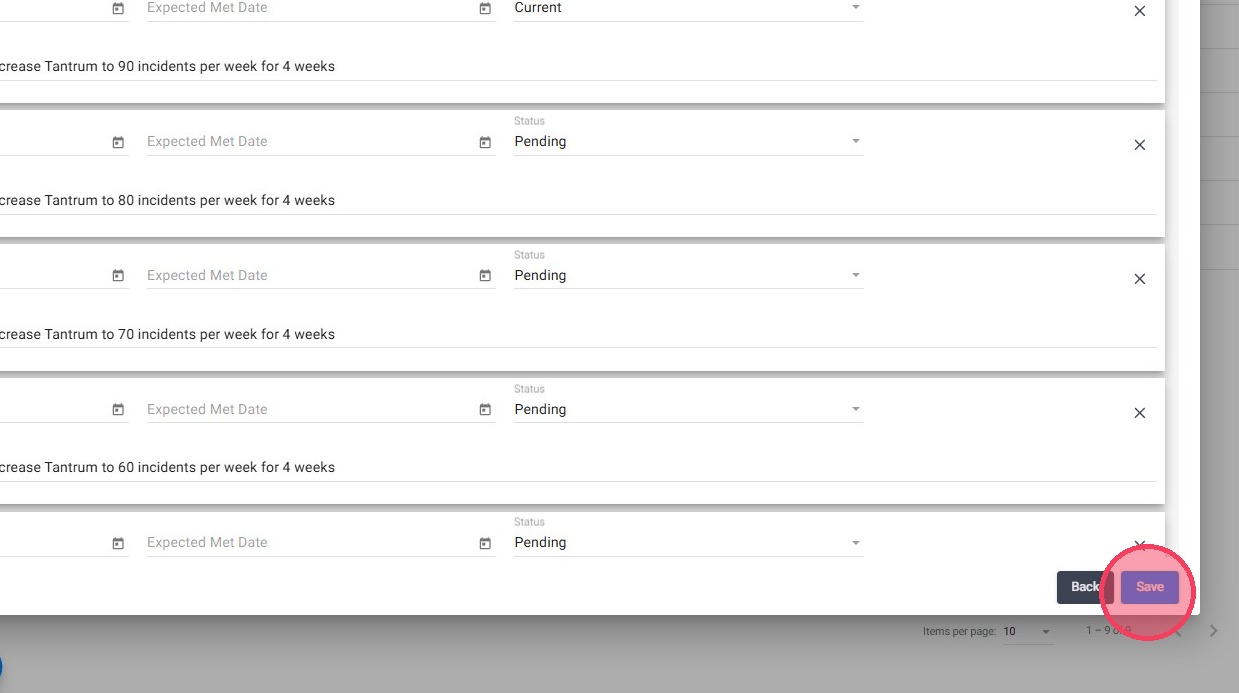
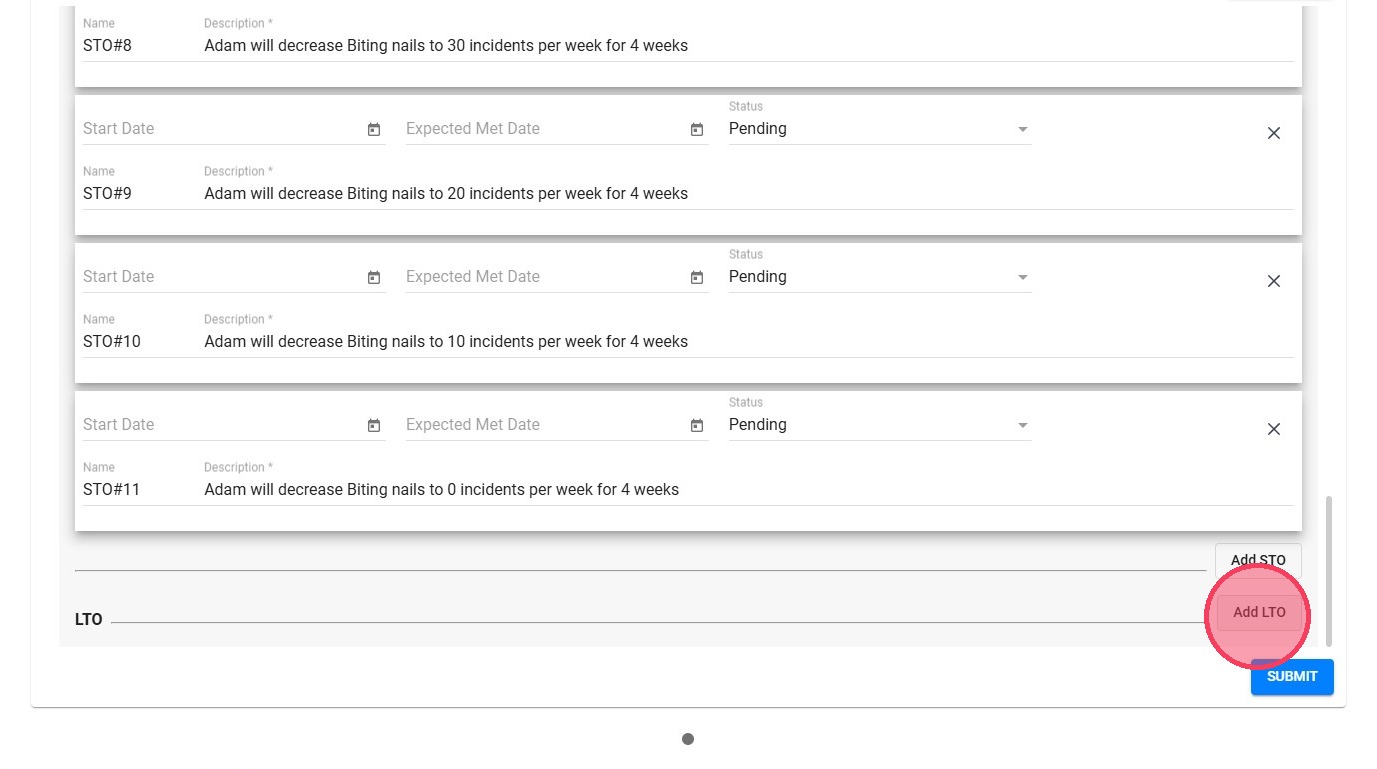
27. After generation, you can manually edit the objectives, add new STOs, and assign their status.
The available statuses are:
- Pending: Marks the STOs that are waiting for implementation.
- Current: Indicates the active STO.
- Mastered: Designates objectives that have been successfully achieved.
- Discontinued: Indicates STOs that are no longer applicable or relevant.

The first objective is automatically generated with a Current status, and if it remains in this status, you must enter the effective start date for that status.
28. You can add Long-Term Objectives (LTOs) for the selected behavior.
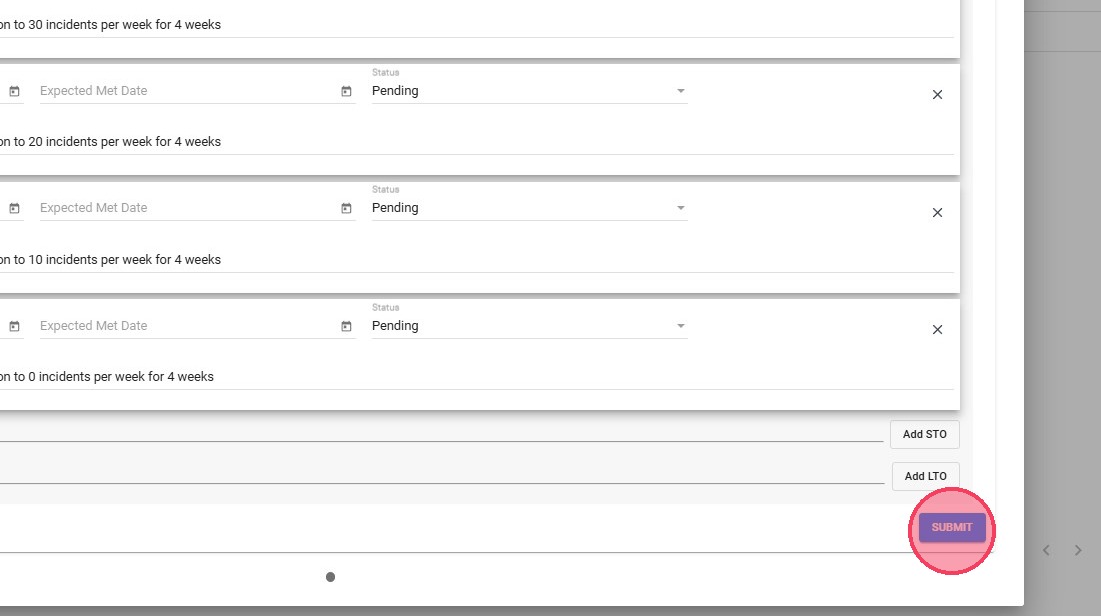
29. After customizing each behavior, users can click Submit to finalize the import. Once submitted, the behavior is added to the client’s profile.
30. You can remove previously selected items if you don't want to import them
Section III: Creating a Behavior from Scratch
Users have the option to create Maladaptive Behaviors from scratch.
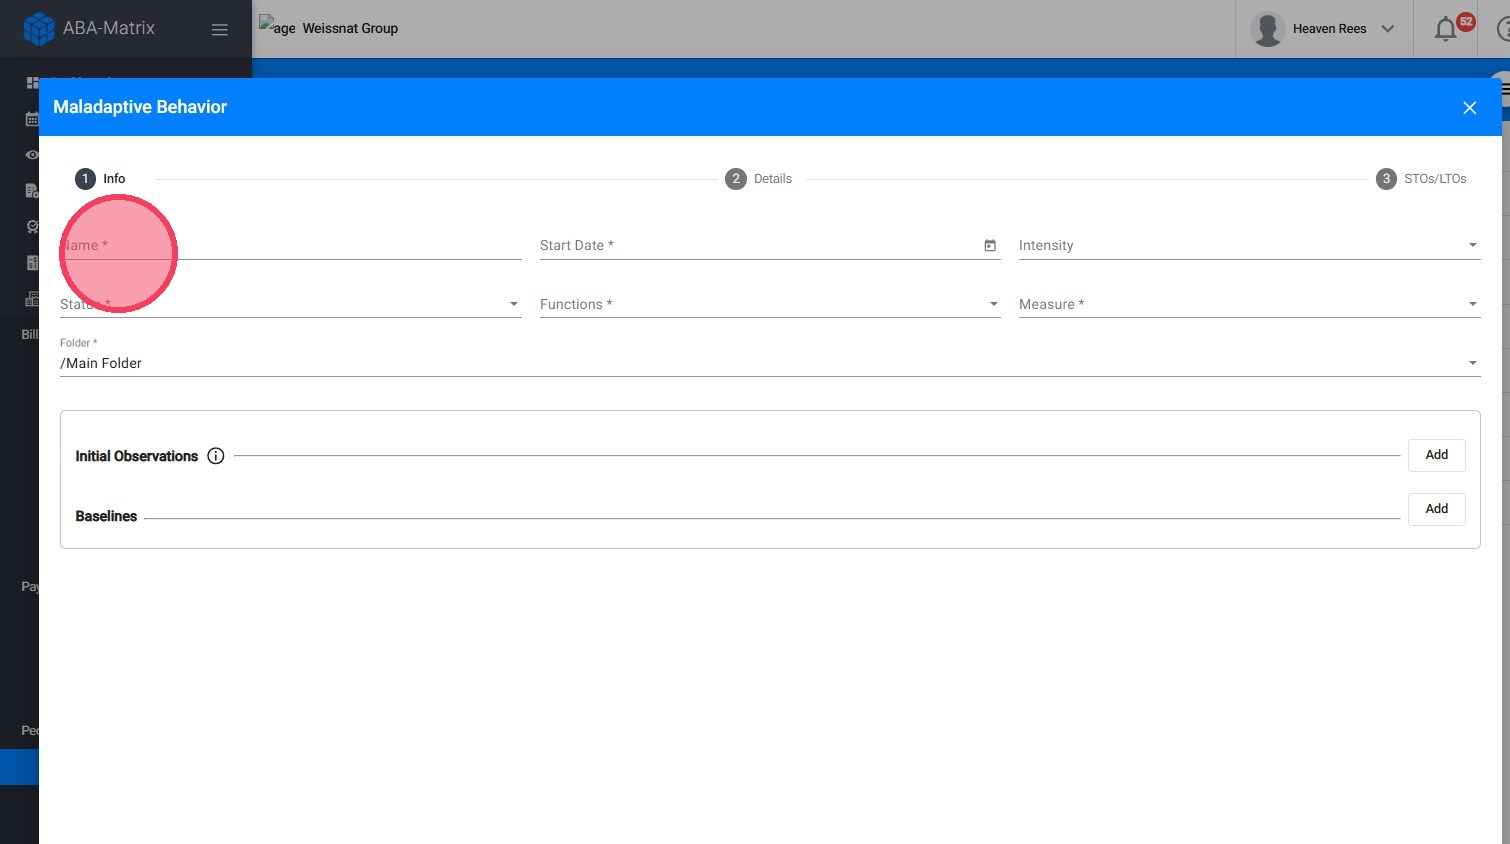
1. Create a New Entry from Scratch
31. - Click the red "+" icon
- Select "Create from Scratch"
This allows you to start a new entry without importing from a library.
2. Customize the Behavior
32. When creating a maladaptive behavior entry, the window is divided into three tabs: Info, Details, and STOs/LTOs.

33. Info
This tab is used to enter the basic information for the behavior.
Here you can add:
- Behavior name
- Start date
- Intensity
- Status
- Function
- Measurement type
- Folder where it will be saved
- Initial observations
- Baseline information
34. Click “Next” to move to the second section.
35. Details
This tab allows you to add additional written information related to the behavior, such as:
- Topography
- Barrier description
The rich text editor is available to enhance the presentation of definitions, or descriptions.
36. Click “Next” to move to the next section, or “Back” if you need to make any adjustments to the previous section.

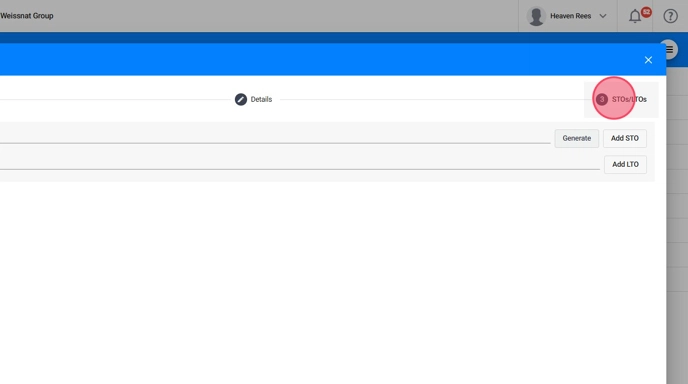
37. STOs/LTOs
This tab is used to create the goals associated with the behavior:
- Short-Term Objectives (STOs)
- Long-Term Objectives (LTOs)
You can add goals manually or use the Generate button.
38. Even when creating from scratch, you can use the automatic STO generation tool discussed in the second section of this guide.
39. You can also create the STOs manually:
- Click the "Add" button to create a new STO or LTO manually.
- Enter details such as Start Date, Expected Met Date, Status, Effective Date, and Description
4. Save the Behavior
40. After completing the information, click the "Save" button to finalize and store your new behavior.