
How to create and track STOs in ABA Matrix (for analysts)
This guide is essential for effectively generating and managing Short-Term Objectives (STOs) within the ABA Matrix system, tailored specifically to meet the unique needs of your clients. It provides step-by-step instructions on how to create, customize, and monitor STOs, ensuring that objectives align with clients' behavioral goals. By following this guide, users can ensure a more personalized and efficient approach.
Section I. Creating STOs
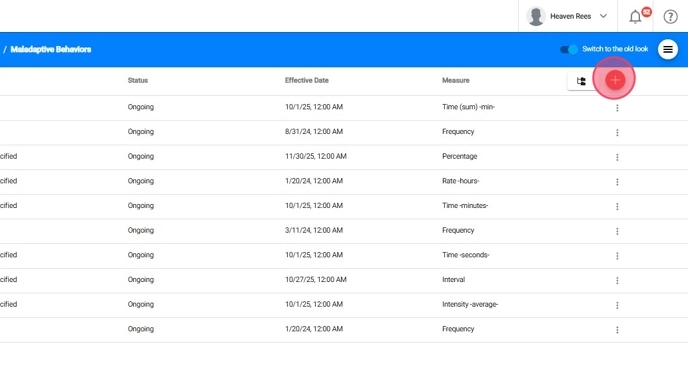
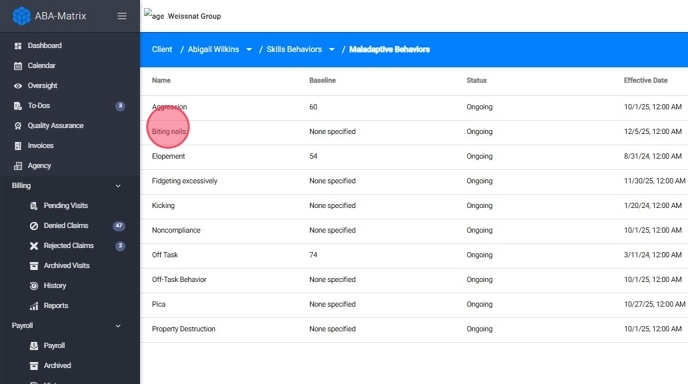
1. Within the client’s profile, locate the section Skills and Behaviors
- To add a new entry: Click the red + button to create a new behavior or program, either by importing it from the library or creating it from scratch.
1. Autogenerating STOs
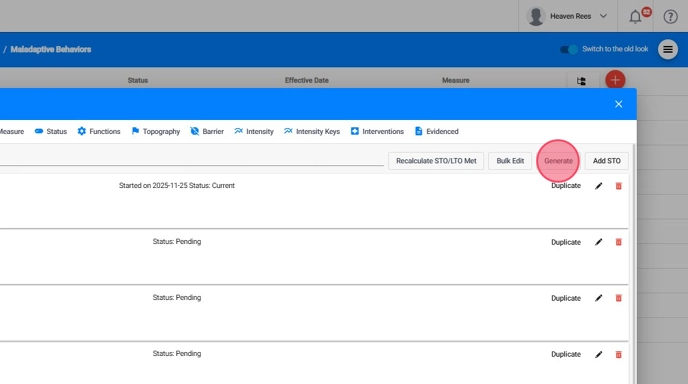
2. When creating a new skill/behavior, in the STOs Section you will be able to automatically generate STOs tailored to the client.
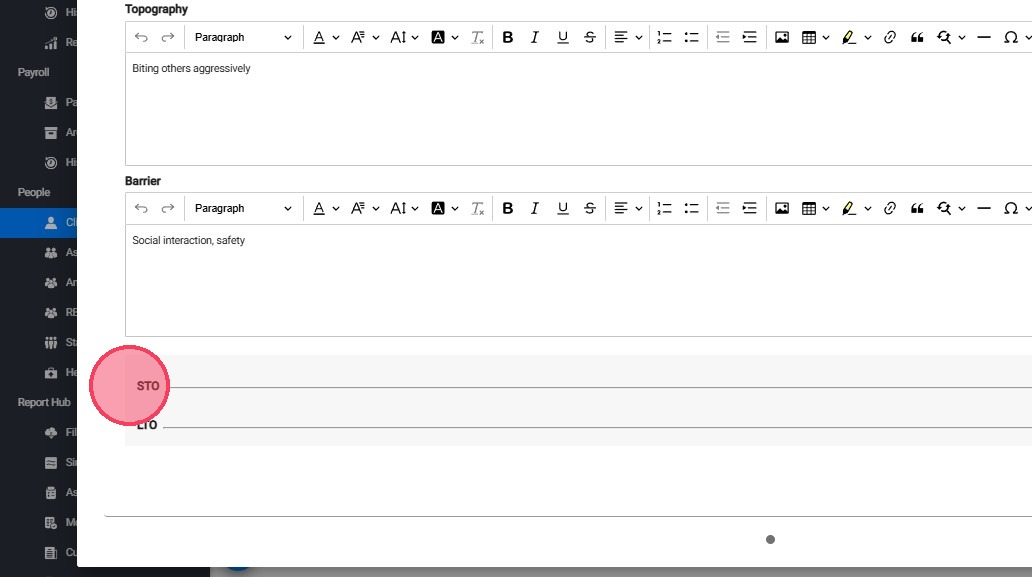
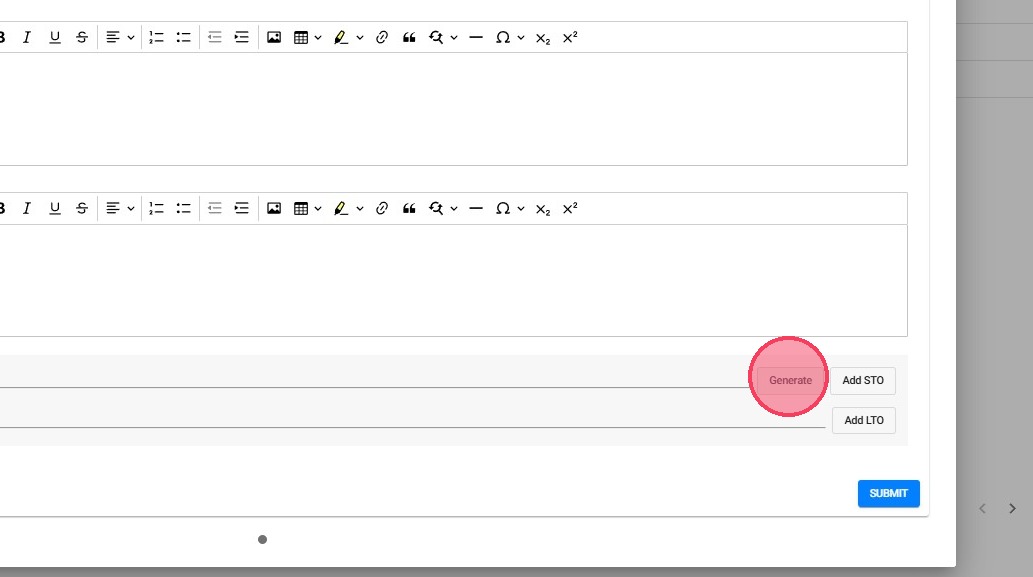
3. Click Generate to enable this feature.
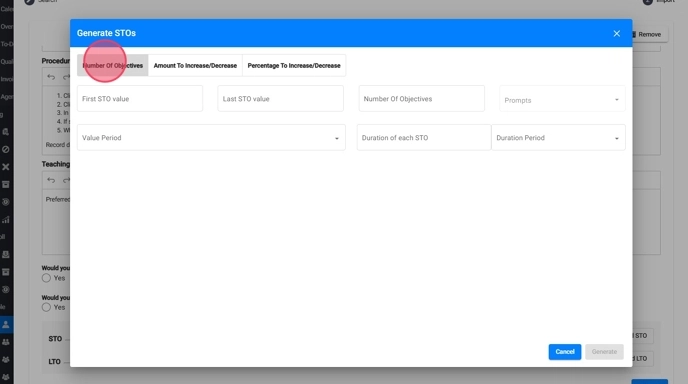
4. When selecting the Generate STOs option, a pop-up window will appear allowing you to configure and automatically generate Short-Term Objectives (STOs).
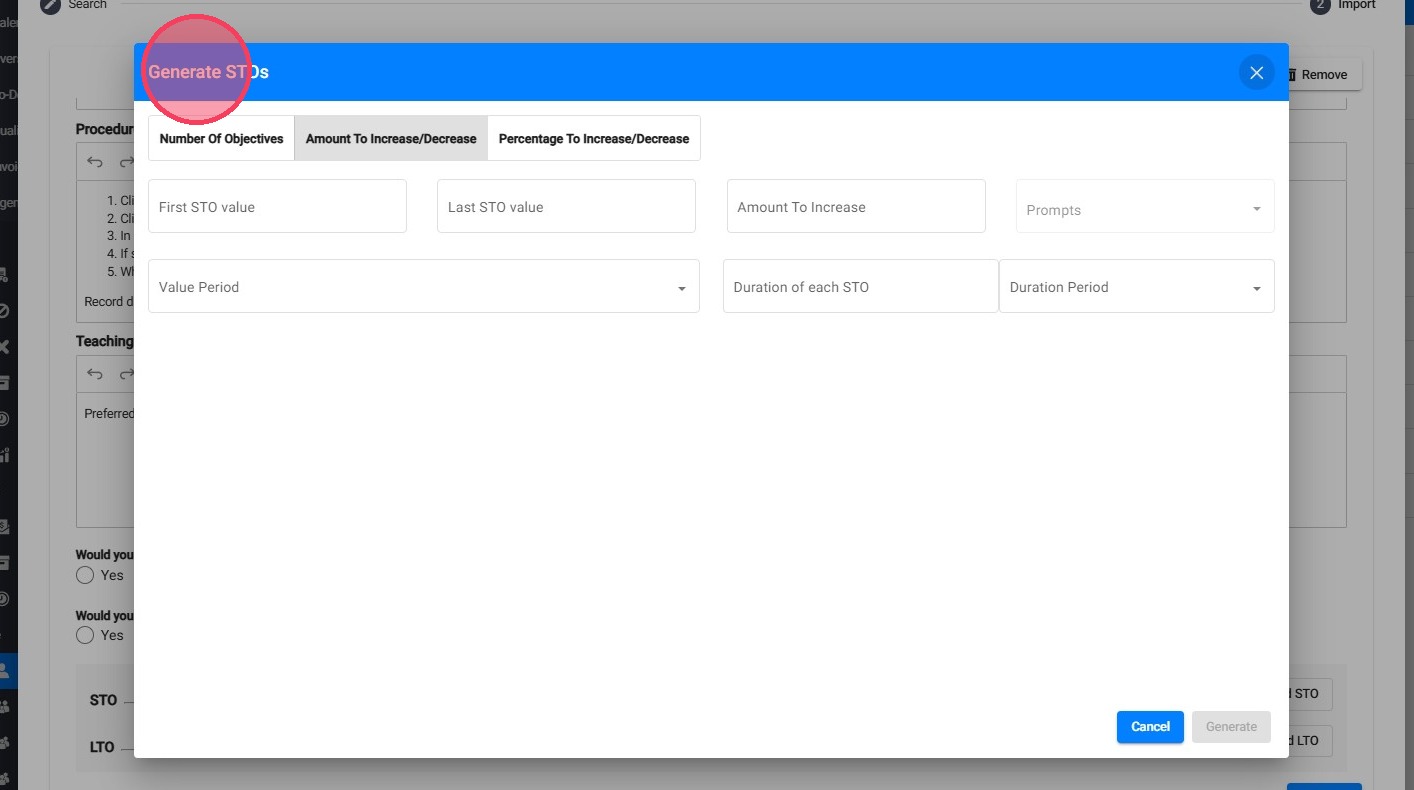
5. At the top of the window, you will see three tabs, which can be selected depending on the method desired for generating STOs. Each tab includes additional fields based on the selected generation method:
- Number of Objectives: Allows the user to specify the number of objectives, meaning the exact number of STOs to generate (e.g., 10 objectives).
- Amount To Increase/Decrease: Includes the amount to increase or amount to decrease field, enabling STO generation by increasing or decreasing values by a fixed amount between objectives (e.g., increase by 10).
- Percentage To Increase/Decrease: Adds the percentage to increase or percentage to decrease field, which applies a percentage change between each STO (e.g., increase by 10%).
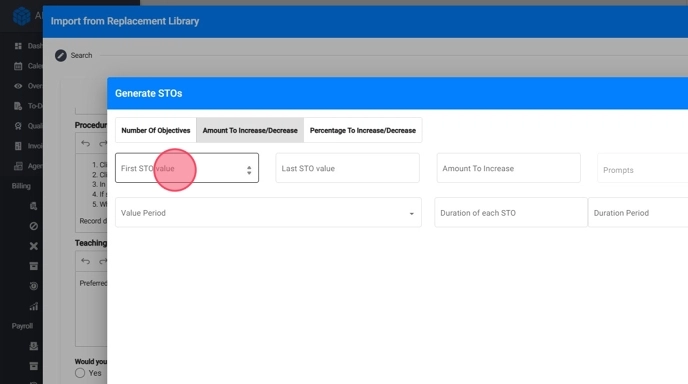
6. You can tailor the STOs to the specific needs of your client by adjusting various parameters:
- Start and End Values: Set the initial and target values for the STO (e.g., start at 0 and aim for 100)
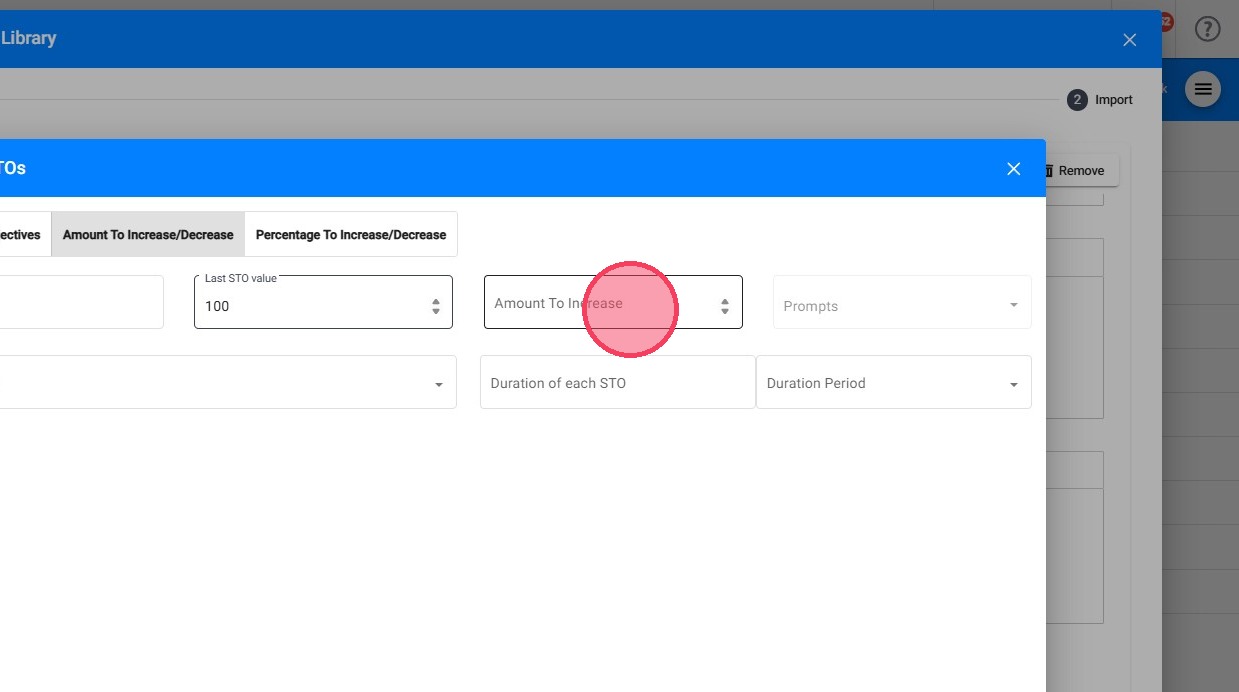
7. - Enter the Number of Objectives, Amount To Increase/Decrease, or Percentage To Increase/Decrease, depending on the selected generation method.
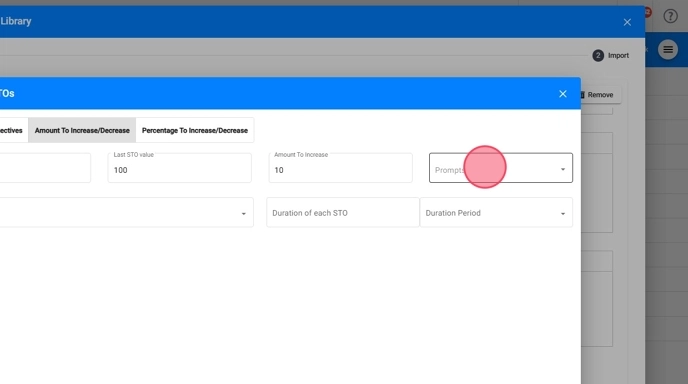
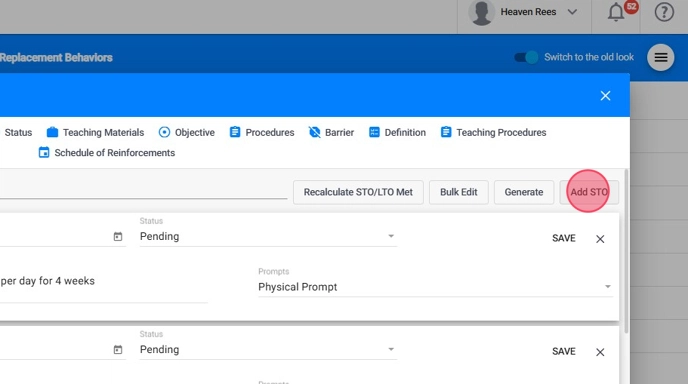
8. For replacements and skills, if you enable prompt data collection, you can link specific prompt levels to each STO. Only the prompts associated with the STO marked as current will be available during data collection.
- Prompts: In this section, you can select the prompt level from the list of prompts you enabled for that replacement or skill, if applicable.
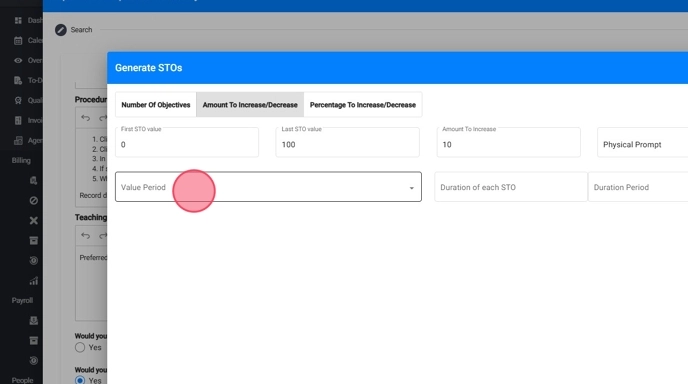
9. - Value Period: Determines how frequently performance will be measured (e.g., per session, per day, per week, or per month). This sets the interval used to evaluate progress for each STO.
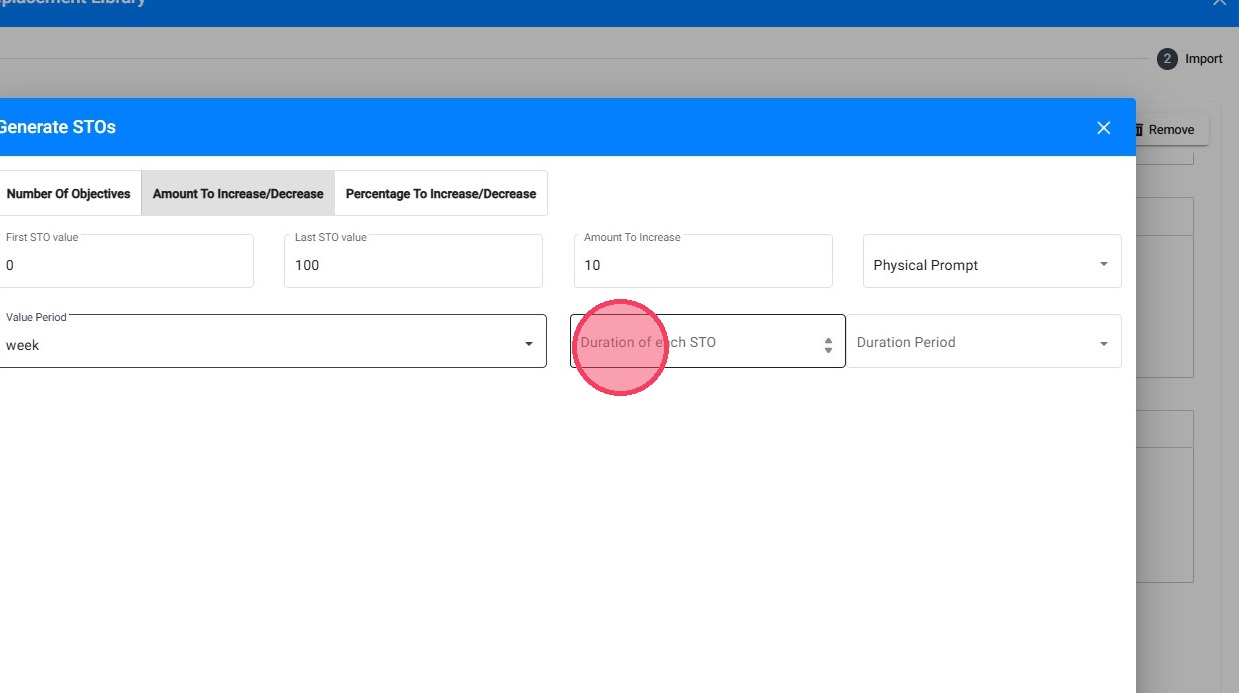
10. - Duration of Each STO: Specifies how long each objective remains active before moving to the next one. This number determines the length of time assigned to each STO.
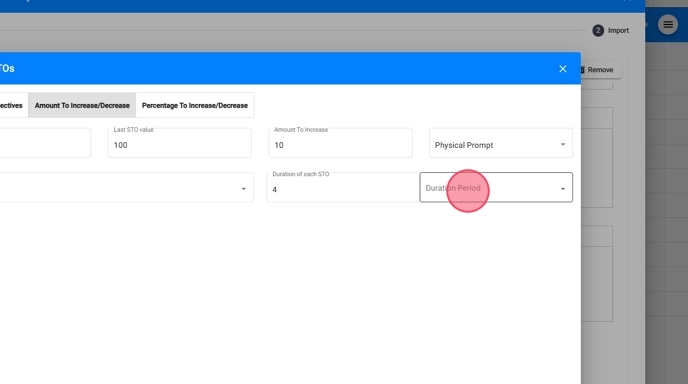
11. - Duration Period: Defines the unit of time used for the STO duration (sessions, days, weeks, or months).
This works together with the previous field to determine the total duration of each objective and is directly related to the Value Period field.
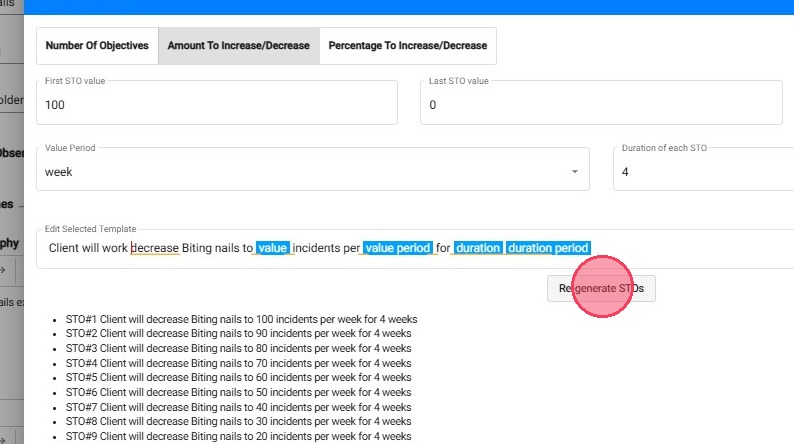
12. Once the values are completed, you will see a preview of how the objective will be written.
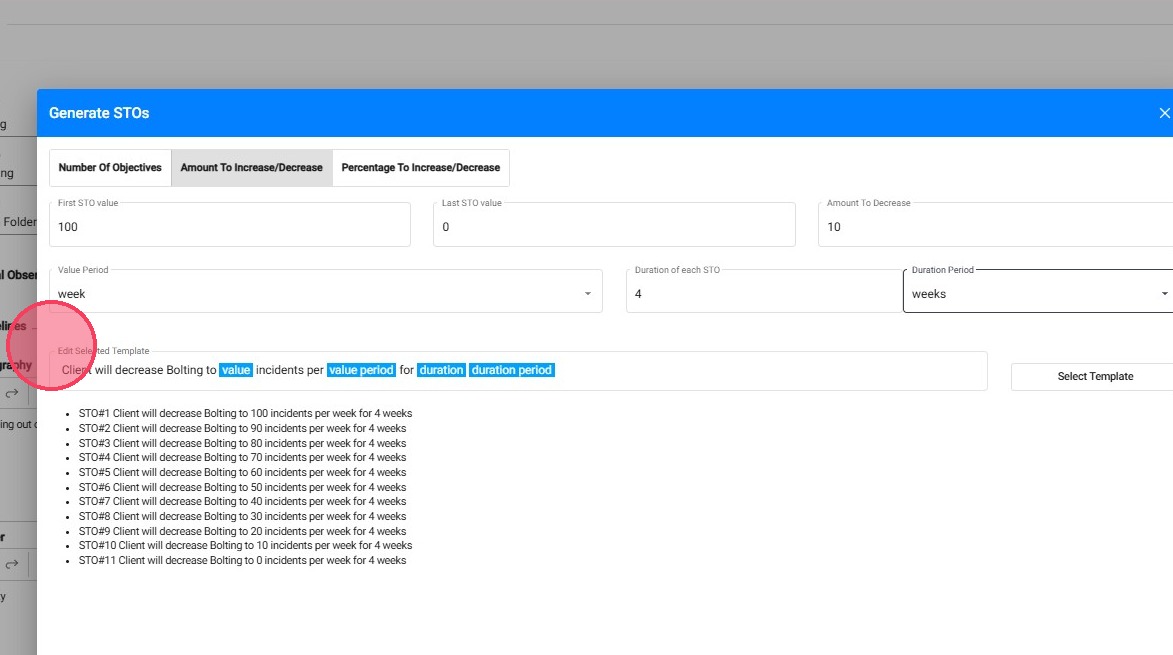
13. If needed, you can manually edit the wording of the sample STO. Once any changes are made, the Re-generate STOs option will appear. Click this option to update the STOs with your modifications.
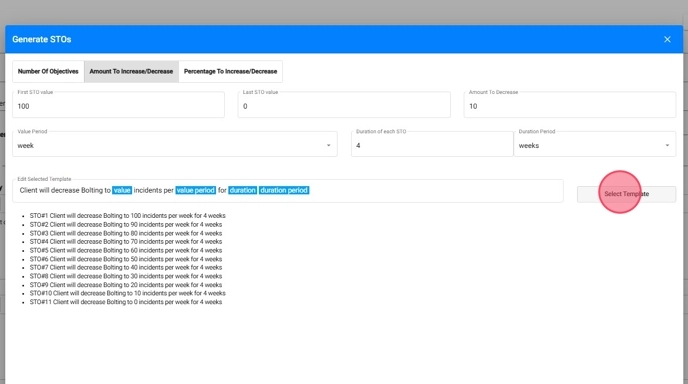
14. Select Template: The system allows the user to choose from several predefined templates to determine the wording of the STO. Each template automatically inserts the values entered (value, prompts, value period, duration, etc.), ensuring the objective is generated with clear and consistent phrasing.
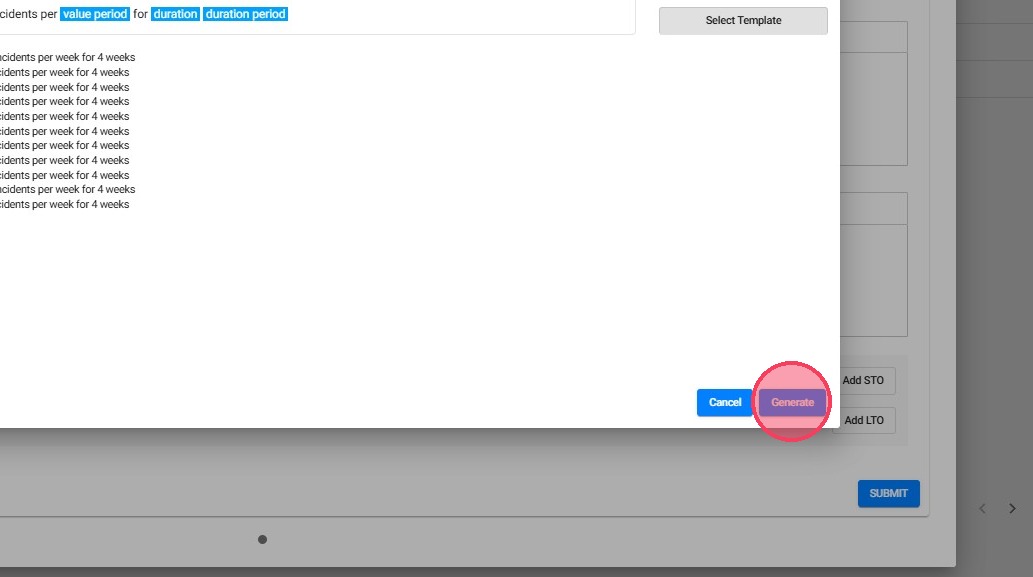
15. - Generate: When all required fields are completed, selecting Generate prompts the system to automatically create the STOs based on the chosen method and entered parameters
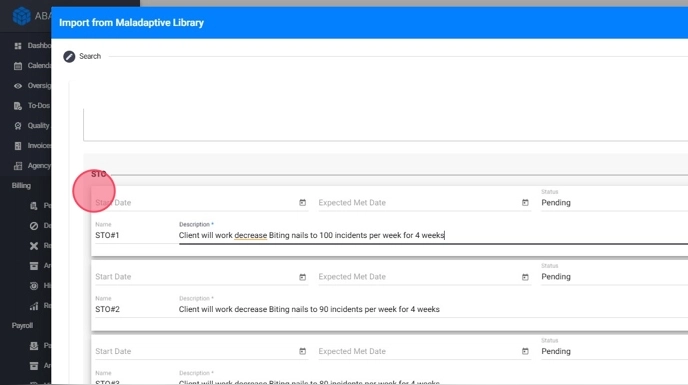
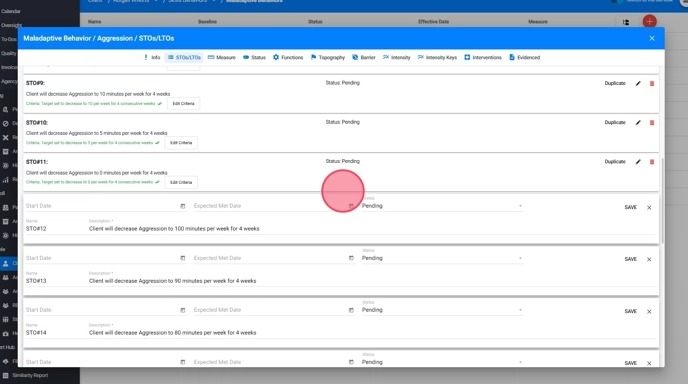
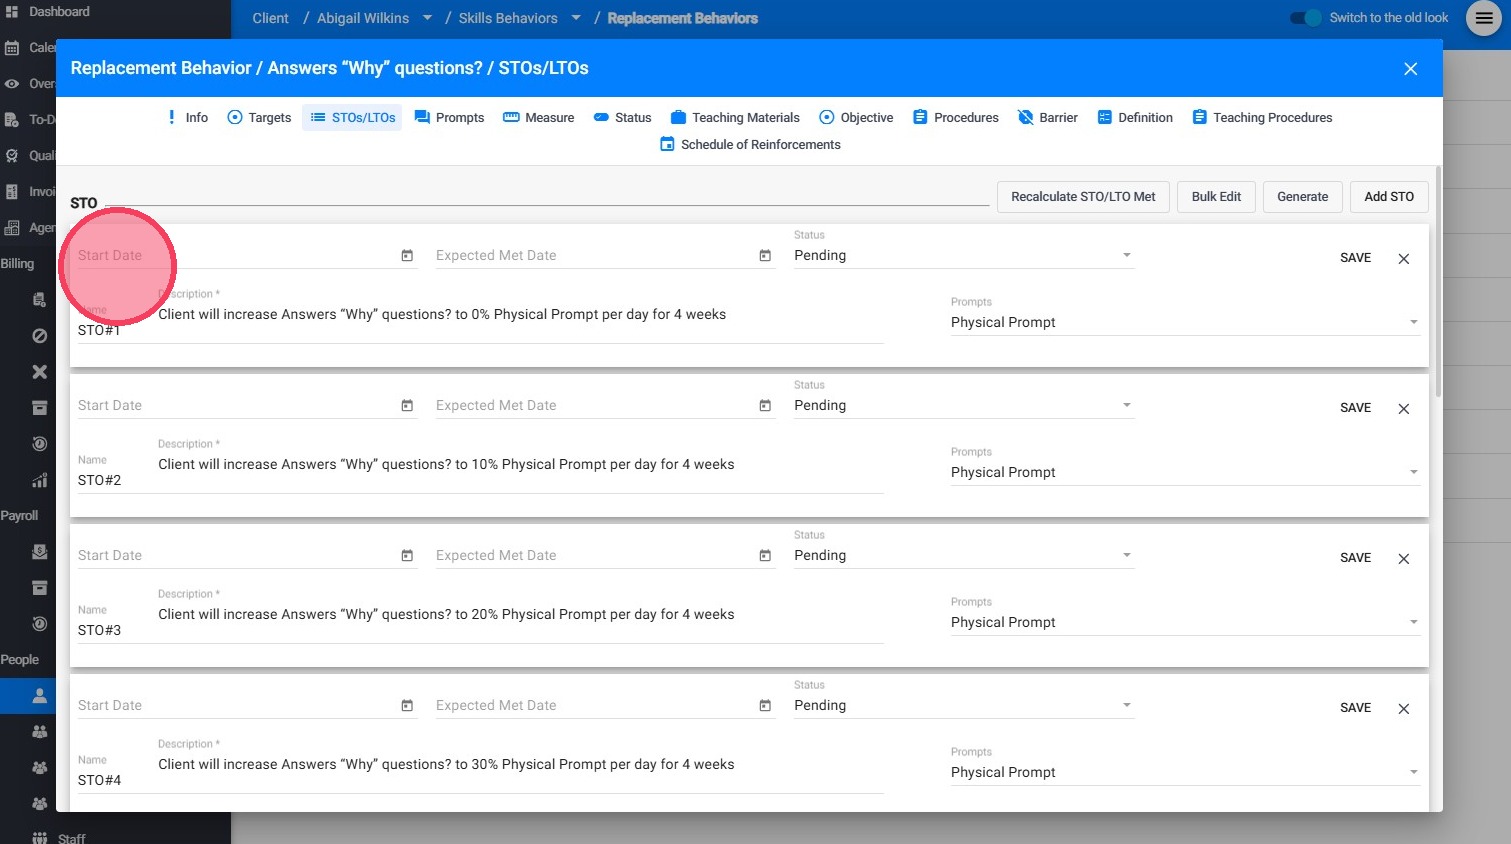
16. Once the STOs are generated in the behavior creation window, you can continue editing each one as needed.
- You may set the effective date, add the expected met date, update the status, and modify the name or description.
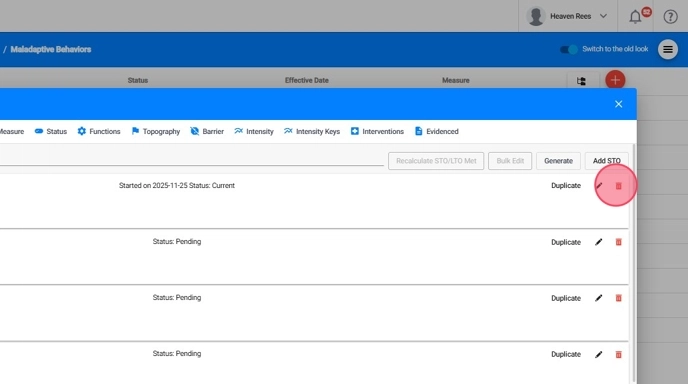
2. Adding STOs Manually
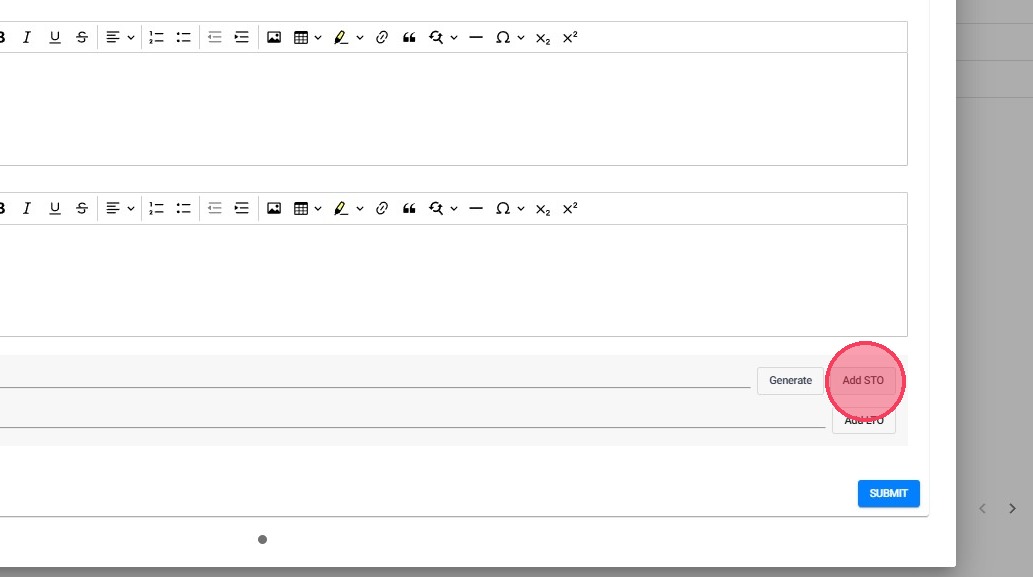
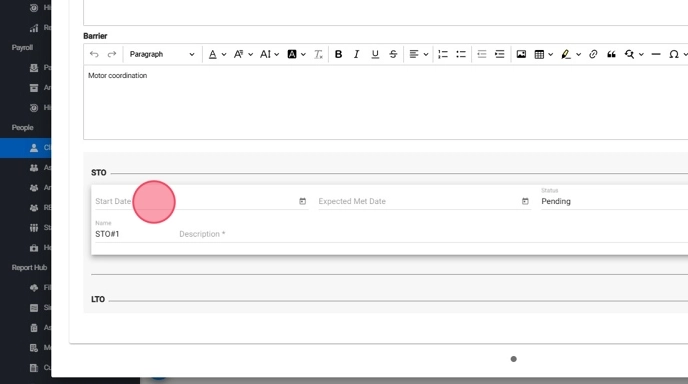
17. You can manually add STOs one by one using the Add STO option.
18. You may set the effective date, the expected met date, the status, and add the description.
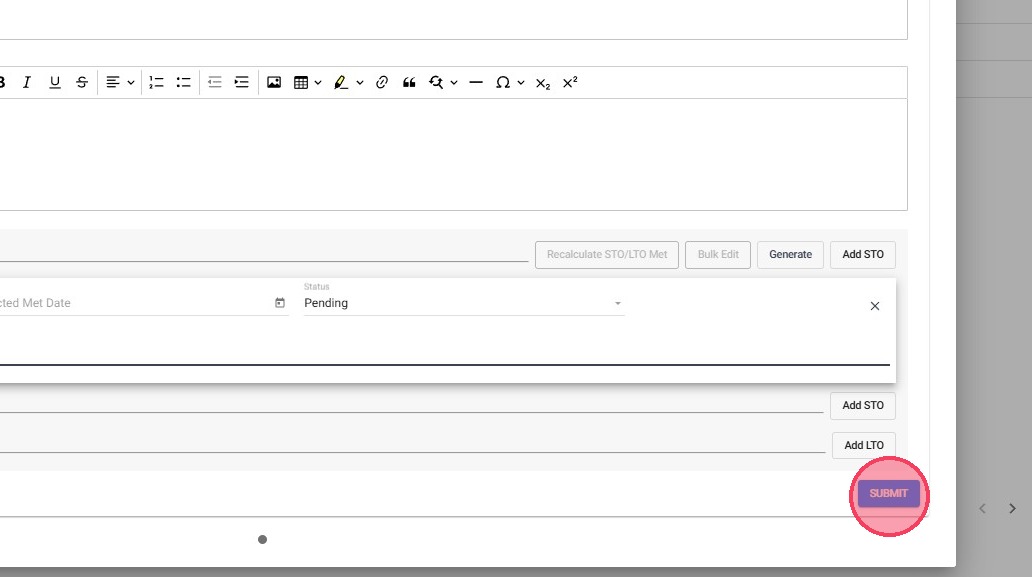
19. If you imported the behavior from the libraries, once you have completed all the details for creating the behavior, click Submit to finalize it.
20. If you created the behavior from scratch, once you have completed all the details for creating the behavior, click Save to finalize it.
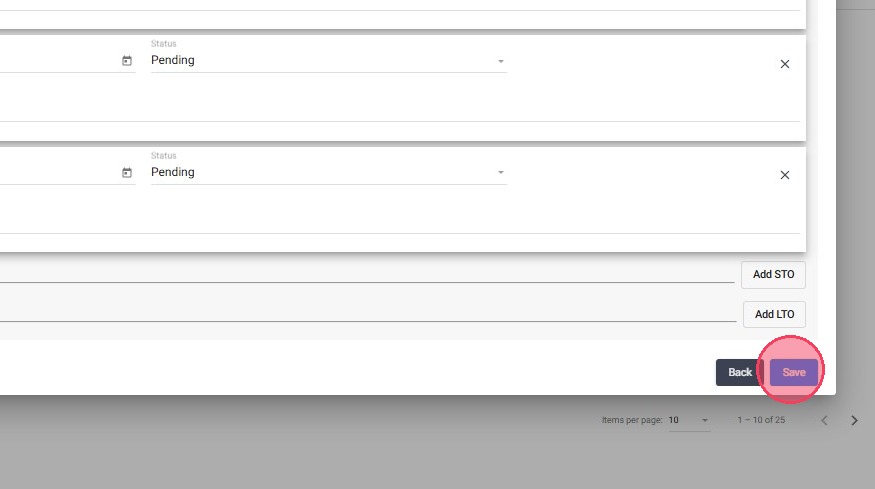
Both actions will ensure that the STOs are properly saved.
Section II. Managing STOs
21. To edit an existing entry: Select the behavior, replacement, or skill from the list and go to the STOs/LTOs tab.
1. Adding more STOs
22. If you need to add more STOs, you can either generate them automatically using the system tools or add them manually one by one.
- Using the Generate option, you can enter the necessary values to automatically create new STOs based on your selected criteria.
The newly generated STOs do not overwrite the existing ones; they are added to the end of the list. Each generated STO must be saved individually.
23. - Using the Add STOs option, you can create them manually. Each STO is added individually, and after entering and reviewing its details, you must save each one separately to finalize it.
2. Editing STOs
2.1. Edit Multiple STOs at once
24. Manually adjust the order of the STOs
You can adjust the order of the STOs after they have been created. Click on the STO you want to move, then drag it to the position you want within the list. Release the mouse button to place the STO in its new position.

25. The Bulk Edit option opens all STOs at once, making them easily accessible in a single view for efficient editing.
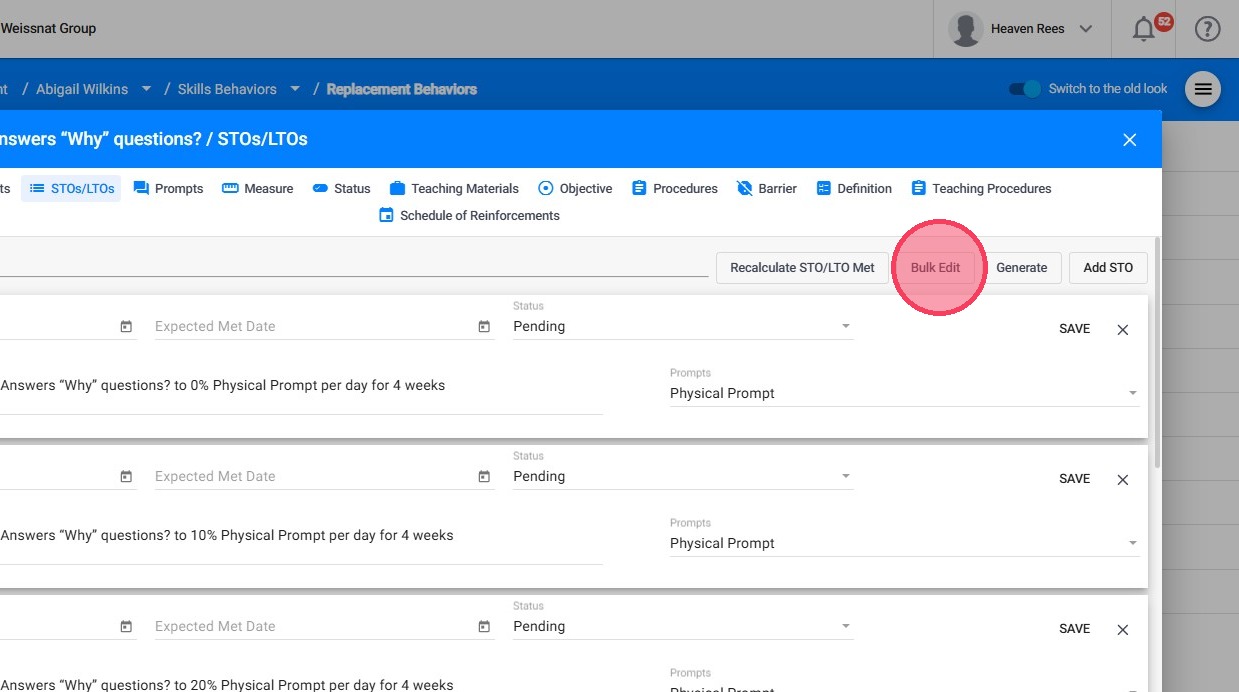
26. Although all STOs appear together and ready for updates, the information for each STO must still be edited one by one.
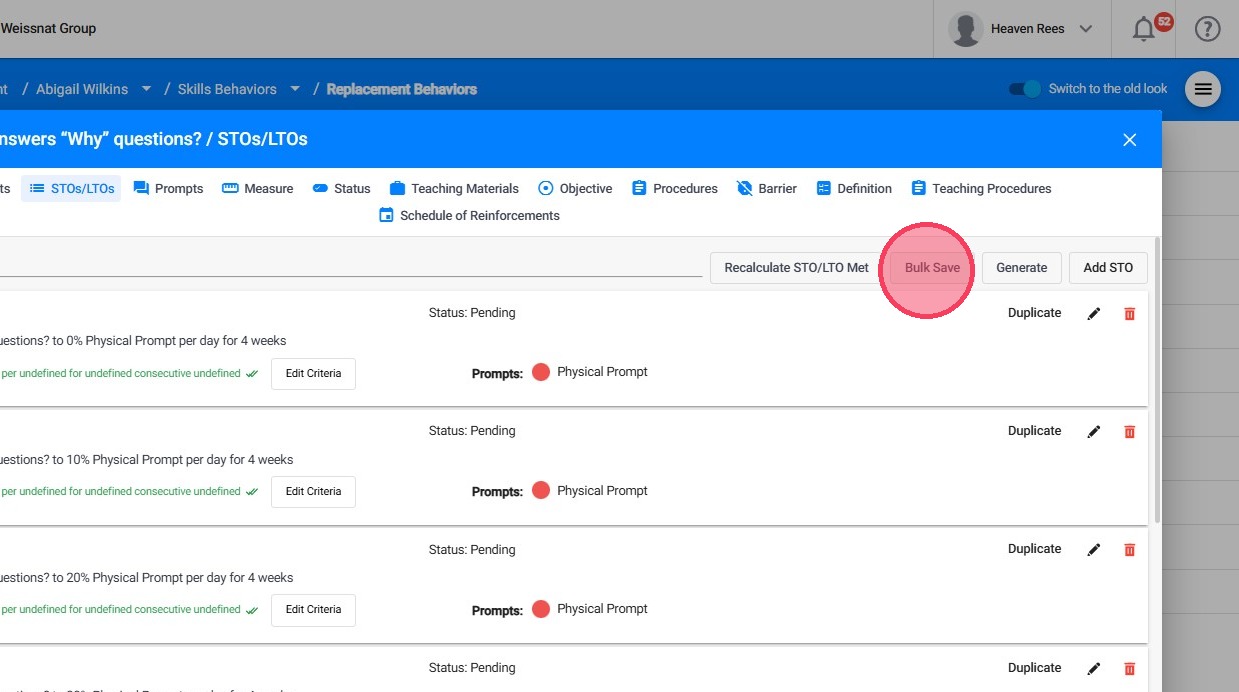
27. Once all necessary updates have been made, click Bulk Save to apply and save all changes in a single action.
2.2. Edit an Individual STO
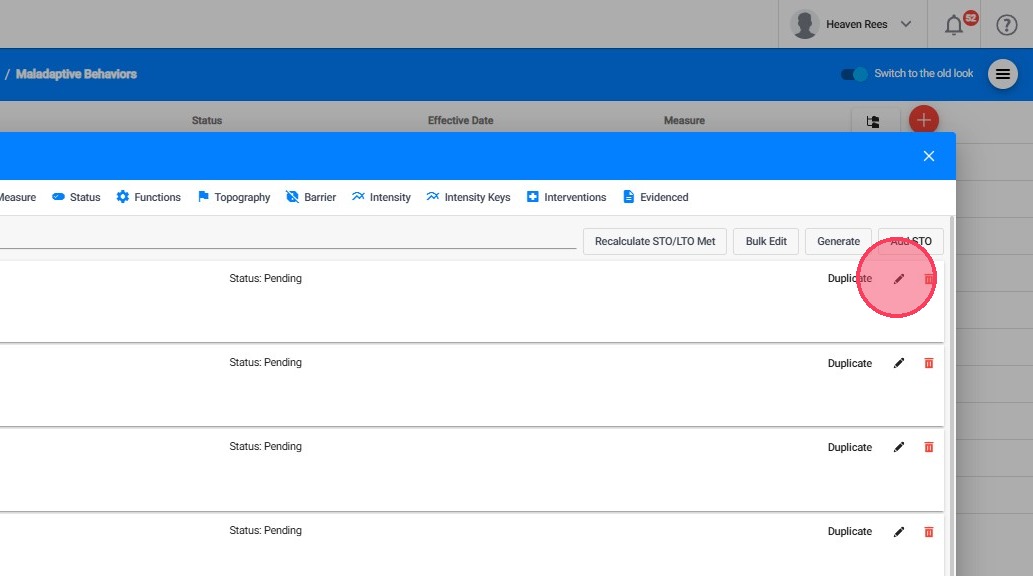
28. - Edit
If you want to edit only one STO, click the Edit (pencil) icon.
29. You may set the effective date, add the expected met date, update the status, and modify the name or description.
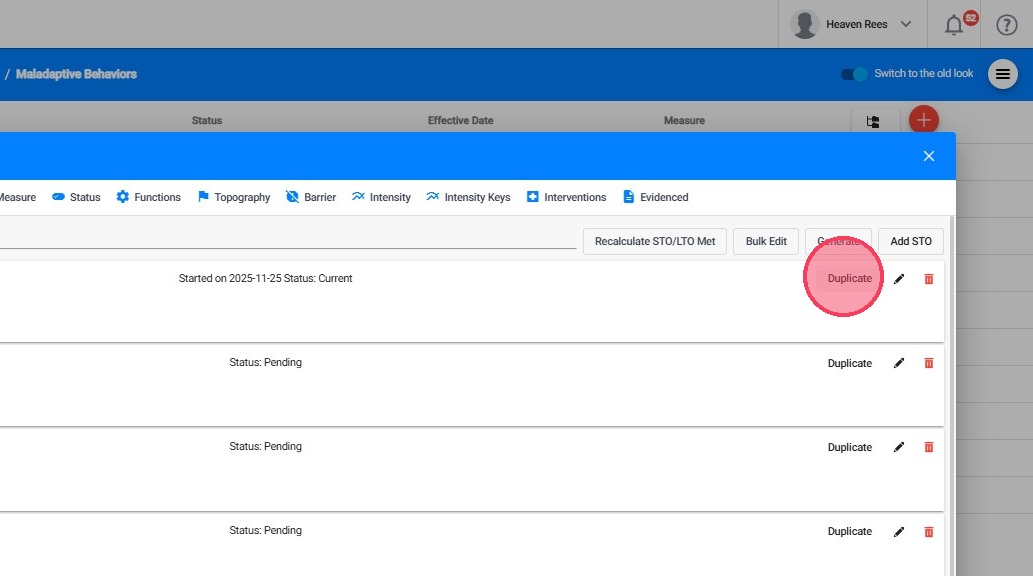
30. - Duplicate
You can duplicate an existing STO if needed, making it easier to modify the information rather than entering everything from scratch.
31. - Delete
You can delete it.
32. - Save
When you finish making changes to the STO, click Save to store the updates.

Section III. Monitoring STO Progress
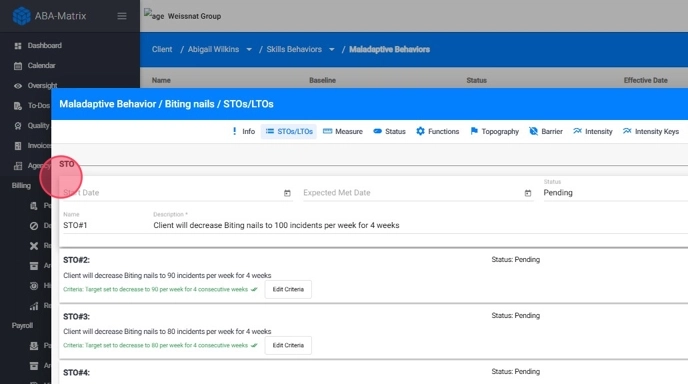
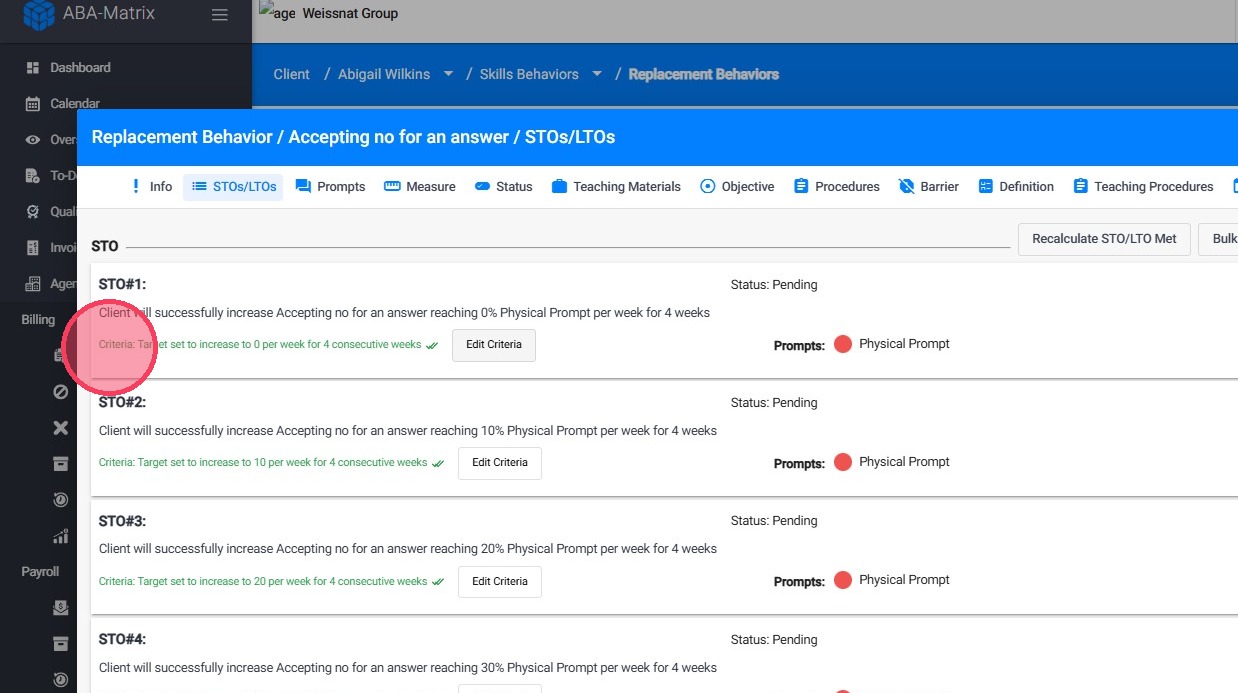
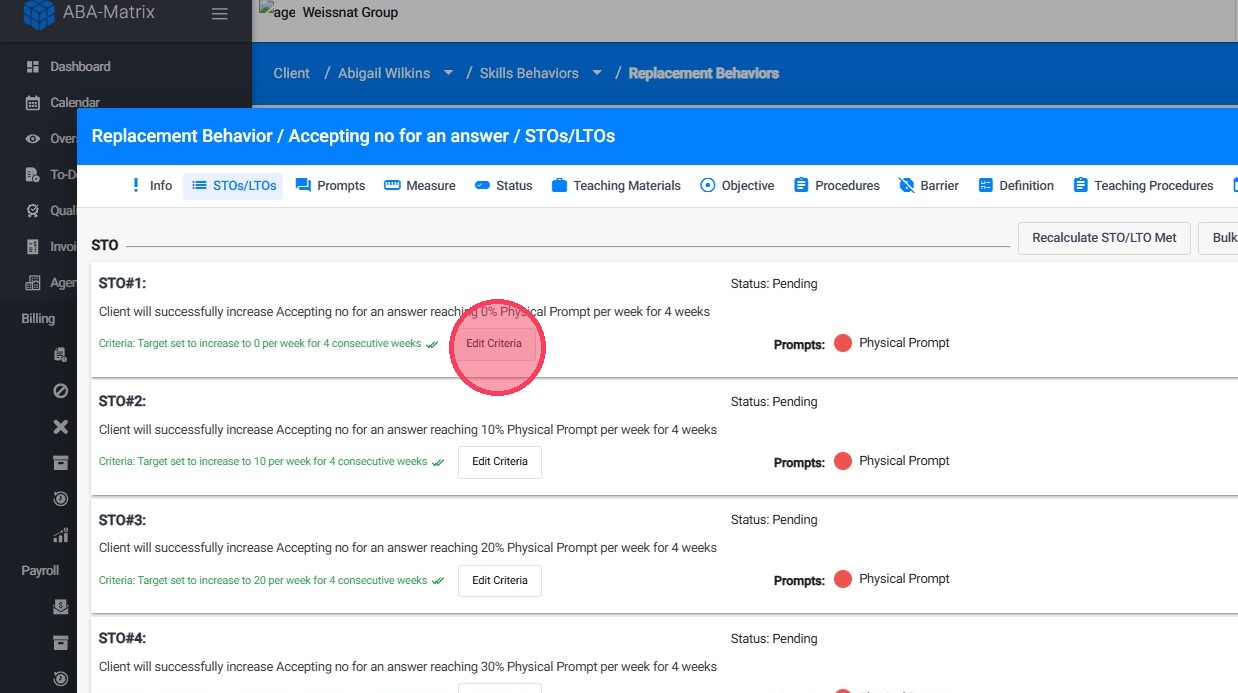
1. Understanding STO Criteria
The STO Criteria is essential for determining when an STO is considered met or not met
33. When an STO is saved, the system automatically generates a criteria based on the STO description you’ve entered.
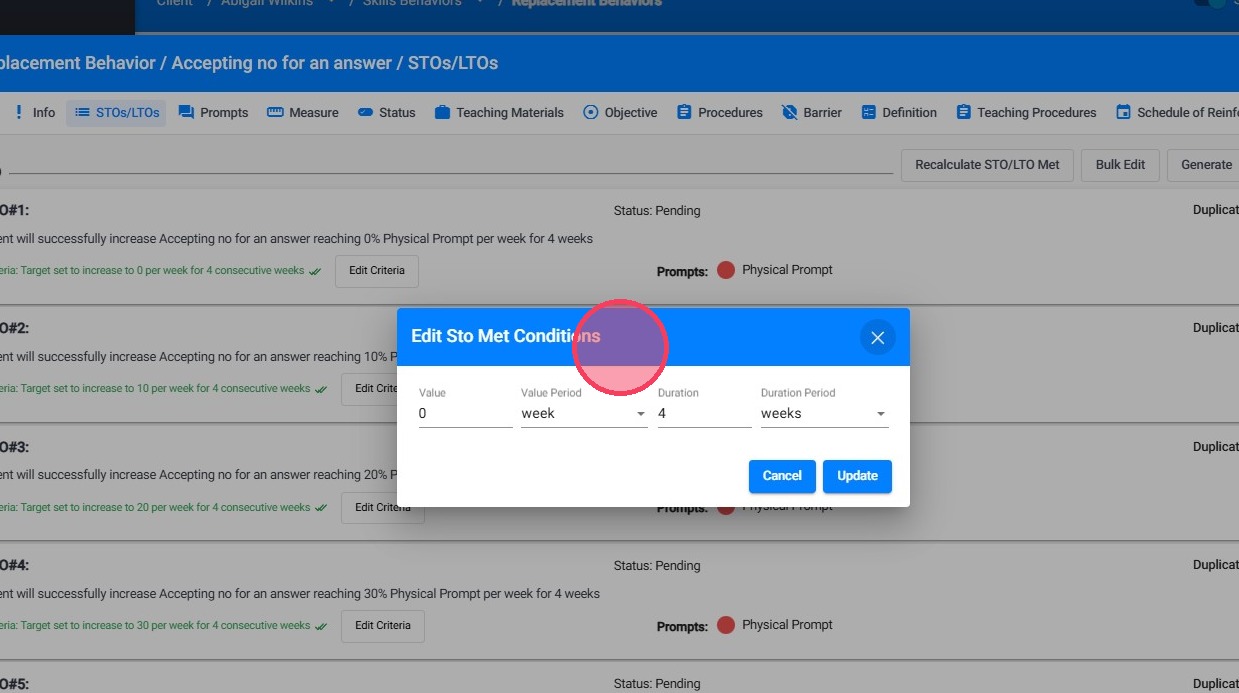
Criteria breakdown:
- Value: The required performance level the client must reach.
- Value Period: How often that value must be demonstrated (e.g., per session, week, or month).
- Duration: The length of time the client must meet the criteria.
- Duration Period: The unit of time for the duration (e.g., sessions, days, weeks).
34. Manual Adjustments:
You can manually adjust the STO criteria to better reflect the client's needs, just click Edit Criteria.
35. Manually adjust the STO met criteria.
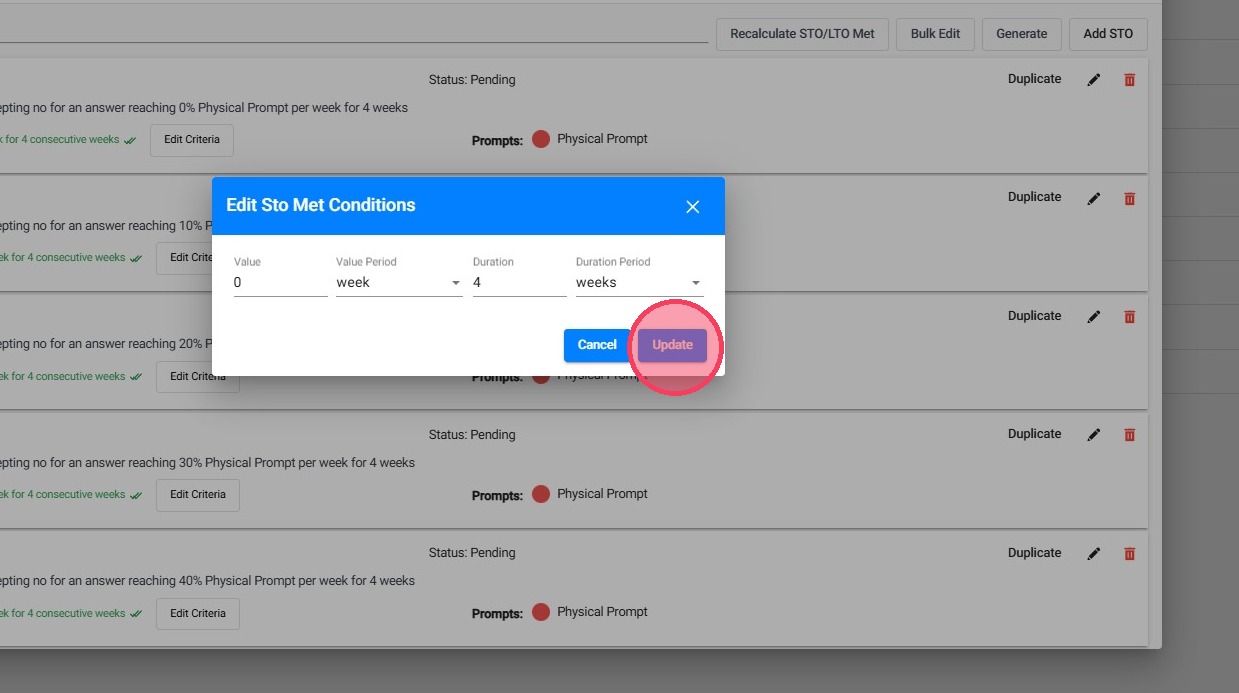
36. Click Update to save the configuration
2. Tracking STO Progress (Automatic or Manual)
Each time a visit is submitted, the system checks if the STO meets the "met" conditions, based on the defined criteria (value, duration and period).
37. Automatic Progress Tracking:
If your agency has enabled the setting to automatically mark STOs as met, the system will mark the STO as "met" with the determined date and proceed to the next STO.
38. Manual Progress Tracking:
If the automatic setting is disabled, the system will still analyze the STO, but won’t automatically mark it as met. Instead, you can review this analysis using the STO Analytics tool.
The system will provide a suggestion indicating whether the STO should be marked as met (including a recommended met date) or if it is still not met, while allowing you to manually mark it as met using the effective date you choose.

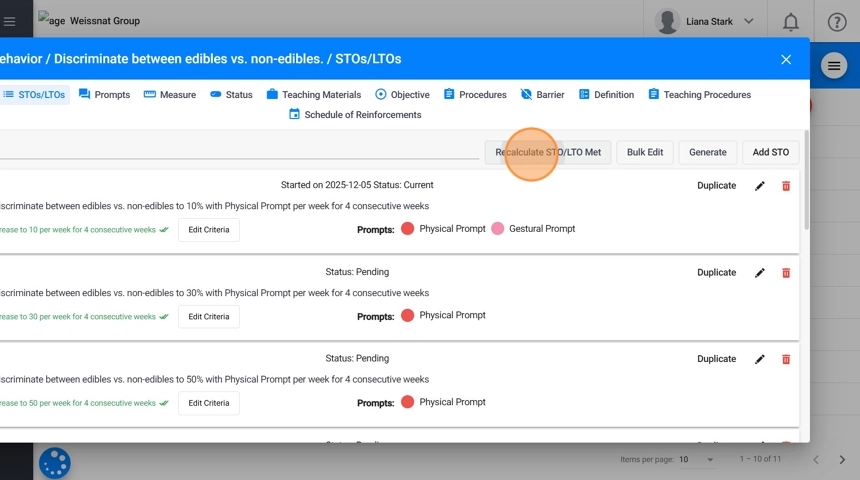
39. - Recalculate STO/LTO Met
This option allows users to instantly recalculate all STOs and LTOs. When selected, the system reviews the collected data and applies each objective’s criteria to determine whether it should be marked as met. This updates:
- Goal status: Automatically adjusts mastery status based on the most recent performance data.
- Effective dates: Updates the effective or met dates to reflect when the criteria were actually achieved.
- Progress accuracy: Ensures that STO/LTO mastery reflects the latest data rather than relying on manual updates.
This feature helps maintain accurate, real-time progress tracking and removes the need to manually verify whether objectives have been met.
Alert: This action is triggered manually by the user and is completely optional. If you choose to use it, please note that the operation cannot be reversed.