How to Access and Navigate the ABA Matrix Mobile App
This guide explains how to set up and log in to the app, navigate the schedule, and understand how session cards display key details at a glance. It also highlights Offline Ready functionality, allowing providers to securely collect and store data and signatures while offline, with automatic syncing once back online.
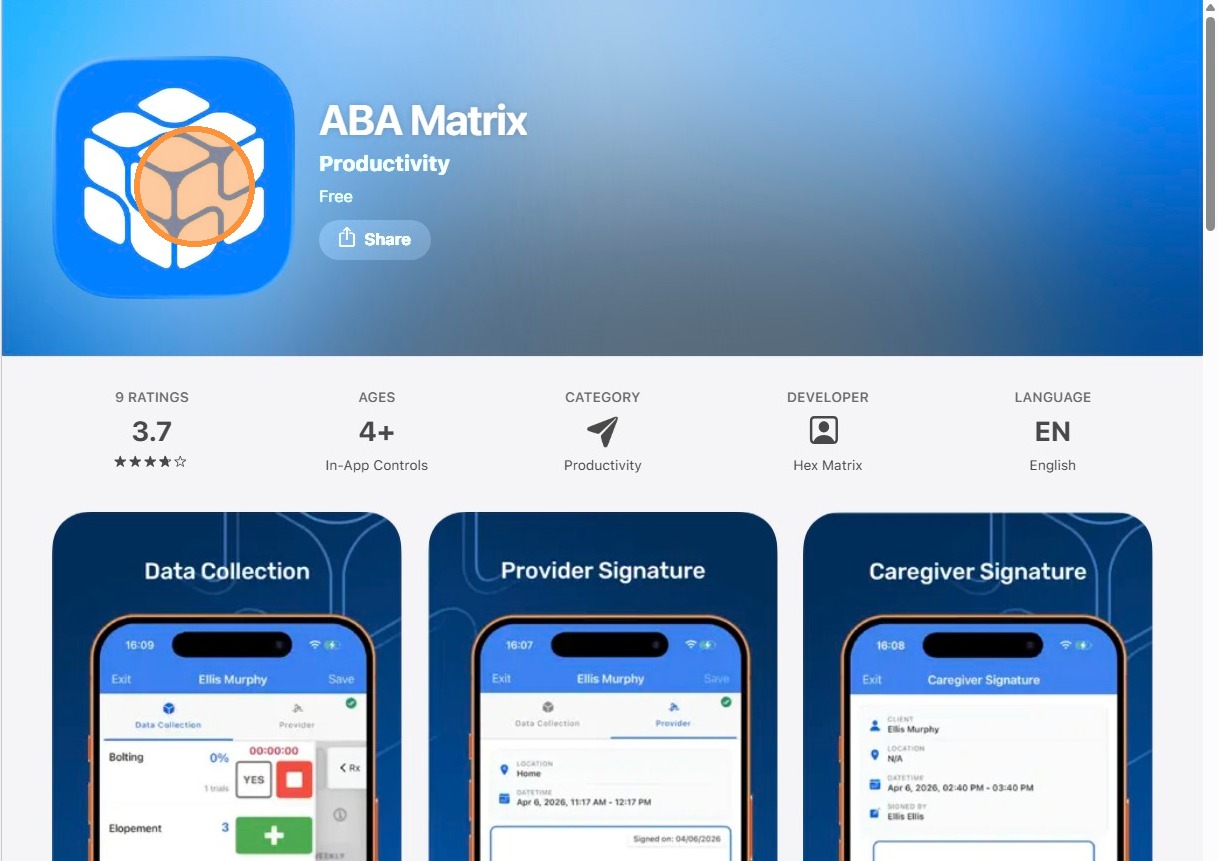
1. Downloading the App
1. From the App Store (apple devices) or the Google Play Store (android devices), download the ABA Matrix app
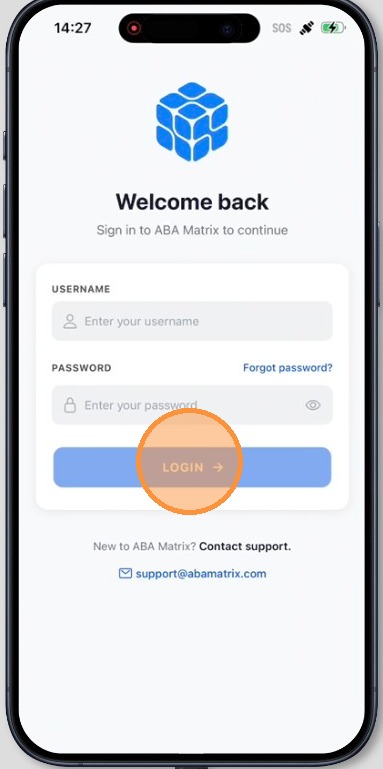
2. Logging In
2. - Open the ABA Matrix app
- Enter your username and password
- Tap Log In
3. Navigating the App
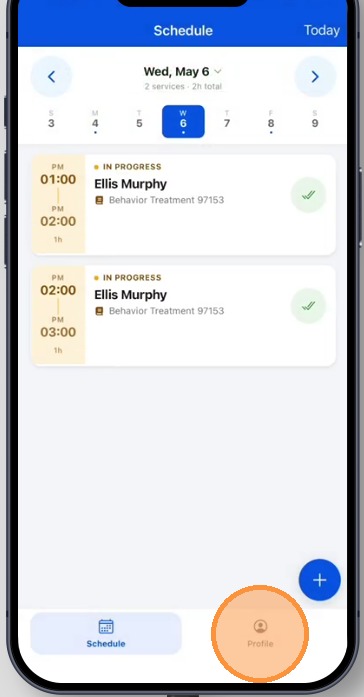
3. After logging in, you will be taken to the Schedule screen, which is the main starting point for managing your daily sessions in the app.
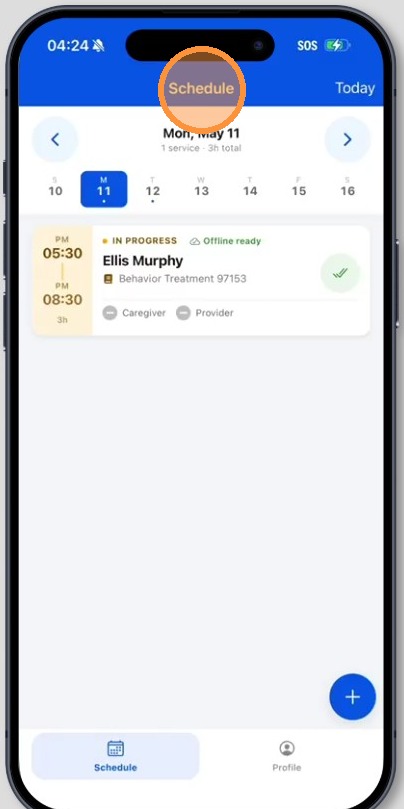
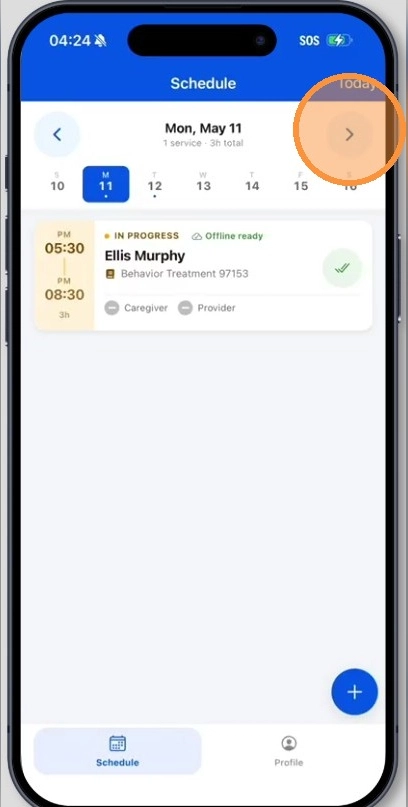
4. Use the options at the top of the screen to move between dates and find the sessions you need.
- Tap the left arrow to view sessions from previous dates
- Tap the right arrow to view upcoming sessions
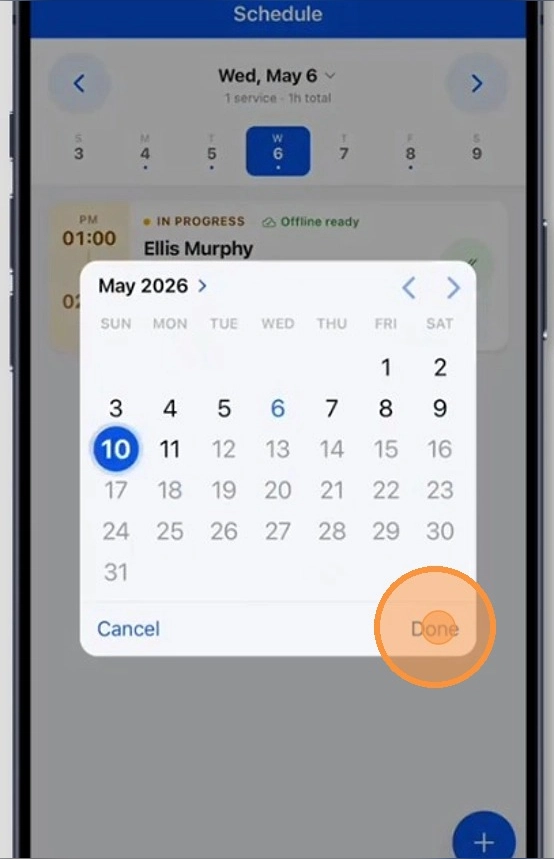
5. - Tap the date displayed in the center to open the calendar and select a specific date
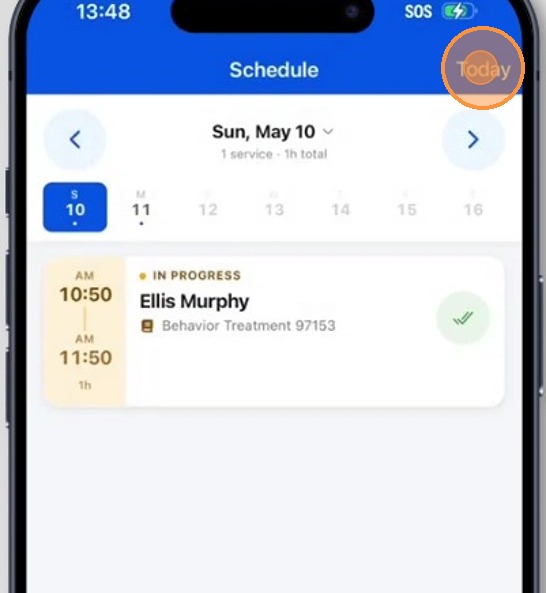
6. - Tap Today to quickly return to the current day’s schedule
4. Understanding Session Cards
7. Each visit in the app appears as a session card. These session cards are designed to give you a quick overview of the most important session details:
- Session status (like In progress, Completed)
- Client name
- Service type and code
- Session time
- Signature status for caregiver and provider
- Offline Ready tag
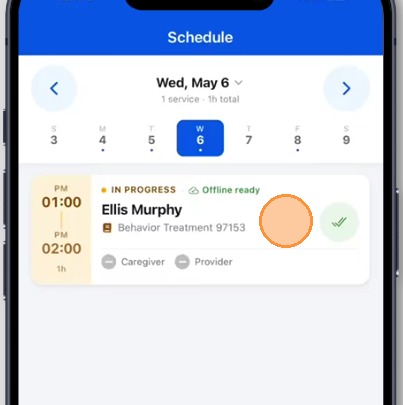
The Offline Ready tag is especially important because it tells the provider that the session is available for use even if the device loses internet connection. All information entered while offline is stored securely on the device first. Once internet connection becomes available again, that information will sync back to ABA Matrix automatically.
When a session is marked Offline Ready, users can still complete core session tasks, including:
- collecting data for behaviors or skills
- capturing caregiver signatures
- capturing provider signatures
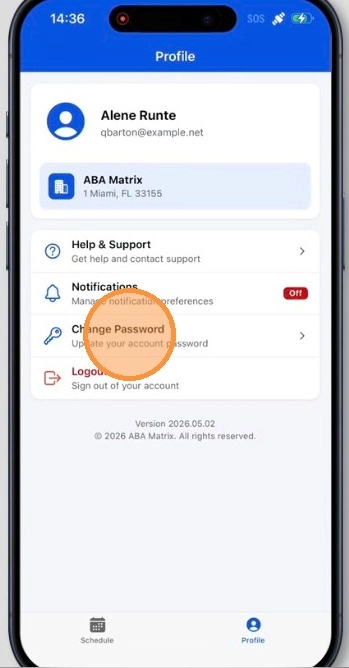
5. Your Profile
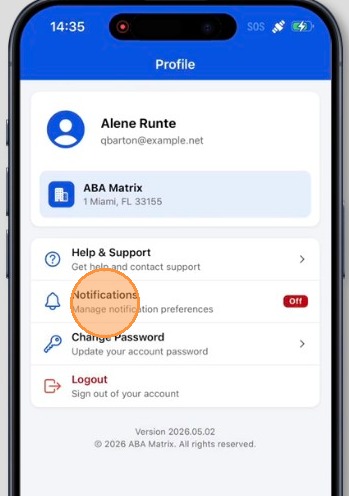
8. To access your profile, tap on the “Profile” icon located at the bottom right of the screen.
9. In the “Notifications” section, you can manage your notification preferences by turning them on or off based on your needs.
5.1 Switching between Locations
10. You can find your agency information, including the agency name and location.
If your agency has more than one location, you can tap on this section to switch between locations.

5.2 Help & Support
11. Tap on “Help & Support” to access assistance and support resources.
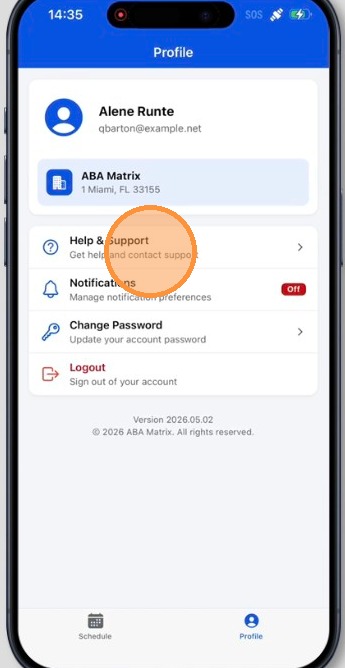
12. You can use the search bar to type in keywords and quickly find answers to common questions.
This will show suggested articles from our Knowledge Base, where you can access step-by-step guides and tutorials on how to use different features of the system.
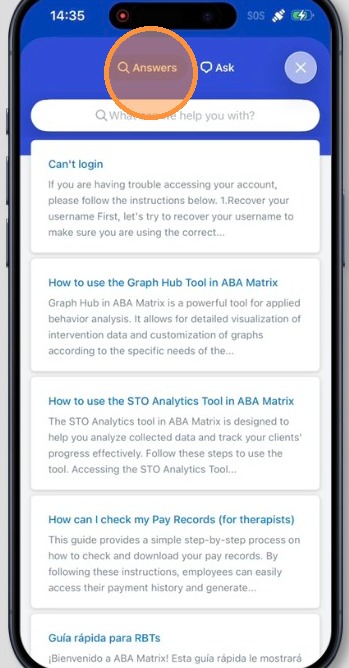
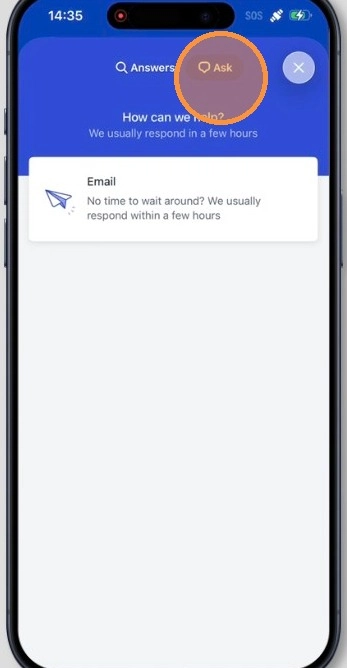
13. You can also tap on “Ask” to contact support directly. This will open a message screen where you can submit a support request (ticket). To send a request, tap on “Email”. From there, you can:
- Enter a subject
- Describe your question or issue in the message field
- Attach files or images if needed
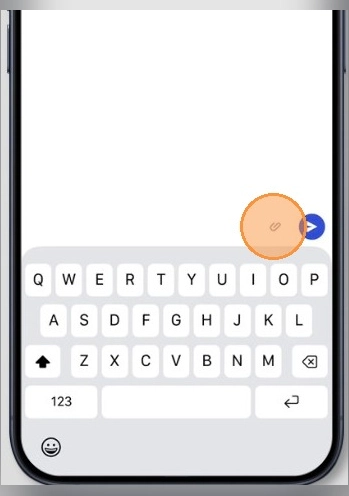
14. - You can also attach files or images if needed (such as screenshots or documents)
- Send the request directly to our support team
5.3 Change Password
15. Tap on “Change Password” to update your account password at any time.