How to manage Targets (for analysts)
This guide offers a comprehensive overview of how to effectively manage Targets within client profiles, enhancing the organization of skills and progress tracking. By utilizing Targets, clinicians can break down goals into manageable components, allowing for more personalized skill development and detailed data collection. The optional feature provides flexibility, enabling practices to choose their preferred method while benefiting from improved insights into client progress. Overall, this guide is essential for optimizing clinical experiences and outcomes.
Targets provide a more detailed way to organize replacements and skills, collect data, and graph progress, allowing for clearer tracking and more individualized skill development.
The Targets feature is completely optional. If preferred, users can continue collecting data exactly as they have been. Targets simply offer additional tools that may enhance the clinical experience in some cases, but their use is entirely up to your practice.
1. Creating targets
Replacements and skills inside a client profile can include multiple targets, each with its own baseline, status, and measures. This allows clinicians to structure a single goal into smaller, trackable components.
1. How to create replacements and skills with Targets
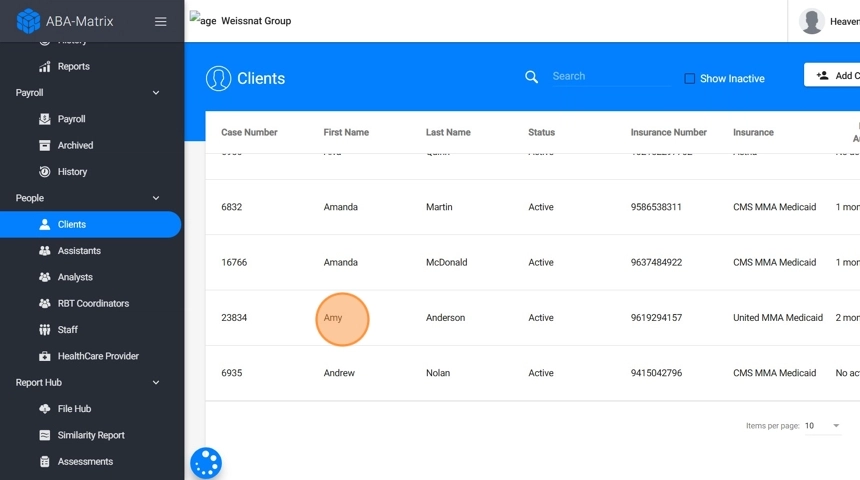
Navigate to the client’s account and go to Skills & Behaviors → Replacement Behaviors/Skills. You may:
- Create a replacement/skill from scratch, or
- Import the replacement/skill from the Library.
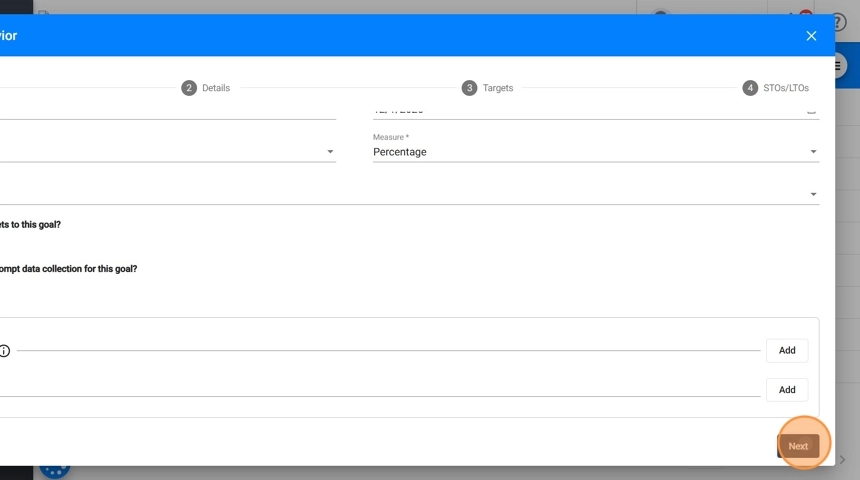
2. When adding the replacement/skill, you will complete the usual fields:
- Name, Start Date, Status, Measure Type, Objective, Definition, Barrier, Procedures, Teaching Materials, Baselines
- STOs
- Folder Selection (you can also sort behaviors, replacements and skills into folders during creation)
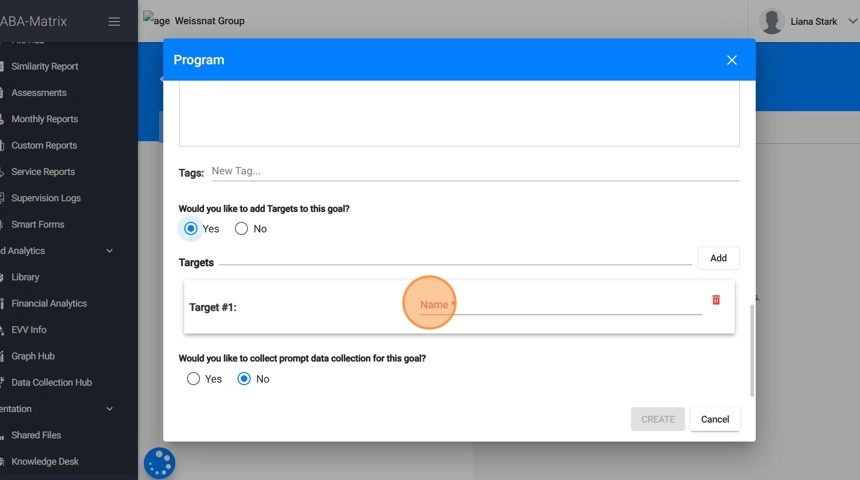
3. To enable Targets, you will see a question: “Would you like to add Targets to this goal?”
- Select Yes to activate the Target section.

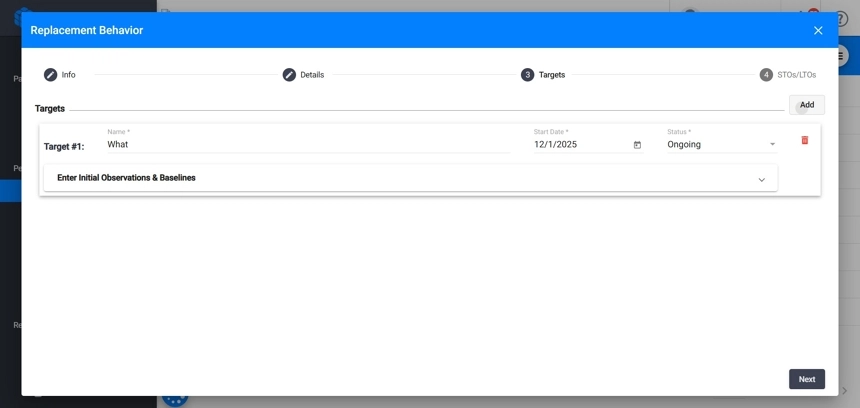
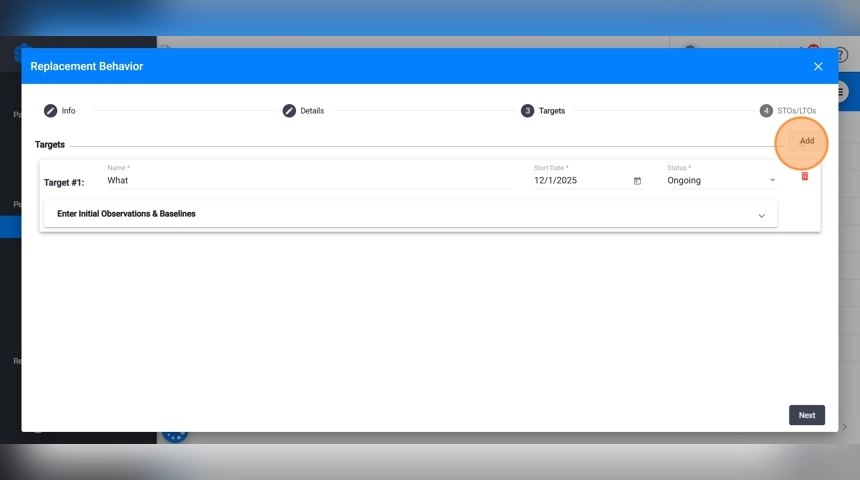
4. An area will appear where you can create individual targets for the replacement/skill.
5. For each target, you can add:
- Name
-
Start Date
Status
Enter Initial Observations & Baselines
- Initial Observations (Value & Date)
- Baselines (Value & Date)
6. You may add as many targets as needed.
2. Editing Target information
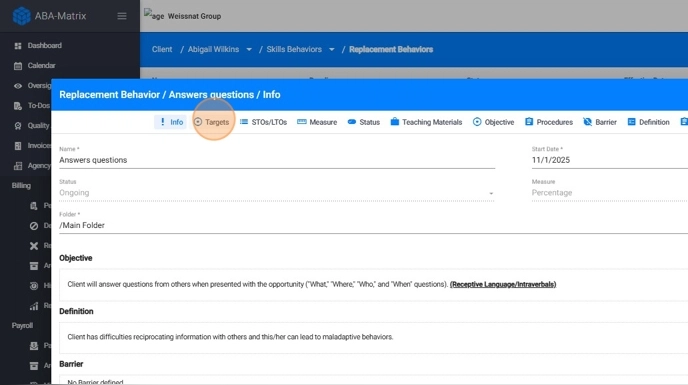
7. Once the replacement/skill is saved, you can open it at any time to modify both the program-level fields and the individual target details, just open the replacement/skill.

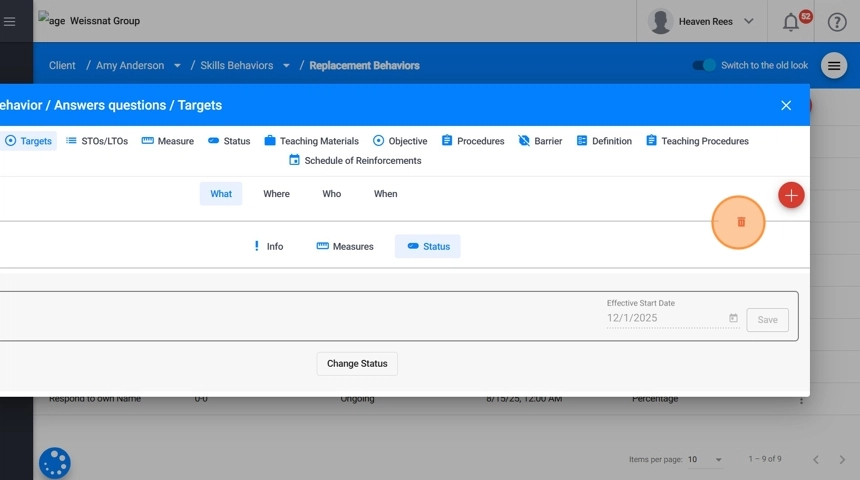
8. Select the Targets section, and you will see the list of all targets originally added.
9. For each target, you will see dedicated tabs:
- Info → Name, Start Date
- Measures → Assigned measurement details with baselines
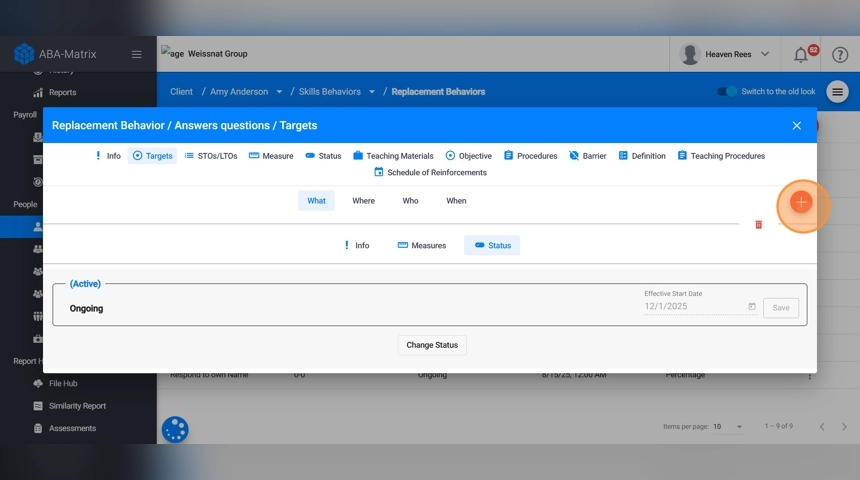
- Status → Current clinical status
All target fields can be edited individually without affecting the rest of the replacement/skill.
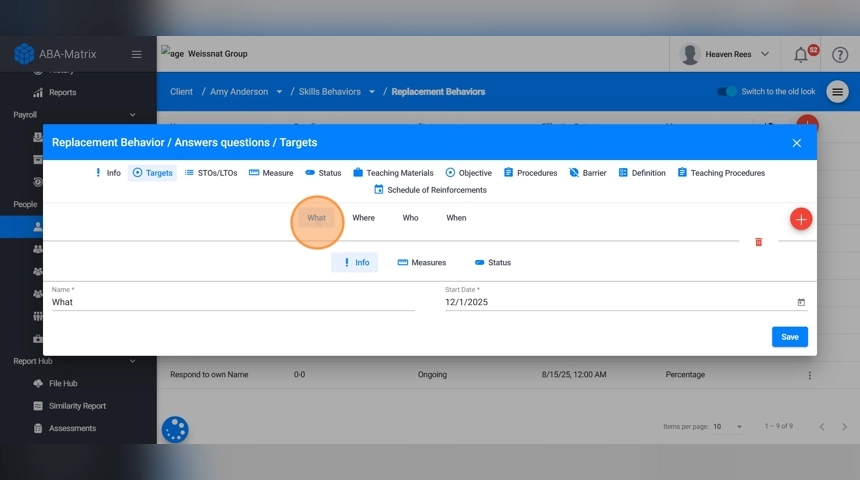
10. You can add new targets at any time by clicking the red + sign and entering the name, start date, status, and baseline.
11. You can also delete existing targets if they were added by mistake.
3. Collecting Data for Targets
12. You can collect data per target, not only at the program level. This provides a more detailed and accurate representation of client progress.
13.
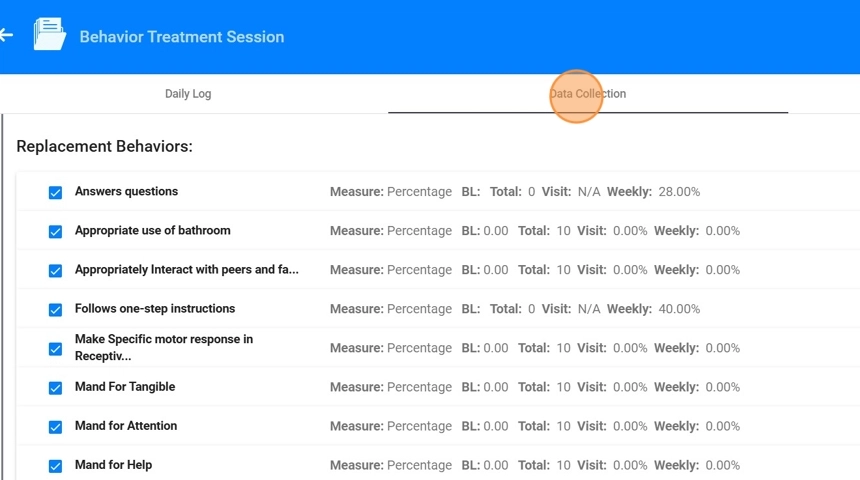
3.1. Data Collection inside the Behavior Treatment Session Note
When opening a program that contains targets, each target appears as an individual item, allowing to record data independently for each one. For every target, staff will see:
- Total Trials: e.g., 4 trials
- Visit %: Percentage for that target during the current visit
- Weekly %: Percentage aggregated across the week

14. When collecting data for a program with multiple targets, each target displays its own individual totals. This allows users to see performance at a very detailed level before it is combined into the overall program metrics.
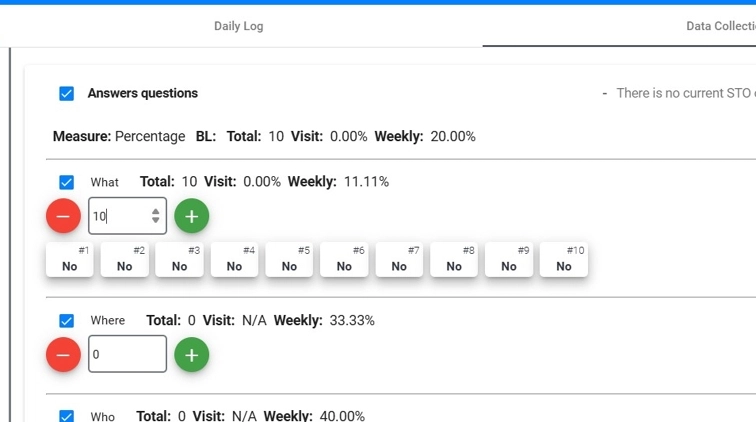
15. The system automatically aggregates the data from all targets inside the program. This means the program’s totals are not collected separately—they are calculated using all the target values combined.
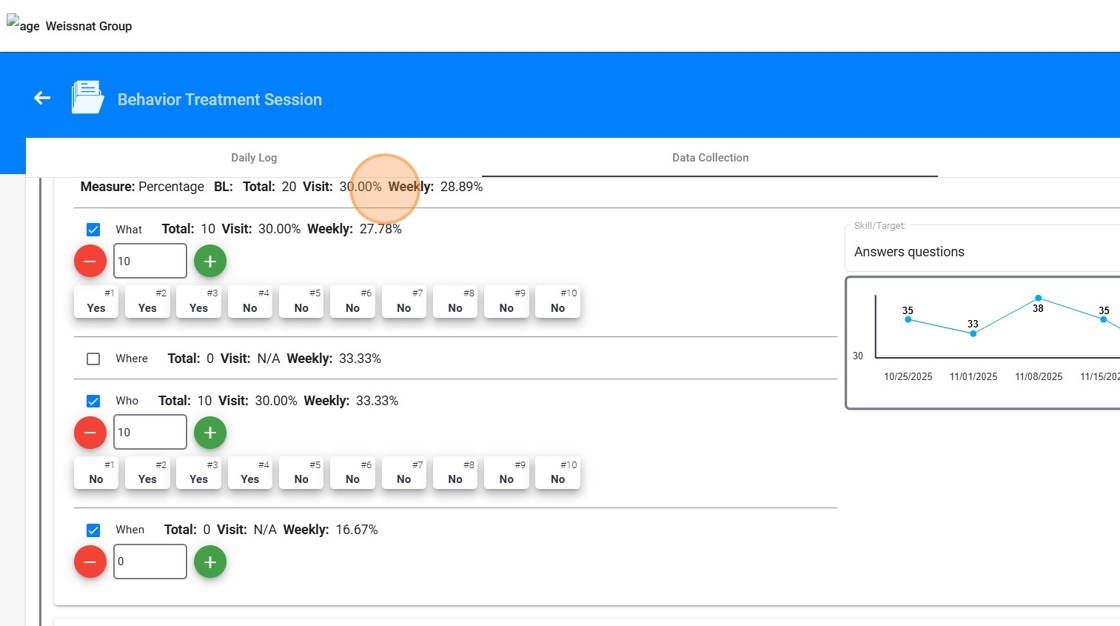
16. The live data collection graph will display the program’s graph by default, but you can switch to view a specific target graph when needed.
This provides clearer insight into which targets are improving and supports more accurate reporting and analysis.
17.
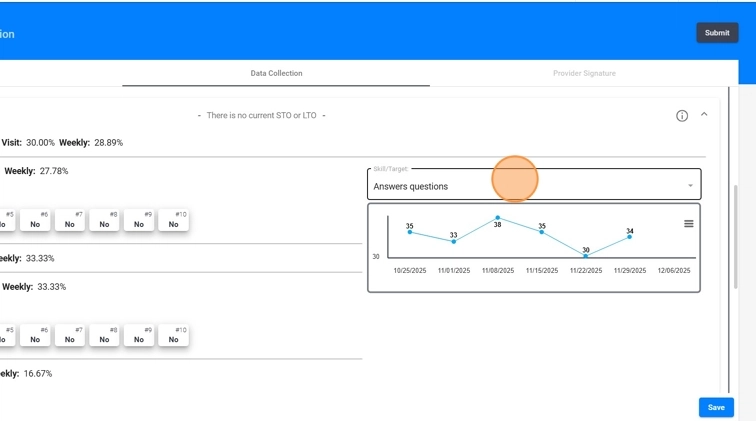
3.2. Data Collection inside Data Collection Hub
In the Data Collection Hub, you can select the client, type of data, and date range. After that, you can choose from a dropdown the behavior, replacement, or skill you want to collect data for.
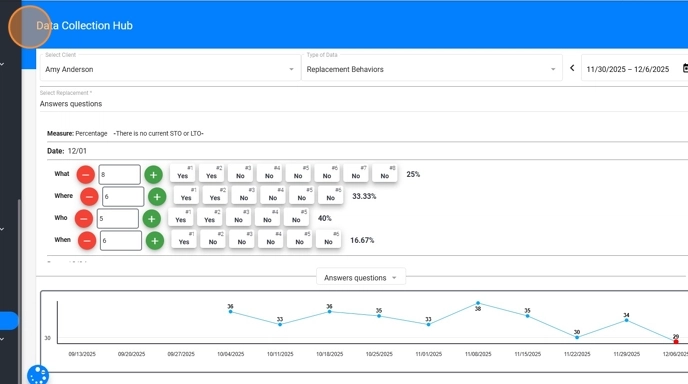
18. If the selected replacement or skill includes targets, the system will display a list of those targets for each session date, allowing you to record data individually for each target, just like in the session note.

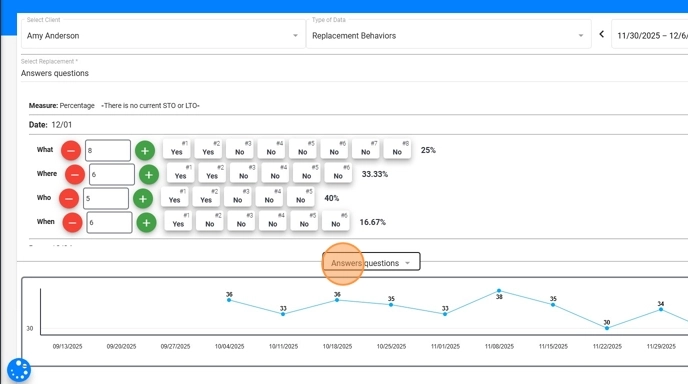
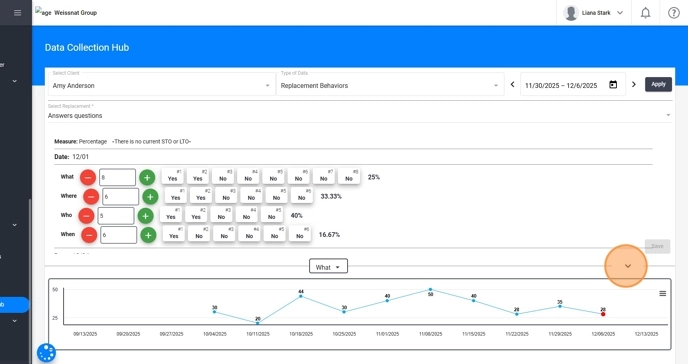
19. The live data collection graph will show the program-level graph by default, but you can switch to view a specific target’s graph whenever needed.
20. You can also hide the graph to give yourself more screen space for reviewing session dates and entering data.
21. These enhancements make the Data Collection Hub more flexible and efficient, giving you a clear visual understanding of both program-level and target-level progress while collecting data across multiple sessions.

4. Graphing Target performance
22. When you open Graph Hub, you can generate graphs for any client and replacement/skill using the new target-based graphing features.
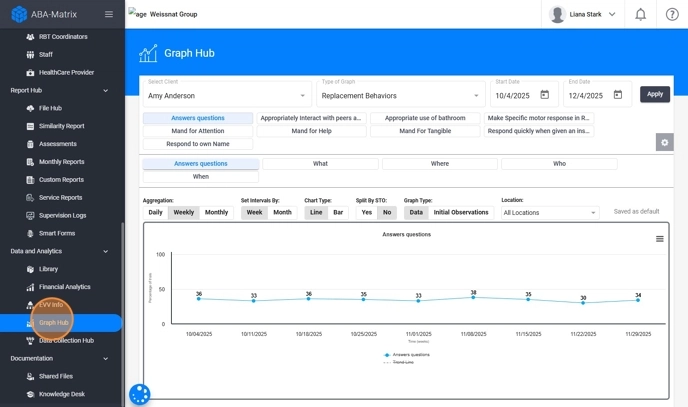
23. Program-Level and Target-Level Graphs
When you select a replacement/skill that contains targets, the system displays:
- The entire replacement/skill performance
- A combined graph showing overall progress across all targets in the replacement/skill.
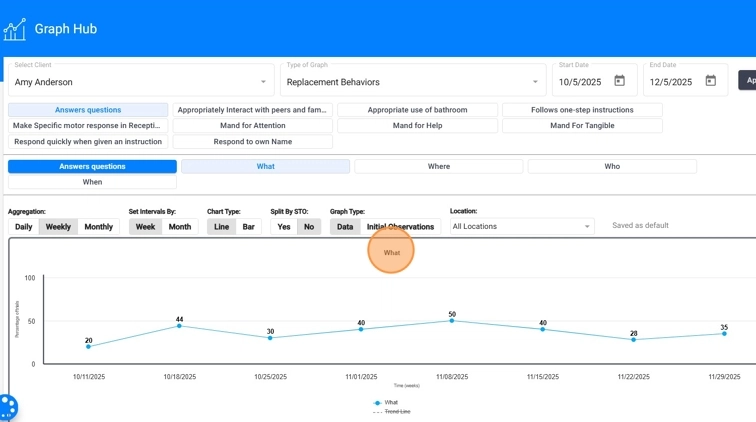
- Individual Target Graphs
- Separate graphs for each target, allowing clinicians to analyze learning progress at a much more granular level.

24. This makes it easy to identify which targets are improving and which may require intervention.

25. Users can also customize the Individual Target graph using the same settings:
- Aggregation Options: Choose whether data is grouped daily, weekly, or monthly.
-
Interval Settings: Select the interval in which progress is displayed—per day, per week, or per month.
Chart Type: Choose the visual format that best fits your analysis: line graph or bar graph.
Graph Type:
- Data to display the target's baselines and ongoing data collection, or
-
Initial Observations to display all initial observation points assigned to the target.
Location Filter: Display data from
- All locations or
- A specific location, such as Home, School, or Clinic.
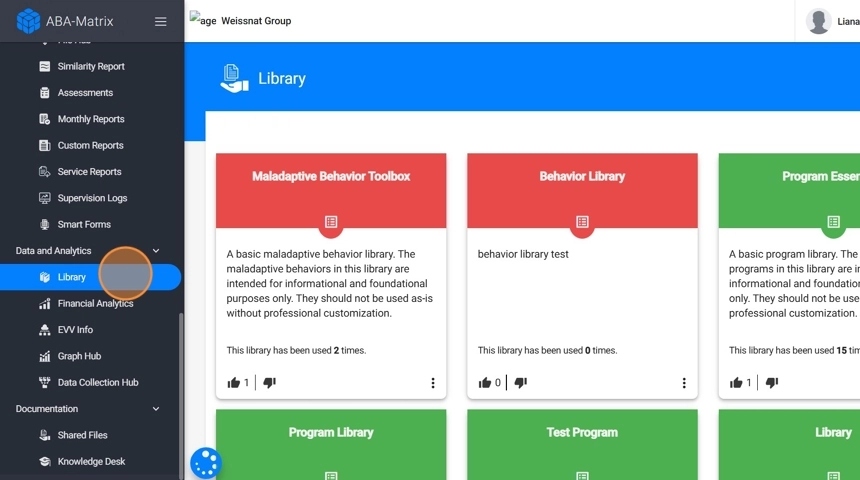
5. Using Targets in the Library
26. You can create and manage Replacements and Skills with Targets in the Library. This allows for standardized templates that can be quickly reused, ensuring consistency across clients and clinicians.
27. To get started, open your Library (or create a new one). From there, you can create a new replacement or skill, or edit an existing template, using the standard fields such as Name, Measure/Measurement Type, Definition, Barrier, Procedures, Teaching Materials, Objective, and Tags.
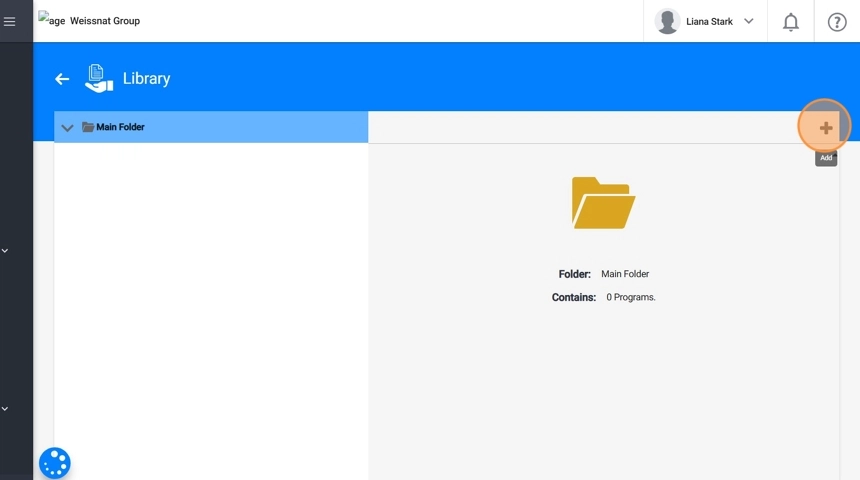
28. Just like in client profiles, you can also add targets while building a Library. You will see the question: “Would you like to add Targets to this goal?” Select Yes to enable the target section.

29. You can add as many targets as needed, creating a complete template that can be exported to clients and used consistently across cases.