How to Manage Sessions in the Mobile App
This guide shows how to quickly create, find, edit, cancel, delete, or add related sessions in the mobile app and explains the session card’s key info so you always know status, time, client, and signature details. It highlights Offline Ready functionality so you can confidently collect data and signatures without internet, which then sync automatically when back online. Use it to streamline scheduling and ensure accurate, client-linked documentation.
Scheduling a Session
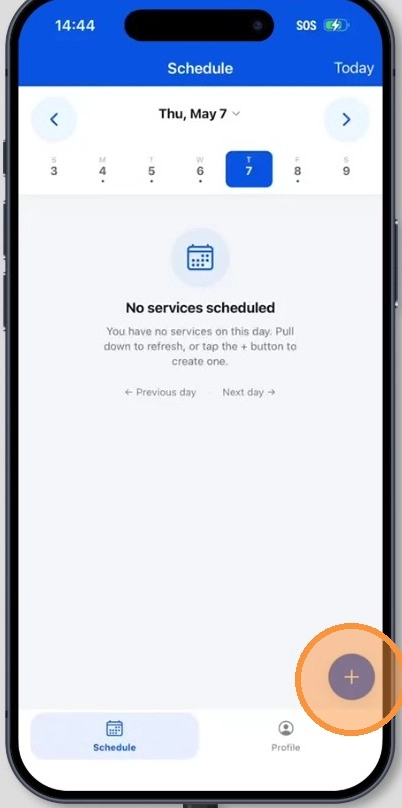
1. Once you access the app, to create a new session:
- Tap the + button located in the bottom-right corner of the Schedule screen.
- Then, select Behavior Treatment to open the visit creation workflow.
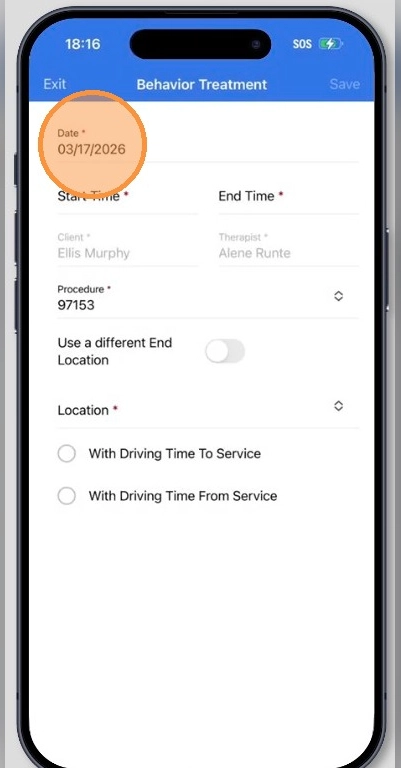
2. You will be prompted to enter the details needed to create the visit:
- Session date
- Start time
- End time
- Client (if you only have one client assigned, it will be selected by default)
- Location
These details determine how the visit will appear on your Schedule screen and ensure that all documentation is correctly associated with the appropriate client, service, and time.
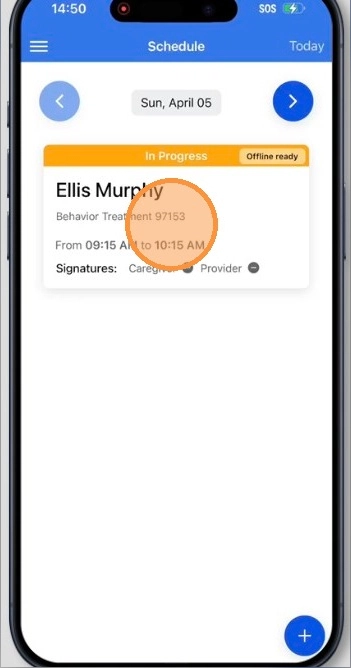
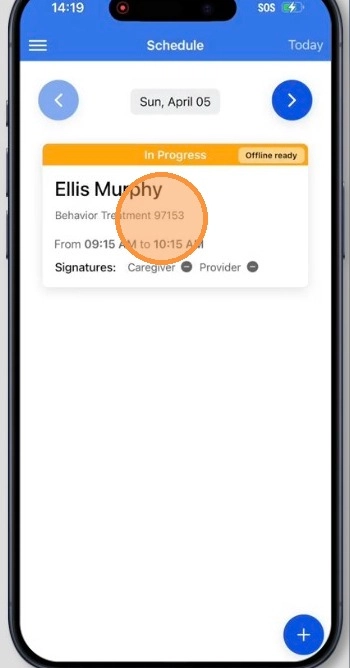
Understanding the Session Card
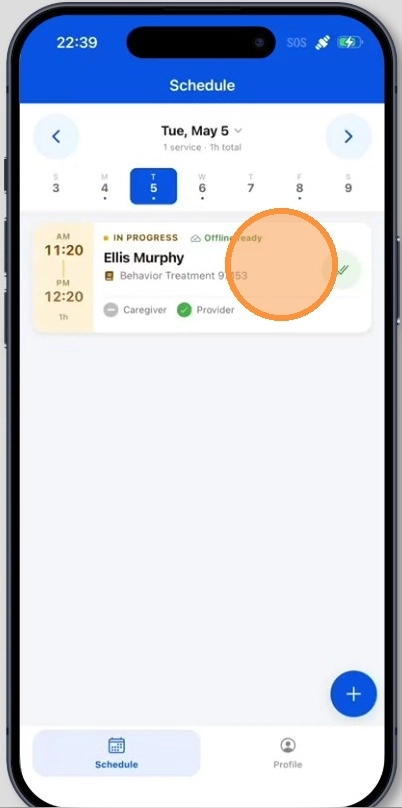
3. Once scheduled, each visit appears as a session card. These session cards are designed to give you a quick overview of the most important session details:
- Session status (like In progress, Completed)
- Client name
- Service type and code
- Session time
- Signature status for caregiver and provider
- Offline Ready tag

The Offline Ready tag is especially important because it tells the provider that the session is available for use even if the device loses internet connection. All information entered while offline is stored securely on the device first. Once internet connection becomes available again, that information will sync back to ABA Matrix automatically.
When a session is marked Offline Ready, users can still complete core session tasks, including:
- collecting data for behaviors or skills
- capturing caregiver signatures
- capturing provider signatures
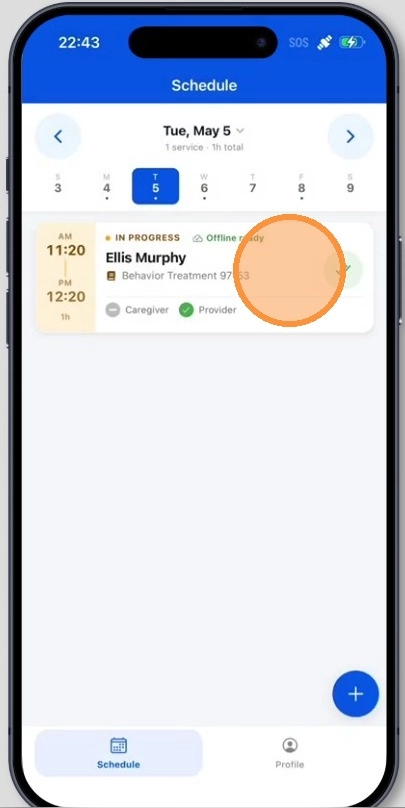
Finding a Session
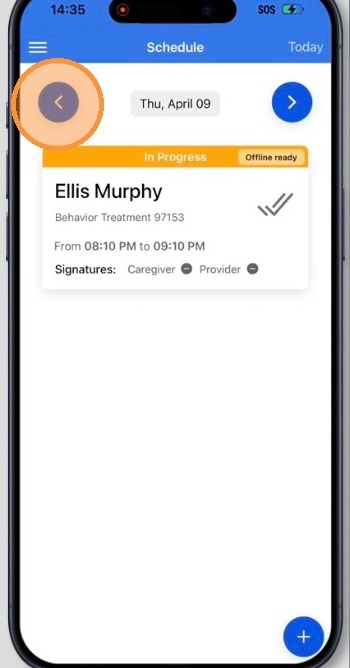
4. To find a specific session, use the options at the top of the screen to navigate between dates:
- Tap the left arrow to view sessions from previous dates
- Tap the right arrow to view upcoming sessions
- Tap the date displayed in the center to open the calendar and select a specific date
- Tap Today to quickly return to the current day’s schedule
Editing a Session
5. To edit session details:
- Tap the session card
- Select Edit from the Session Tools menu
- From there, update the visit information as needed, such as date, time, and location
- Be sure to save your changes once you are done
Canceling a Session
6. To cancel a session:
- Tap the session card
- Select Cancel from the Session Tools menu
- Confirm the cancellation
- Enter the cancellation reason
- Tap Save
Deleting a Session
7. To delete a session:
- Tap the session card
- Select Delete from the Session Tools menu
- Confirm
Adding a Related Session
This option is only available if enabled by the agency.
8. To add a related session:
- Tap the session card
- Select Related Session from the Session Tools menu
- Enter the information for the related visit as needed:
- Start and end time
- Location
- Tap Save