How to manage incident reports and sign discharge forms (for therapists)
This guide on Smart Forms offers a comprehensive overview of a powerful documentation tool that enhances reporting efficiency within ABA Matrix. Using the Smart Forms you will be able to create Incident Reports with just a few clicks.
1. Smart Forms are a documentation feature designed to simplify and standardize reporting within ABA Matrix. Unlike static documents, Smart Forms are:
- Dynamic: Information is automatically pulled from the client’s profile and updated in real-time (e.g., demographics, insurance, diagnosis codes, medications).
- Flexible: Each agency can decide what forms to enable, who can create them, and who must sign them.
- Interactive: Staff and administration members can complete required sections, add notes, and even insert graphs or tables using a built-in text editor.
- Compliant: Electronic signatures from multiple parties (caregivers, analysts, administration members) can be collected directly within the system, avoiding the need for external tools.
Currently, you can work with two types of Smart Forms:
- Discharge Form – Used to document a client’s termination or transition of services. By default, these can only be created by administration accounts and must be signed by the assigned analyst.
- Incident Report – Used to record and track incidents that occur during service delivery. By default, anyone in the agency can create this type of report.
Accessing and Navigating Smart Forms
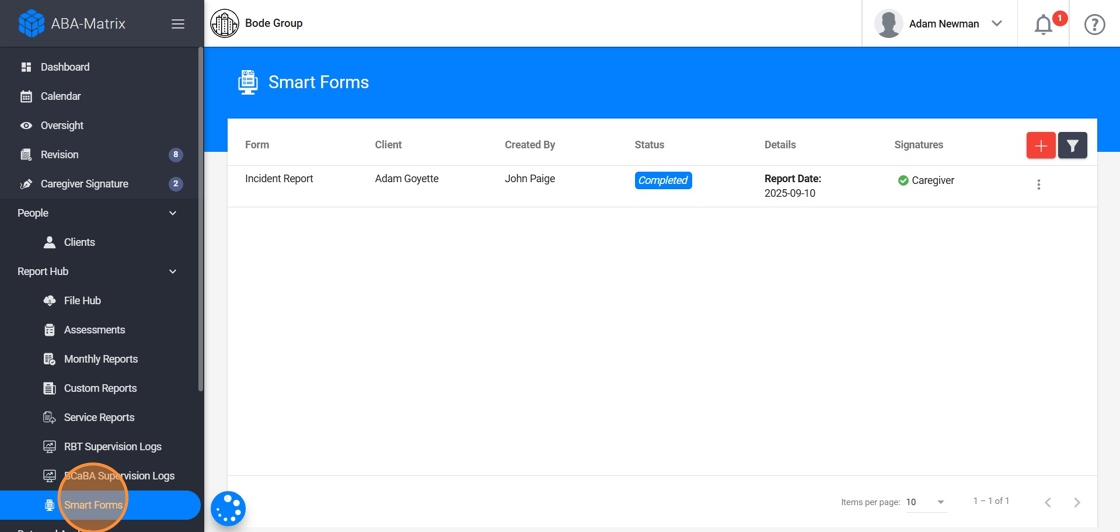
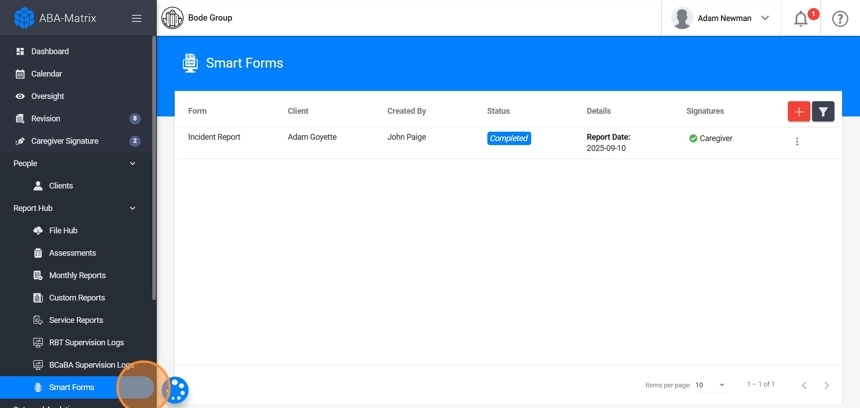
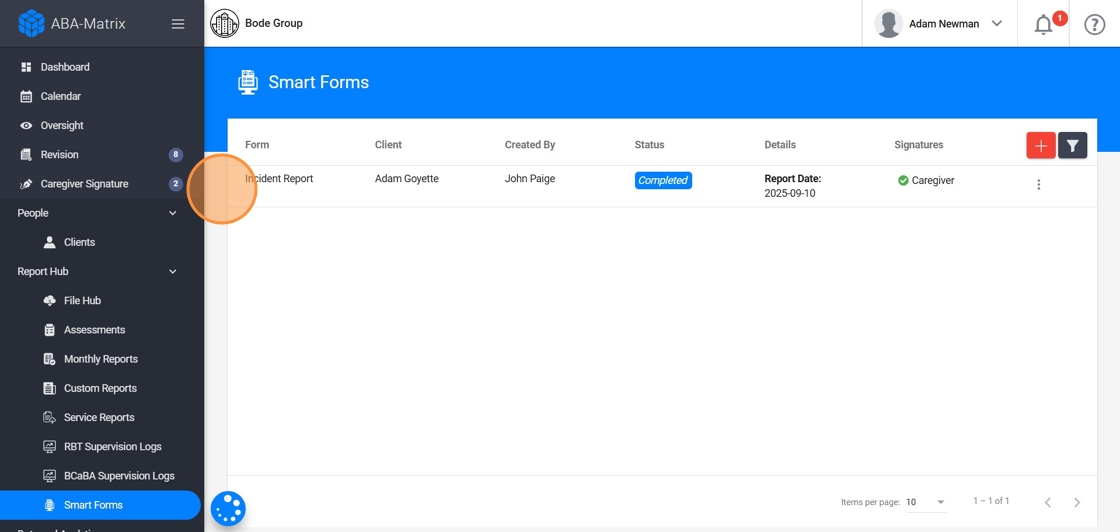
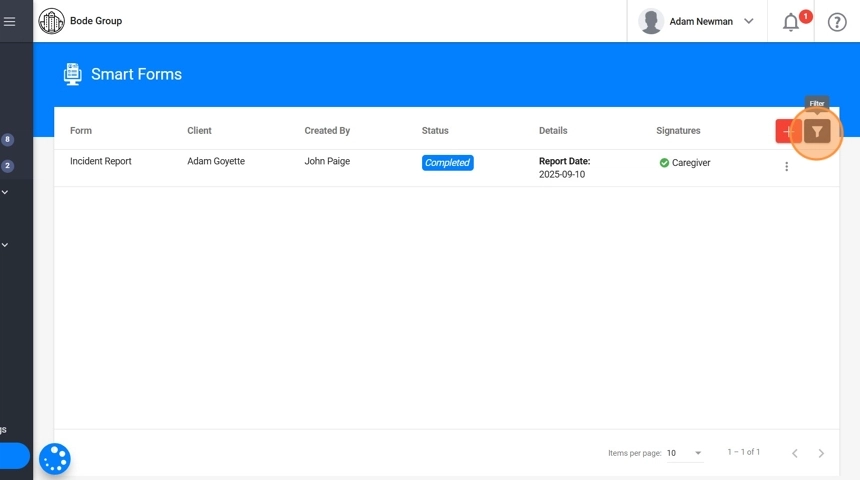
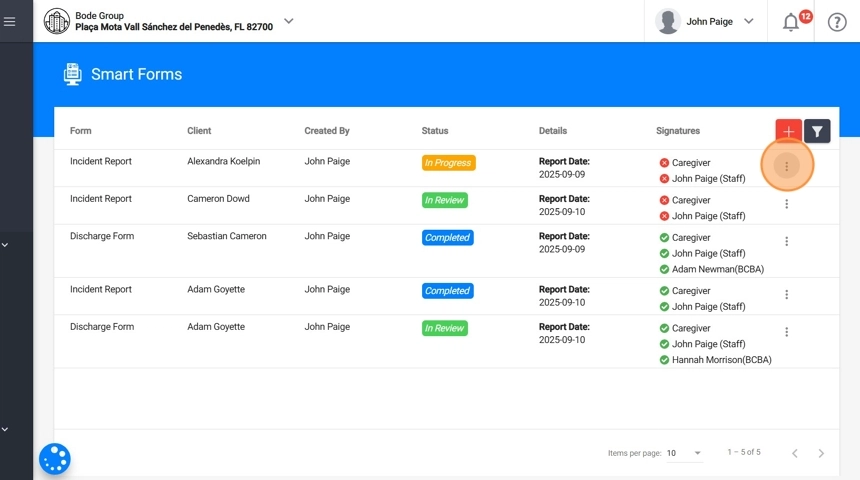
2. Go to the Smart Forms section in the main system menu.
Here you will see a list of all the reports you have created. This list provides an overview of their status, so you don’t need to open each report individually.
3. In this section, you will see:
- Type of Form: Depends on the reports you are allowed to create. By default, you can only create Incident Reports.
-
Client: which client the report belongs to.
Created By: who created the form.
Status: where the report is in the workflow.
- In Progress: You have created the report, and it is still being filled out. You can edit content, add sections, and make changes. Signatures are not yet requested.
- In Review: You have submitted the report, and required signatures are pending.
-
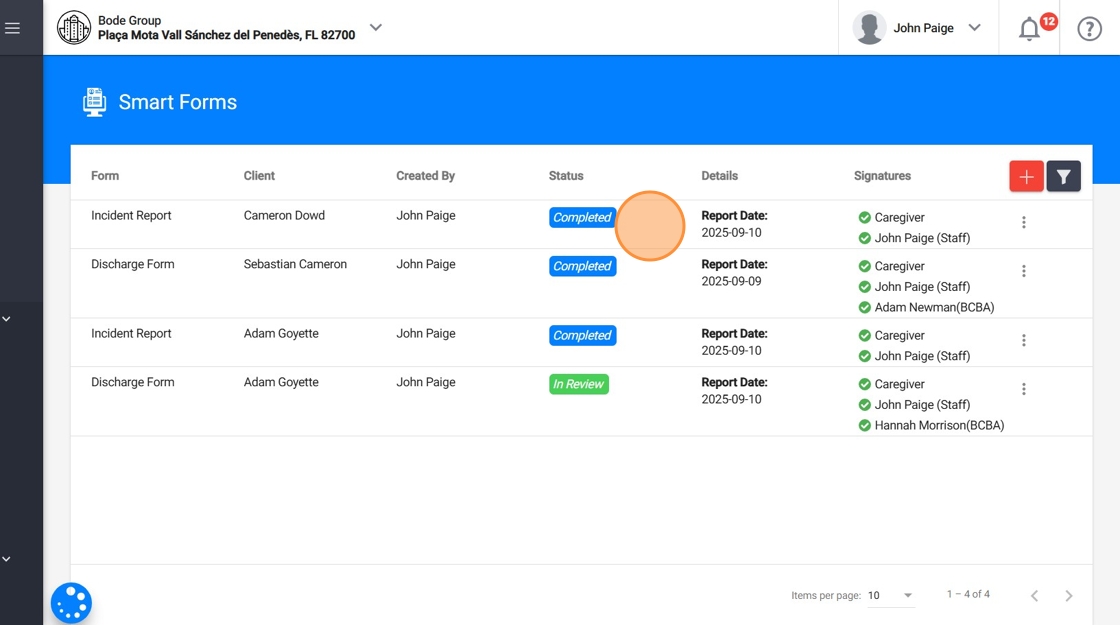
Completed: All required signatures have been collected. At this point, you can download, share, or archive the report.
Details (Report Date): the date of the report.
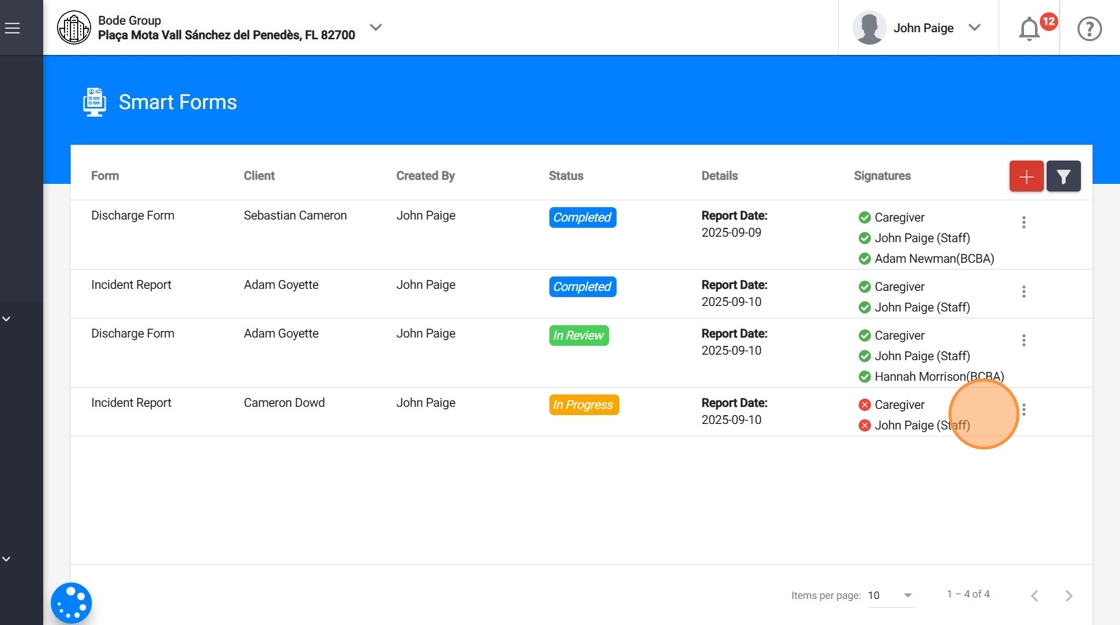
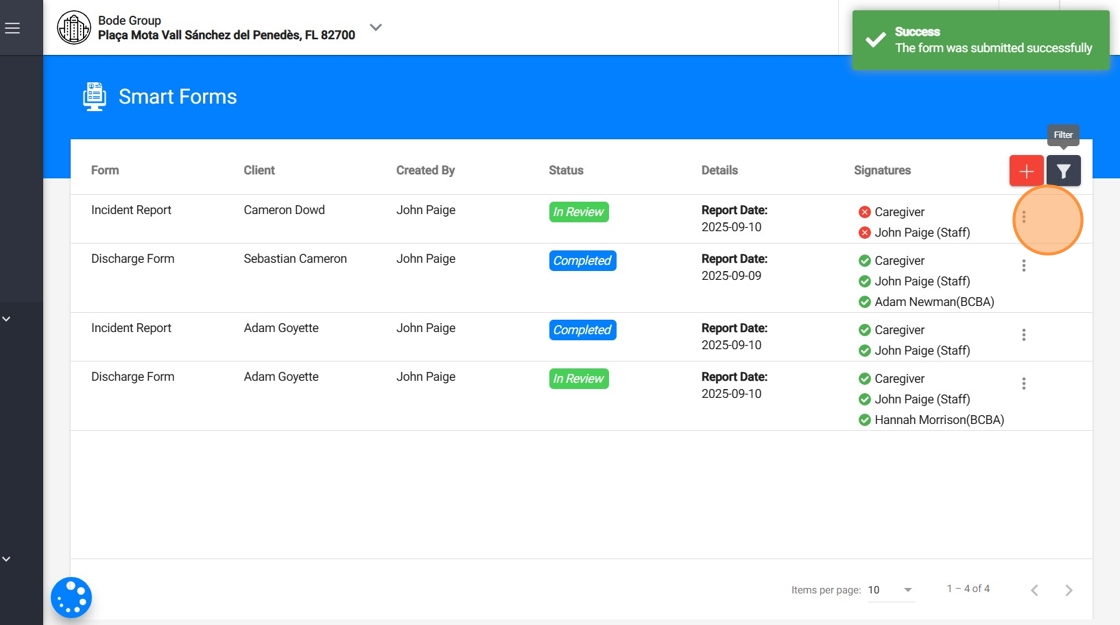
Signatures: live status of required signatures.
- Green checkmark (✔) means the report has been signed.
- Red X (✘) means a signature is still pending.
4. You can filter the reports:
- By Client: to display reports for a specific client.
- By Status: to identify which reports need your attention, such as “In Progress” or “Reviewing.”
1. Creating an Incident report
Incident Reports allow you to document unexpected events that occur during service delivery. These reports help your agency maintain transparency, comply with legal requirements, and prevent future occurrences.
Unlike Discharge Forms, Incident Reports can be created by any worker in the agency by default (RBTs, analysts, or administration members). The author of the report is the person the incident happened to or with.
By default, the required signatures are:
- The author of the report (the person who created it).
- The caregiver.
5. To create an incident report:
- Go to Smart Forms → Add New Form.
- Select Incident Report.
- Choose the Client
- Enter the Report Date.
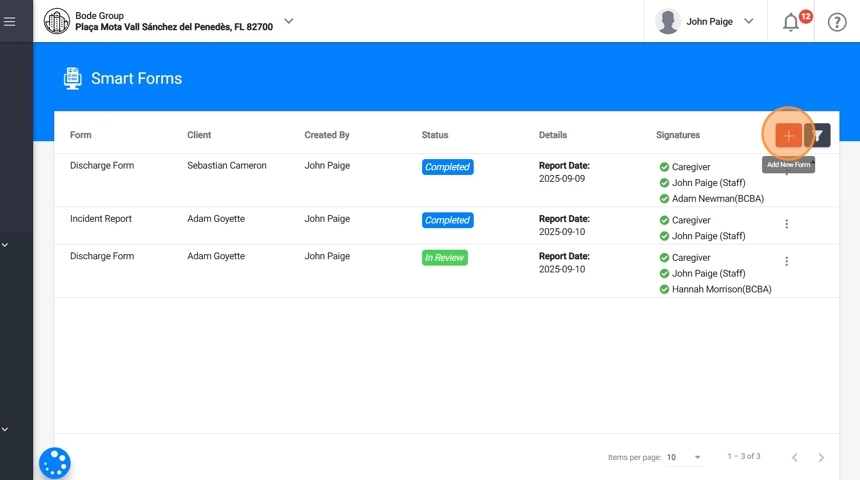
6. - Save the form. After saving, the report will be created with status In Progress.
Editing the report
7. When you open an Incident Report, you will see the Smart Index on the left-hand side with all sections included. By clicking a section, you can jump directly to that part of the report without scrolling.
On the right-hand side, you will see the content of the selected section. To make changes, click Edit Section. The sections you work with can be:
- Auto-Populated: These pull information directly from the client’s profile (e.g., demographics).
- Functional: These are structured templates where you fill in details (e.g., description of incident).
- Custom Sections: These are sections you create yourself to add additional content.
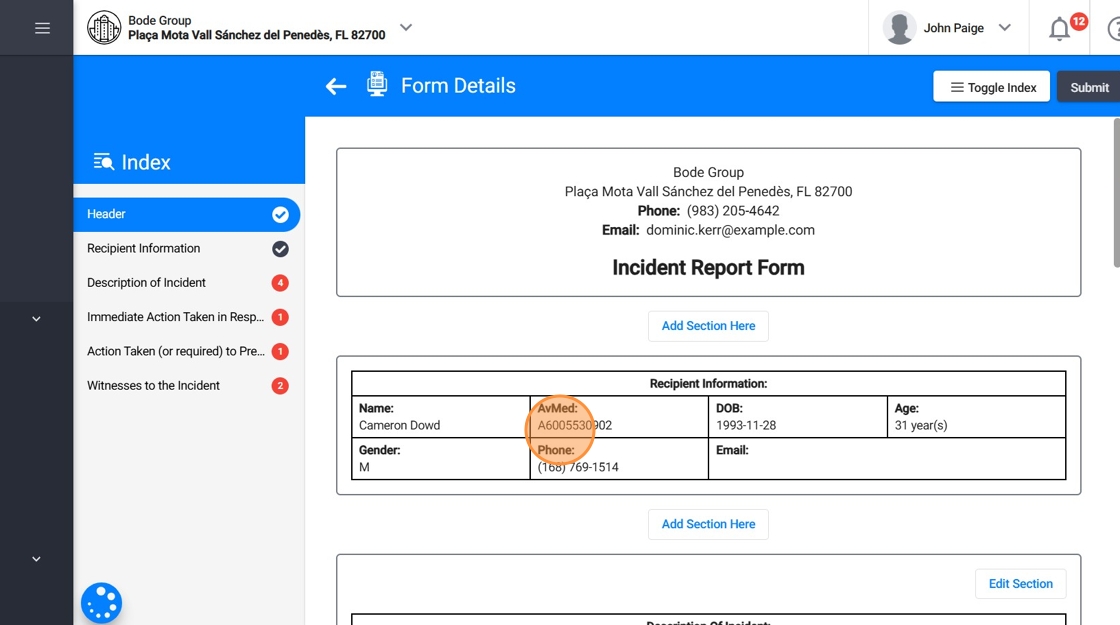
8. Recipient Information:
This section is auto-populated directly from the client’s profile. It displays the client’s demographic and contact details, including name, insurance and insurance number, date of birth with automatically calculated age, gender, phone number, and email.
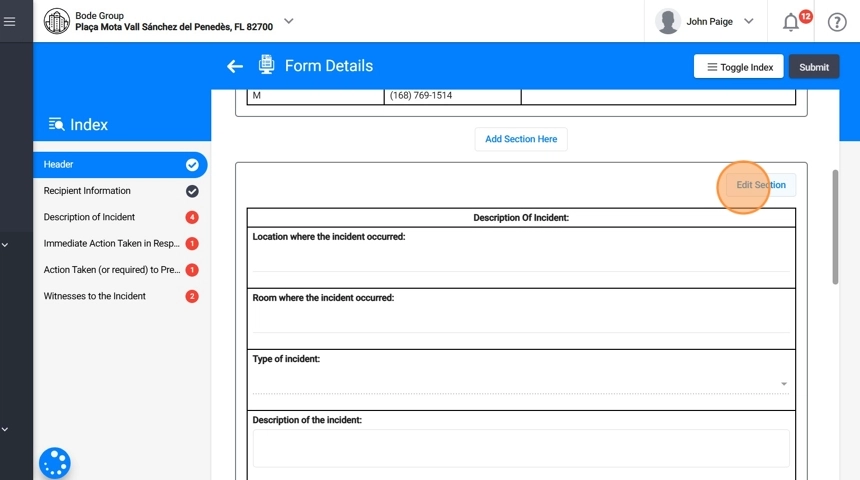
9. Description of Incident
In this section, you will provide the details of the incident.
-
Location where the incident occurred: Select from a dropdown list of the client’s addresses.
Room where the incident occurred: Enter the specific room or area.
Type of incident:
- Injury
- Behavioral Incident
- Property Damage
- Other (if selected, you must type the description).
- Description of the incident: Write a detailed explanation of what happened.
10. Immediate Action Taken in Response to the Incident
This section covers the steps taken immediately after the incident occurred. Examples include applying first aid, escorting the client out of the room, calling a supervisor, or contacting the caregiver.
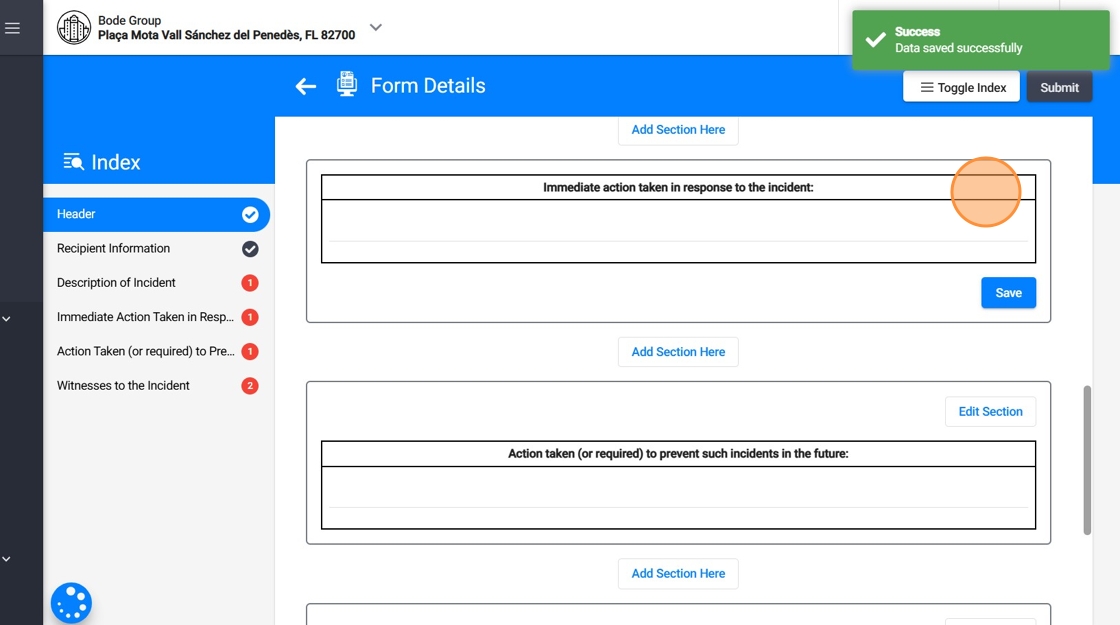
11. Action Taken (or Required) to Prevent Such Incidents in the Future
This section focuses on the preventive strategies or follow-up actions needed to reduce the risk of similar incidents.
Examples include environmental modifications, new safety procedures, staff training, or caregiver communication.
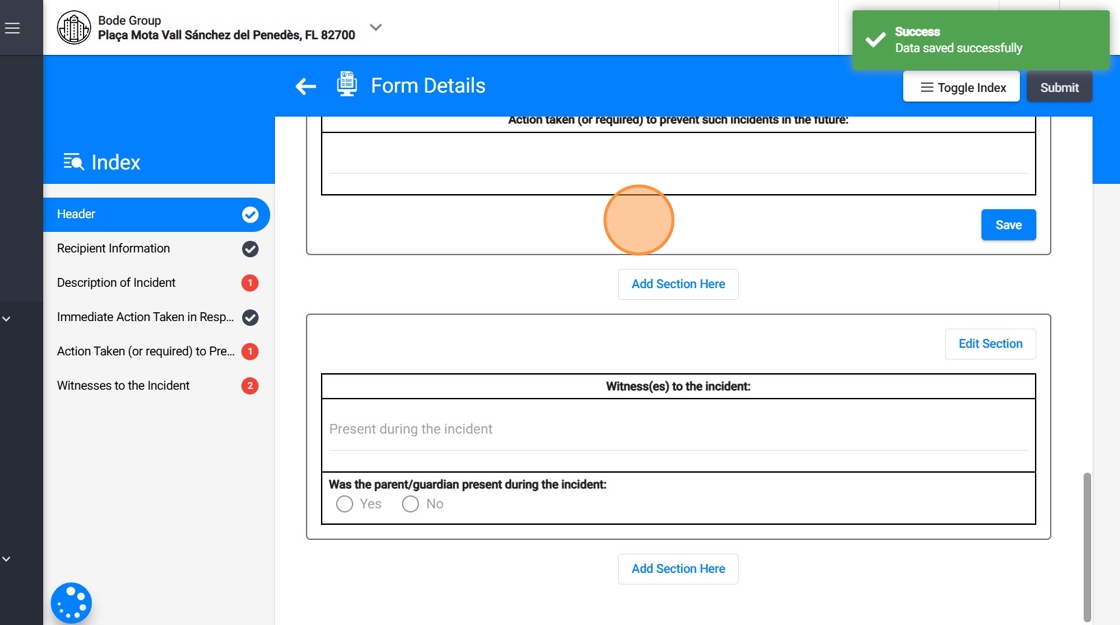
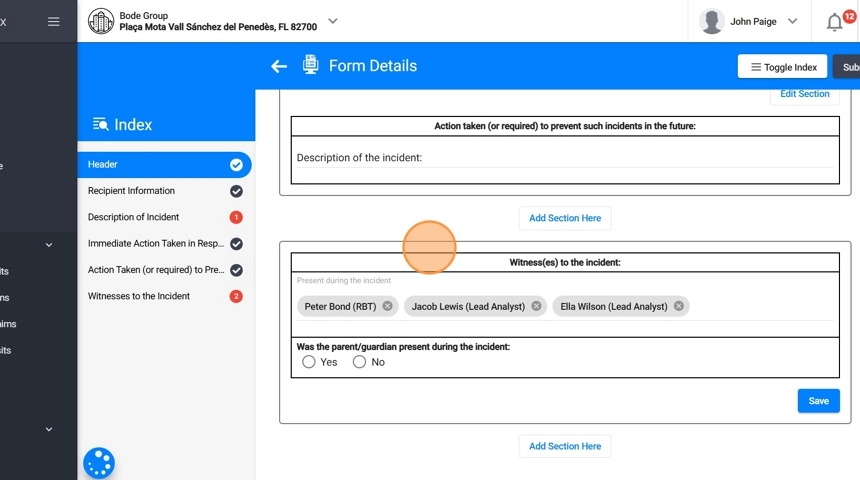
12. Witness(es) to the Incident
Here, you will record who was present during the incident and parent/guardian involvement.
- Present during the incident – Select from a list of therapists assigned to the case.
-
Was the parent/guardian present during the incident? – Select Yes or No.
Was the parent/guardian contacted? – Select Yes or No.
Parent/guardian contact details
- Date of contact
- Time of contact
- Method of contact (e.g., phone, email, in person).
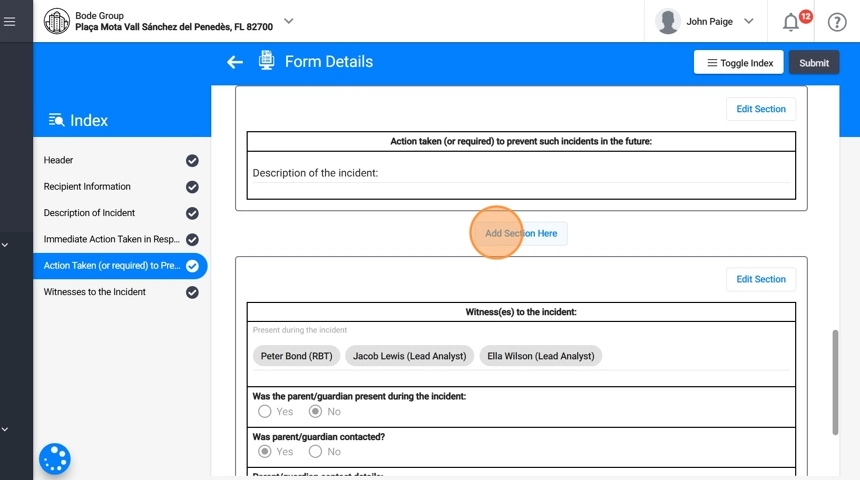
13. How you use Custom sections:
- Add a Section: Click “Add Section Here” to create a new section, then give it a header (for example, Caregiver Notes or Progress Graphs).
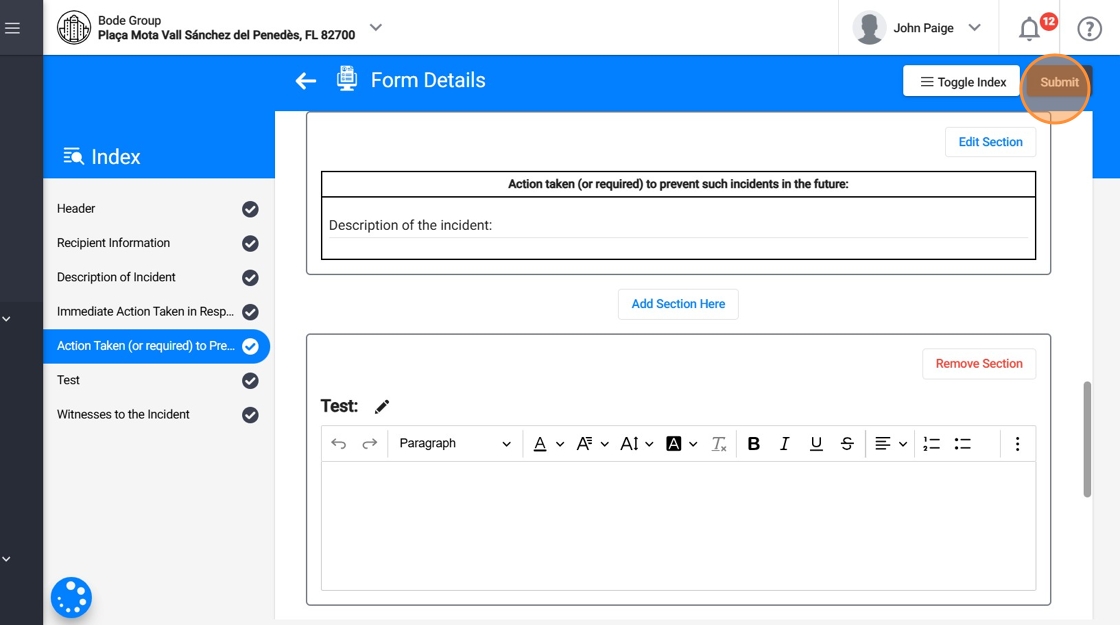
- Customize Content: Type directly into the rich text editor, you can paste content from other documents, insert tables, graphs, charts, or lists.
- Remove: Delete sections if they are no longer needed.
14. When you finish entering the required information, click Submit.
Collecting Signatures
15. After you submit the report, its status changes from In Progress to Reviewing. At this stage, you must collect the required signatures.
16. Collecting Signatures – Caregivers:
Caregivers can sign in two ways:
- From the Caregiver Portal
- Caregivers can log in to their portal and see the reports that require their signature.
-
They can open the report and sign it. They can also download the report directly from their portal if needed.
From Smart Forms (collected through a staff account)
- When the caregiver is present, an administration member can open the report in Smart Forms from their own account.
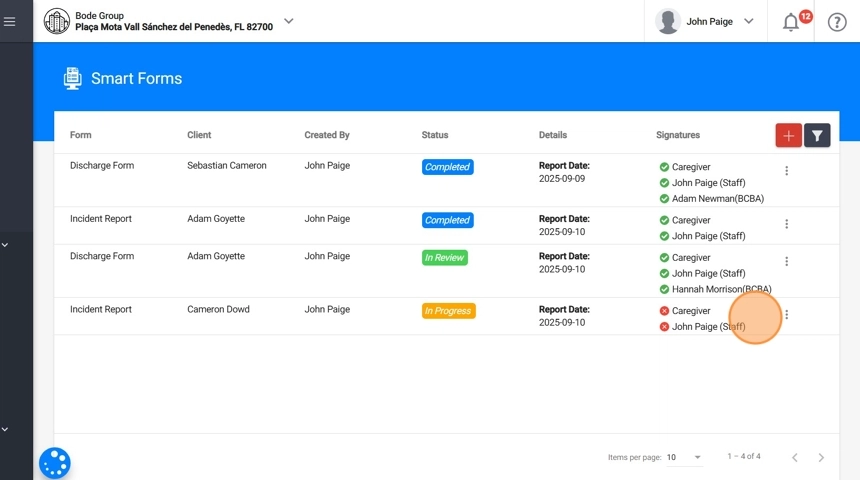
- Click the three-dot menu on the right side of the report and select Collect Caregiver Signature.
- Select the caregiver’s name and date, then have the caregiver sign on the spot.
Once completed, the Signatures section updates immediately to show the caregiver’s signature.

17. Collecting Signatures – Authors (RBTs, Analysts, or Staff)
- From Smart Forms, the author of the report can sign directly.
- Click the three-dot menu on the right side of the report and select Sign form:[Your Name].
- Once signed, the Signatures section updates immediately.
18. Once all required signatures are collected, the report will move to Completed status. At this point, you can download it for further use.
2. How to Sign a Discharge Form
Discharge Forms are used to officially document when a client leaves the agency, whether because they have met their goals, funding has ended, or they are moving to another program. This documentation ensures continuity of care, compliance, and clarity for both caregivers and payers.
Default Creation Rules:
By default, only Administration Members can create Discharge Forms, since service termination and transitions require higher-level authority.
Default Signature Requirements:
- At least one Lead Analyst
- At least one Administration Member
- The Caregiver
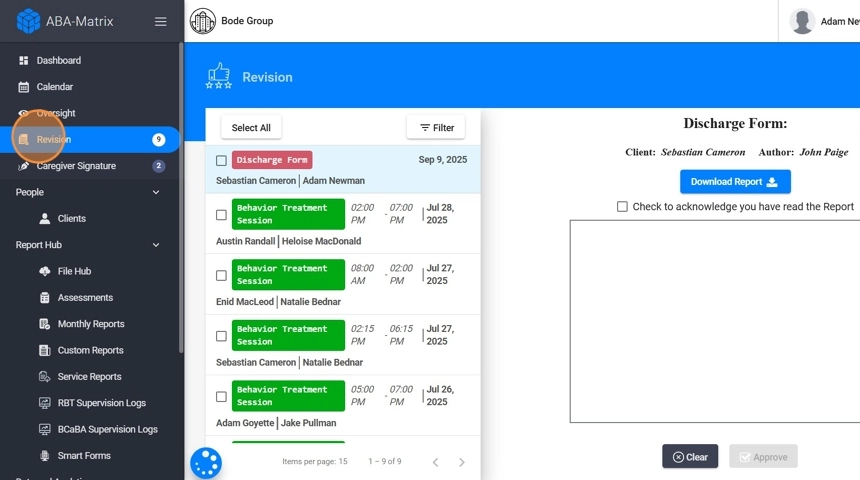
19. Collecting Signatures – Analysts:
- From Revision
- Analysts can log in to their account and go to Revision to see the reports that require their signature.
- They open the report and sign it.
- They can also download the report directly from their account if needed.