How to add a client’s first insurance and how to activate the account (when created without insurance)
This guide walks you through the process of adding a client’s first insurance and activating their account when initially created without insurance. Accurate setup is essential for seamless scheduling, therapist assignments, and service delivery. By following these step-by-step instructions, you can ensure a smooth onboarding experience and improve operational efficiency within your agency.
Adding an insurance to an already existing Client for the first time
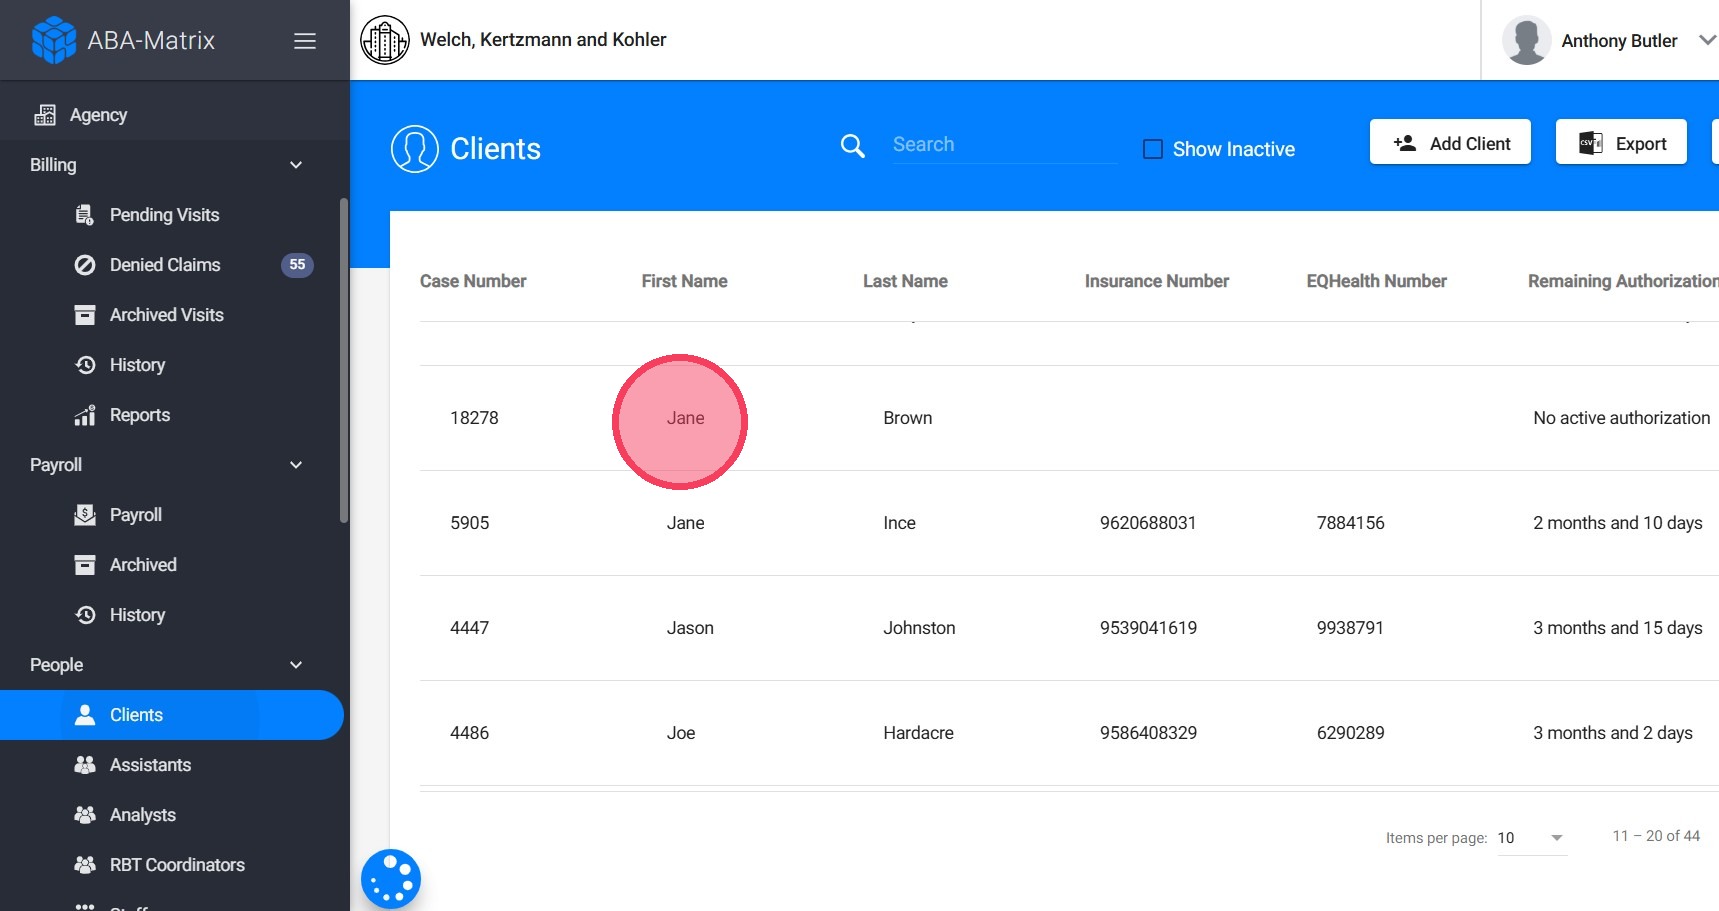
1. Navigate to the "Clients" section and select the desired client
2. Open the Insurance Tab
Within the client’s profile, navigate to the "Insurance" section. This tab contains any existing insurance details linked to the client
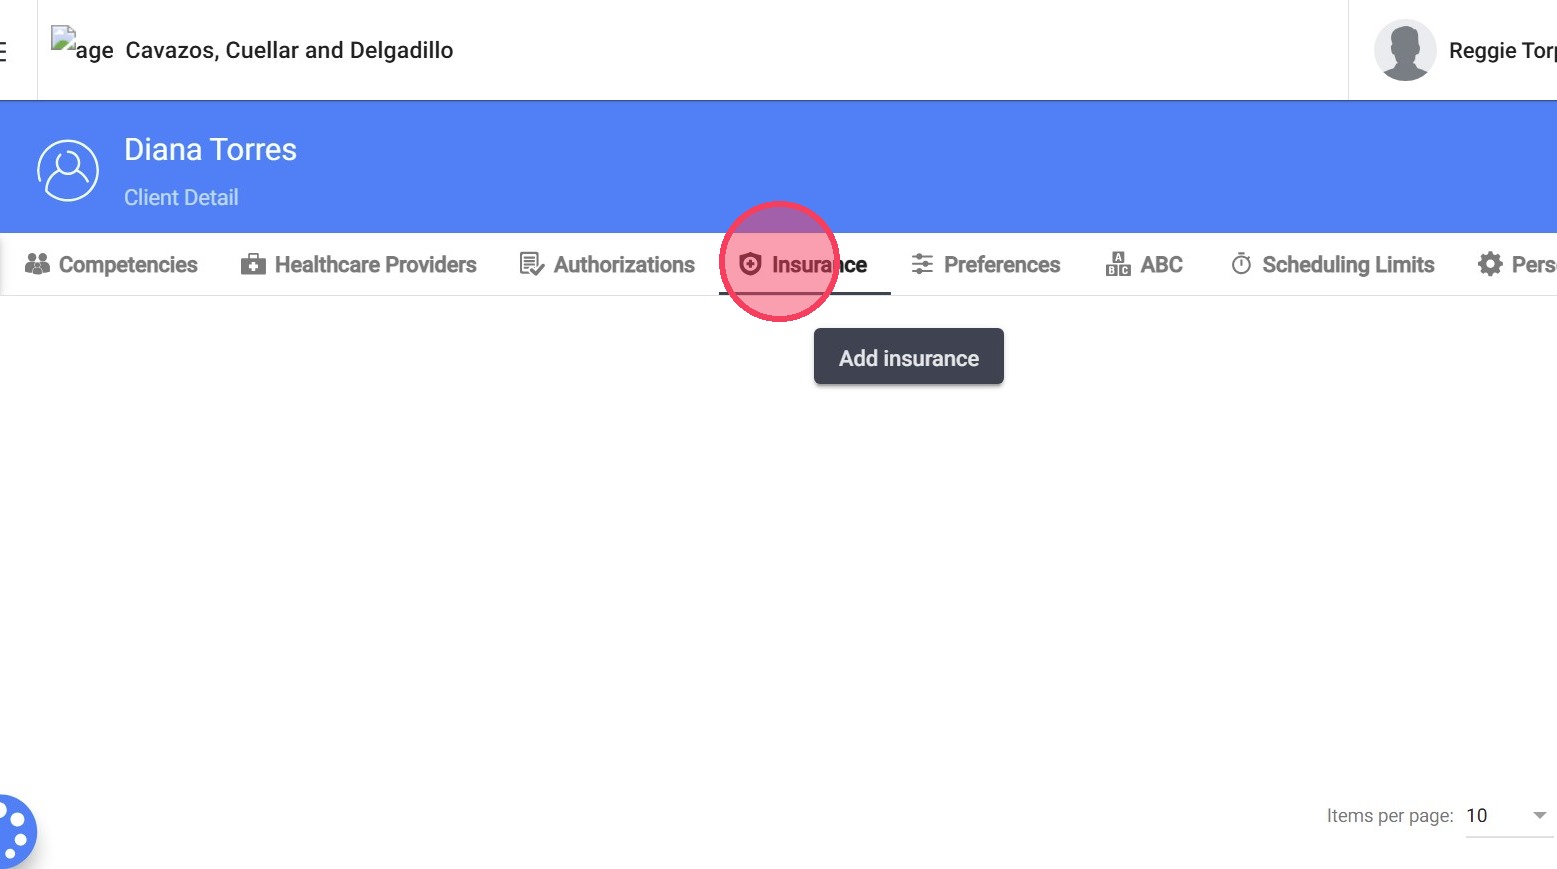
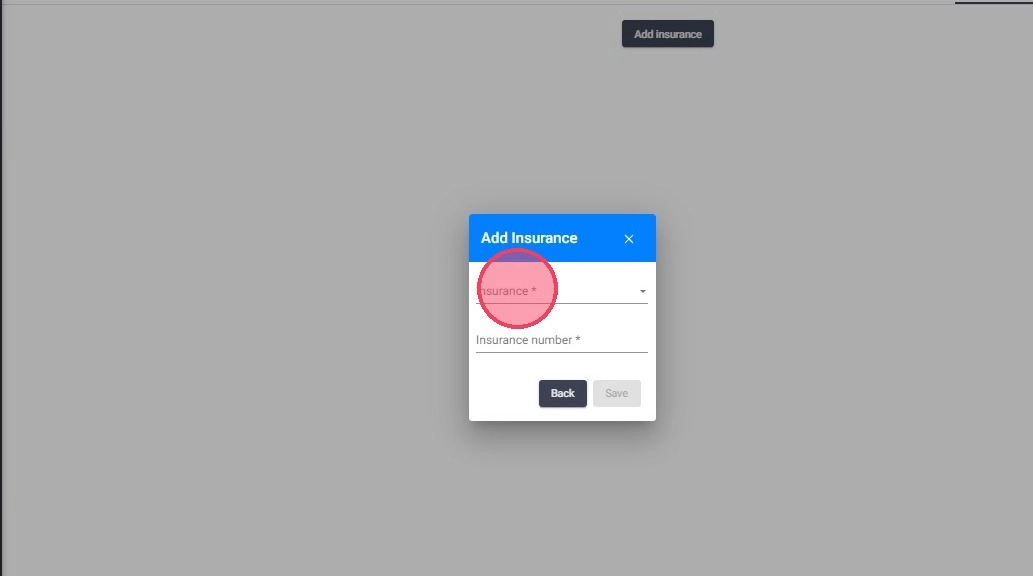
3. Click "Add insurance"
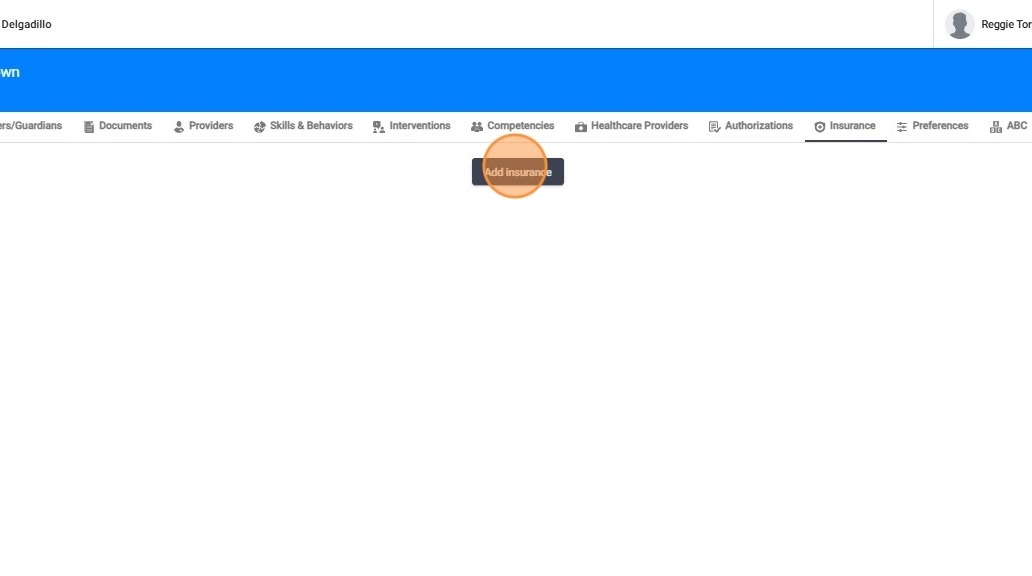
4. A pop-up window will appear asking for specific insurance information. Fill in the required fields, such as the insurance provider name
- The insurance options shown in the dropdown are based on the active insurances set up in your agency's system.
- If an insurance provider is missing from the list, it may need to be added to the agency’s insurance settings first.
5. Enter the "Insurance number" and click "Save" to confirm the new insurance entry
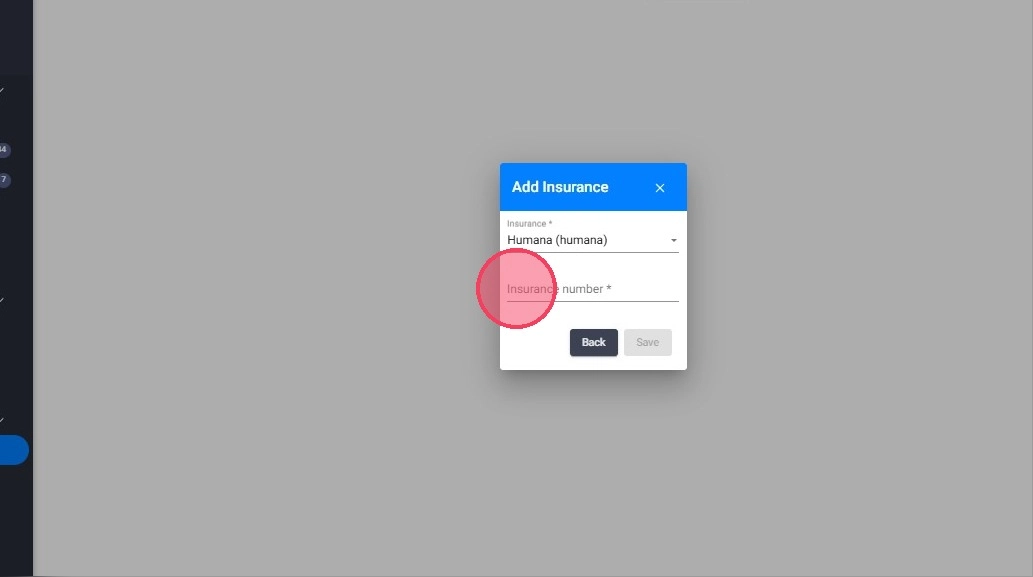
6. Once saved, the new insurance should appear in the client’s Insurance section. Review the information to ensure accuracy.

Moving the client's status to Active
7. If client accounts were created before insurances were set up in the system, they were placed in the "Awaiting Authorization" status.
- To activate these clients and allow scheduling and therapist assignments, you must manually update their status to Active.
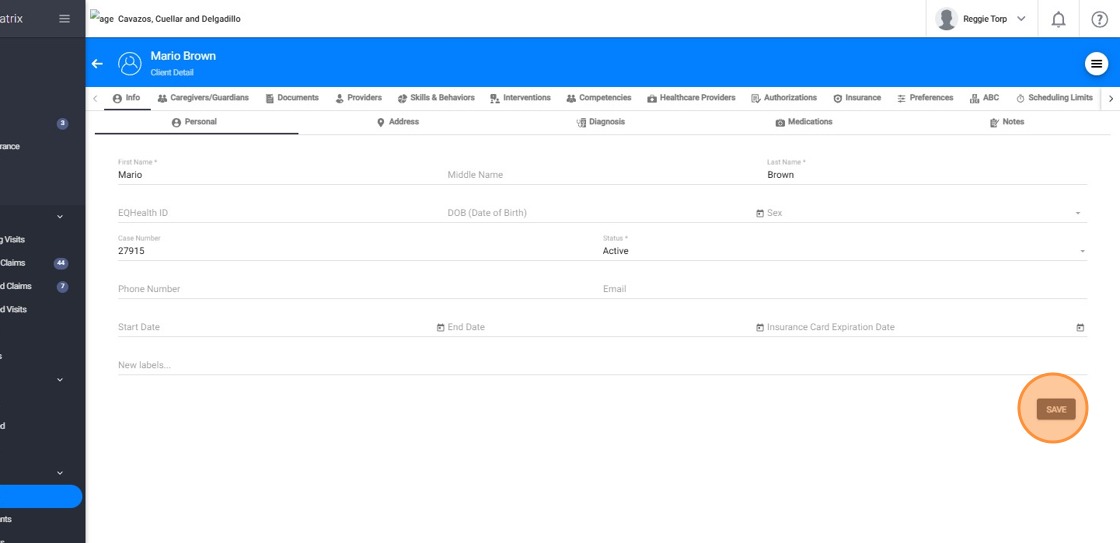
Just go the Personal section
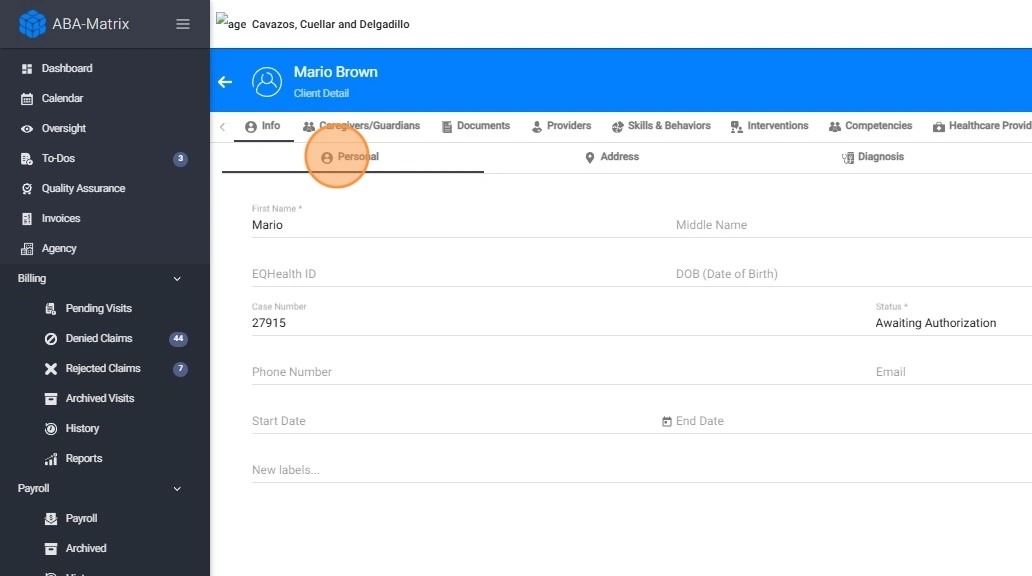
8. Locate the "Status" field in the client profile. Select "Active"
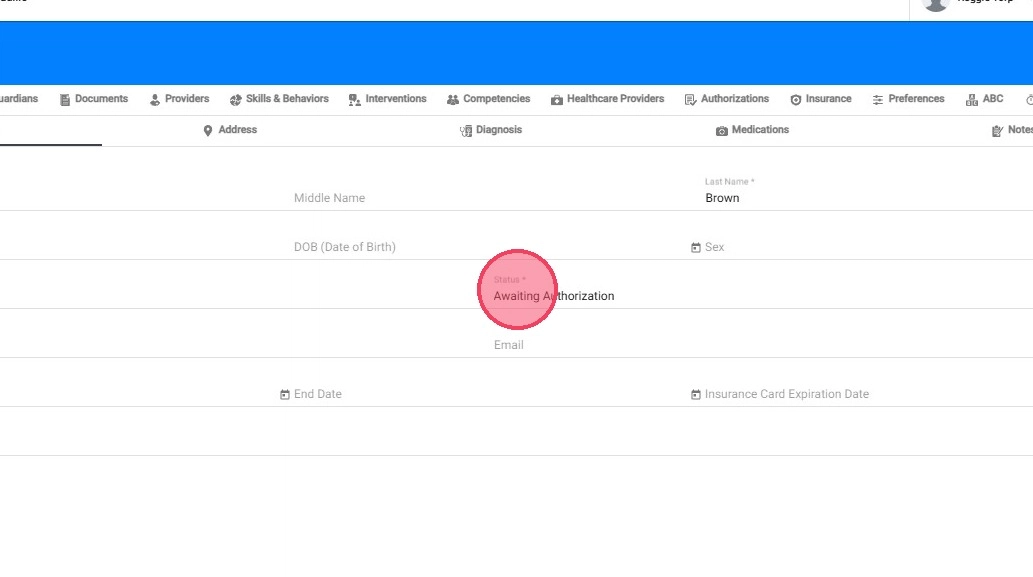
9. Click "SAVE" and the client will now be moved to the Active status.