What to do when a visit is Rejected (Therapist guide)
When a visit is rejected, it means that the note or the associated record does not meet the required criteria for approval or signature. The rejection may occur due to documentation errors, incomplete data, incorrect selection of behaviors or interventions, or insufficient supporting evidence.
🚩Identifying Rejected Visits
1. The therapist will receive a notification if their visit is rejected.

🔴Rejected sessions will still appear in both the Oversight and the Calendar view.
2. Once rejected, the session’s status will automatically change to Rejected, and it will be marked with a red indicator for easy identification.

3. You can use filters in the Calendar to specifically view rejected visits.

4. From Oversight, you can also locate the visit marked with the red label "Rejected".
- This makes it easy for therapists and administrators to identify rejected sessions and follow up accordingly.

📝Handling Rejected Visits
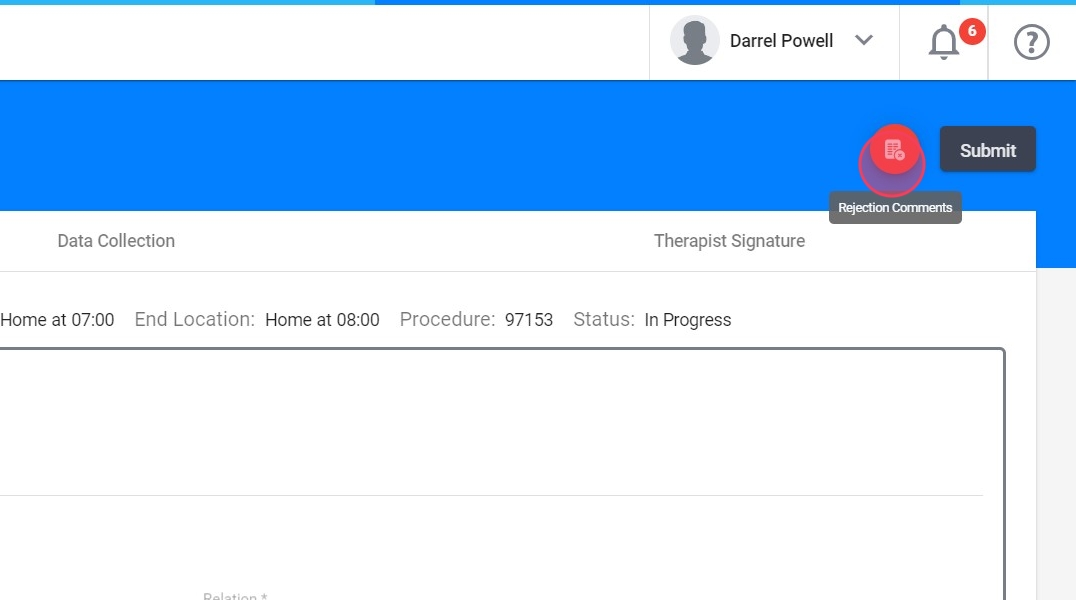
5. To review the rejection reason, you need to open the rejected visit.

6. Review the notes section at the top right of the screen. The Rejection Reason will be displayed there.

Rejected sessions will stay in the rejected status until the necessary changes are made, and the note is resubmitted for approval.
7. The therapist can then edit the note based on the feedback and resubmit the session for further review.
📋Rejected Session Logs and Follow-Up
- From the Dashboard
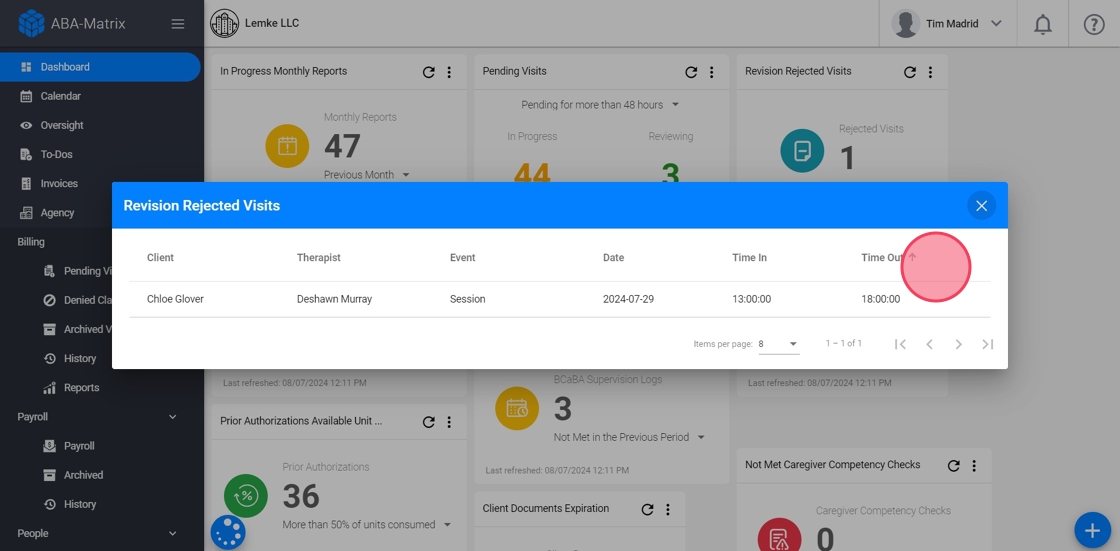
8. You can check the rejected visits from the Revision Rejected Visits widget.

9. Click the three dots and click "Expand" to see more information

10. You will see more information about the rejected visits
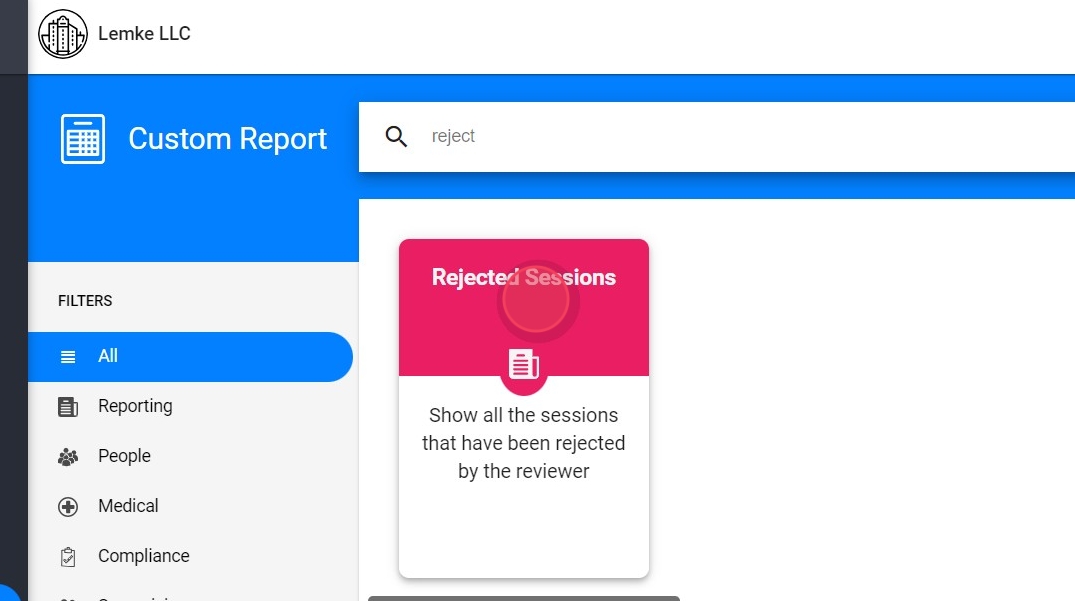
- From Custom Reports
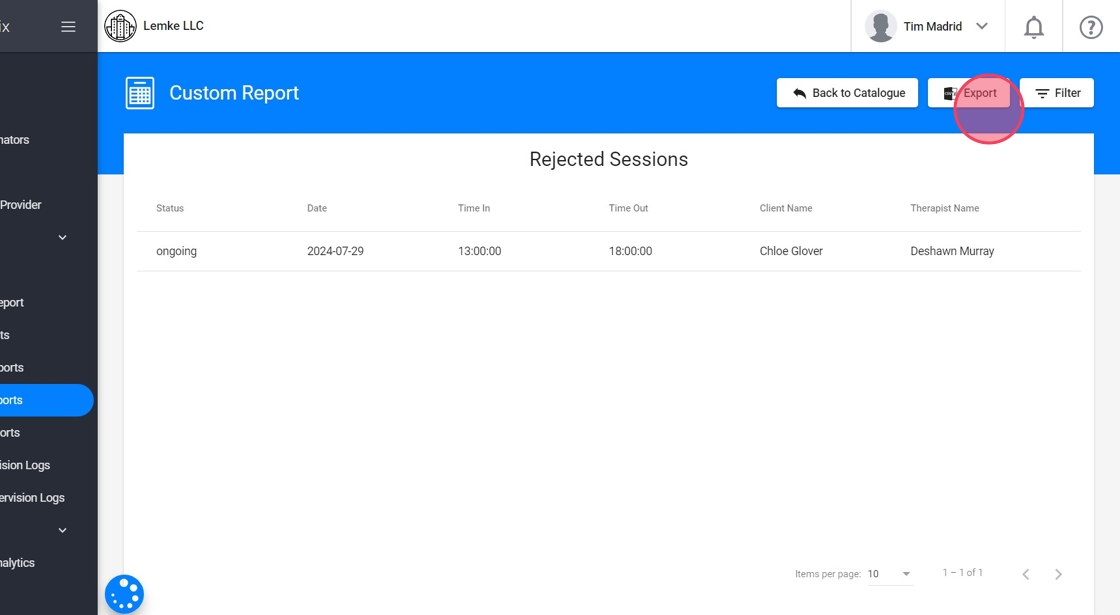
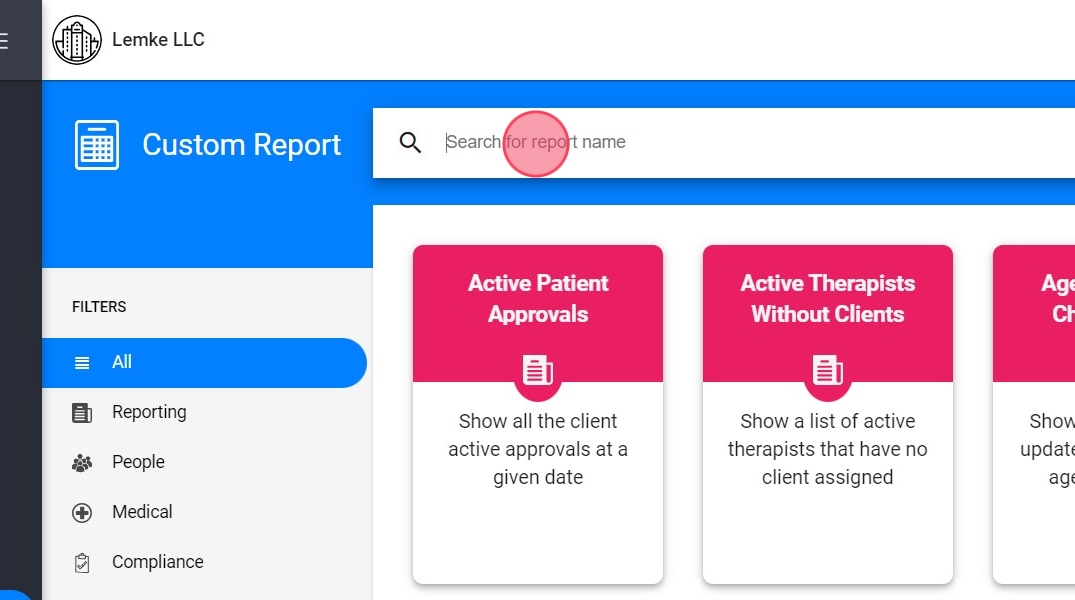
11. Go to Custom Report.

12. You can use the search option, just click the "Search for report name" field and type "rejected"
13. Select the report Rejected sessions
14. Click "Display Report"

15. Click here to export that information