
How to cancel visits in the system (administration guide)
This guide provides essential instructions for efficiently managing visit cancellations within your system. It outlines the simple steps to cancel visits, view cancellations, and customize cancellation settings, ensuring that you can keep track of reasons for cancellations and maintain accurate records. By following this guide, users can improve administrative efficiency and enhance communication by standardizing cancellation processes. Whether you're a new or returning user, this guide is a valuable resource for effective visit management.
How to cancel a visit
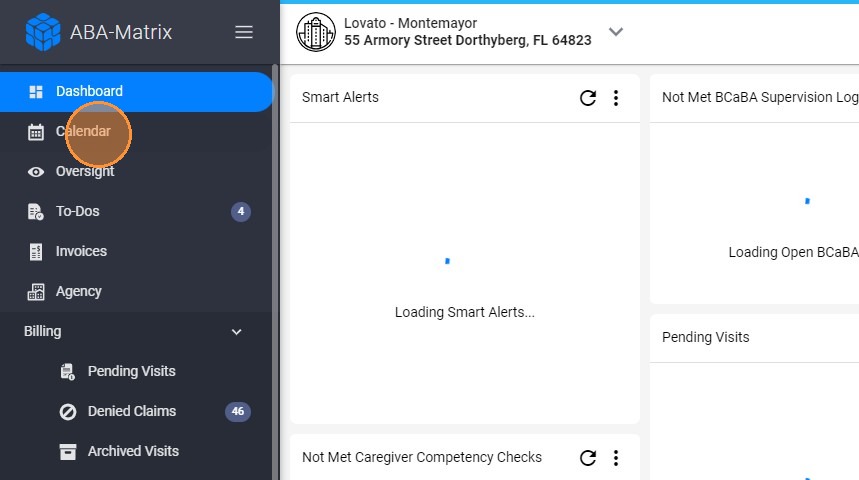
1. You can cancel visits from the calendar, just click "Calendar"
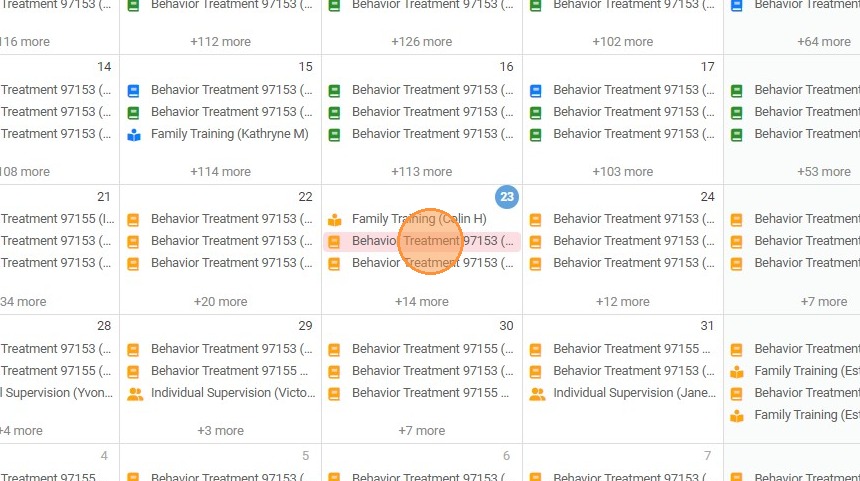
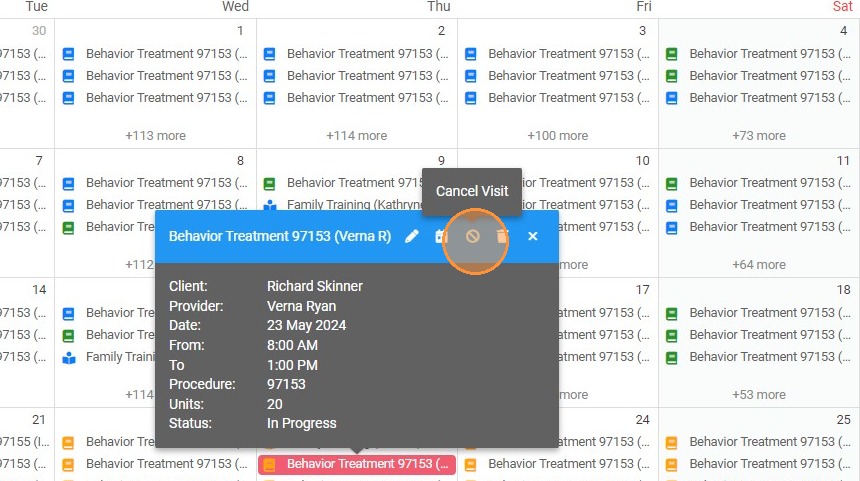
2. Select the visit you want to cancel
3. Click "Cancel Visit" to initiate the cancellation
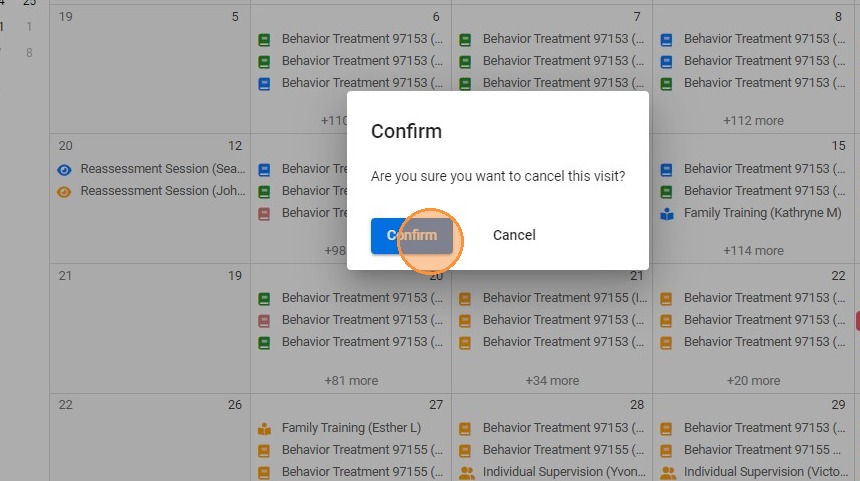
4. Click "Confirm"
5. You will have the option to select the reason for cancellation from a predetermined dropdown list or directly typing the reason.

6. Once you have provided the reason, confirm the cancellation by clicking the "Save" button. This action will officially cancel the visit and record the reason for future reference.

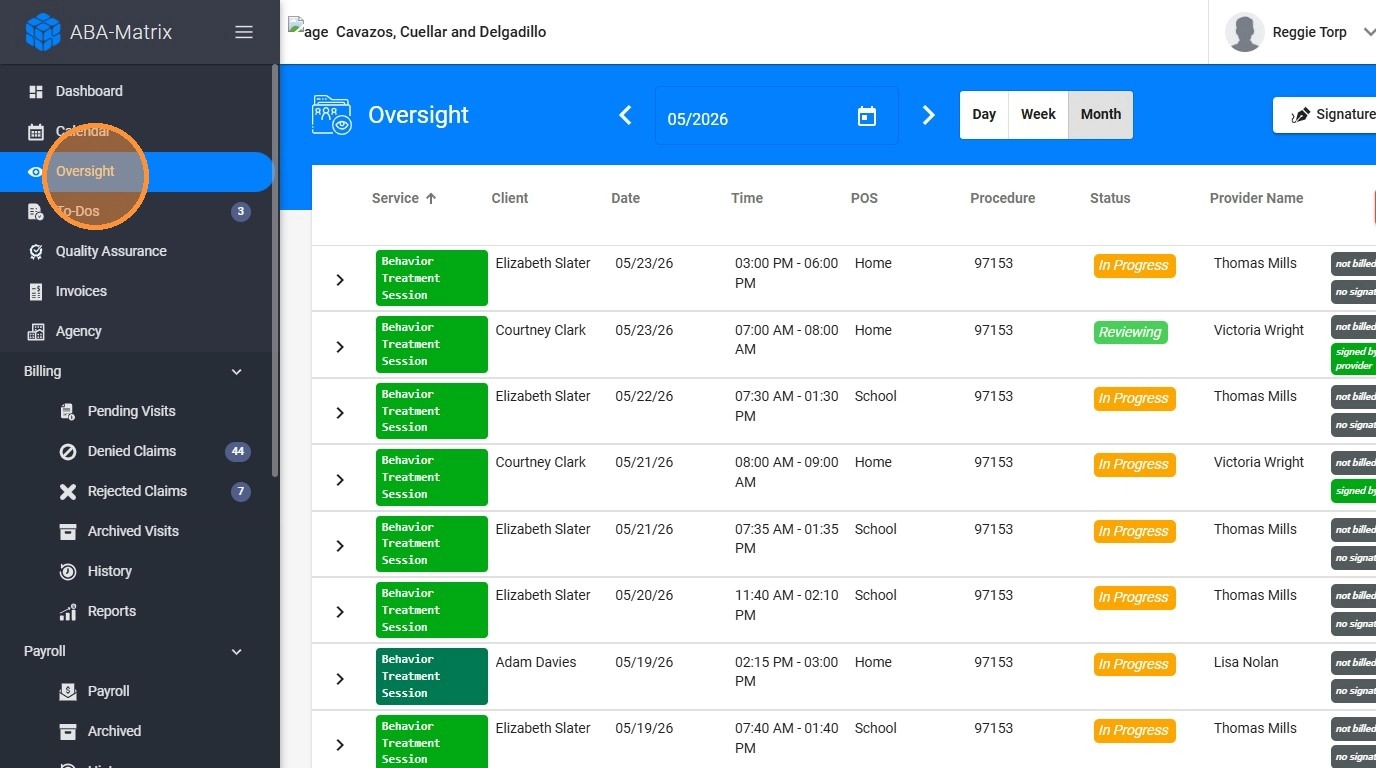
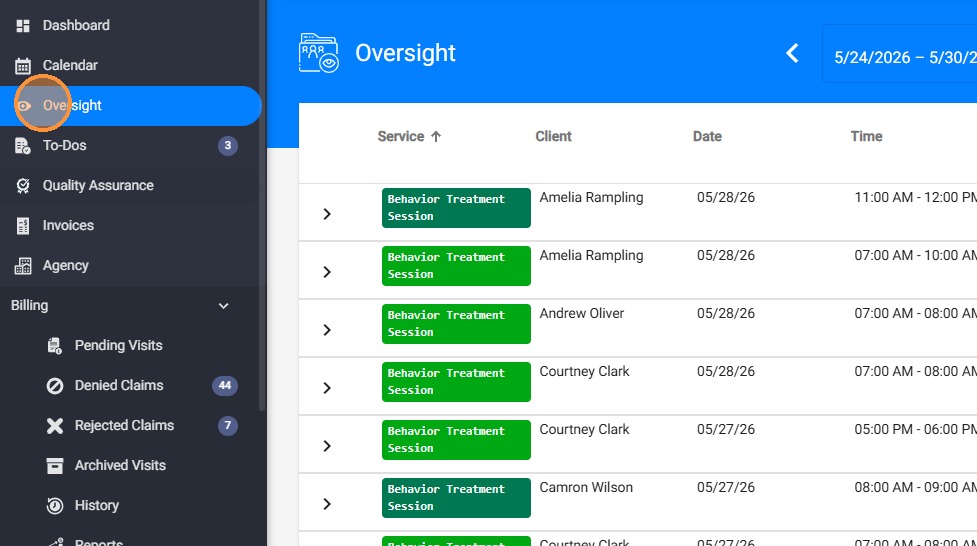
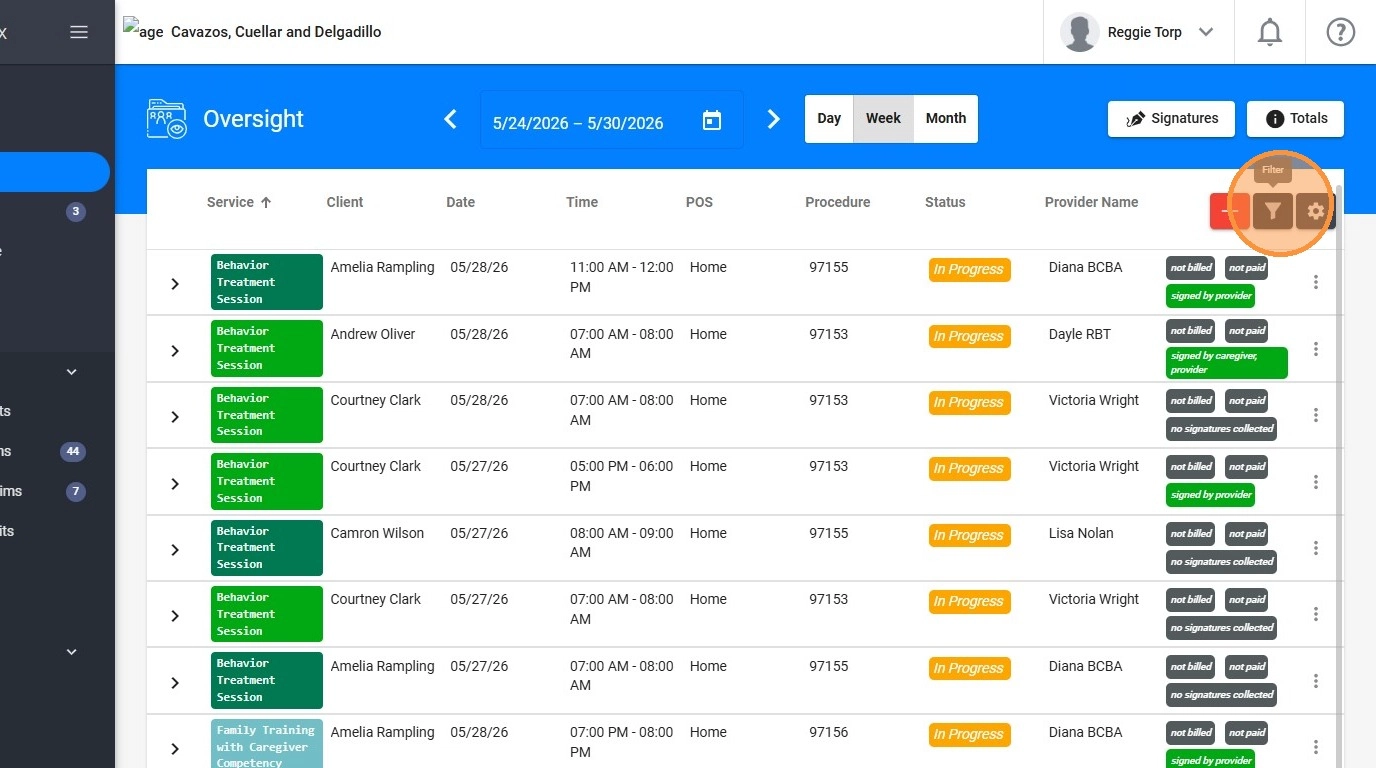
7. You can also cancel visits from Oversight, just go to the three dots at the right side of the visit, click "Cancel Visit" and write the reason for cancellation.
Viewing Cancellations
By default, we don't show cancelled visits in the calendar or oversight. If you want to view them, just follow these steps:
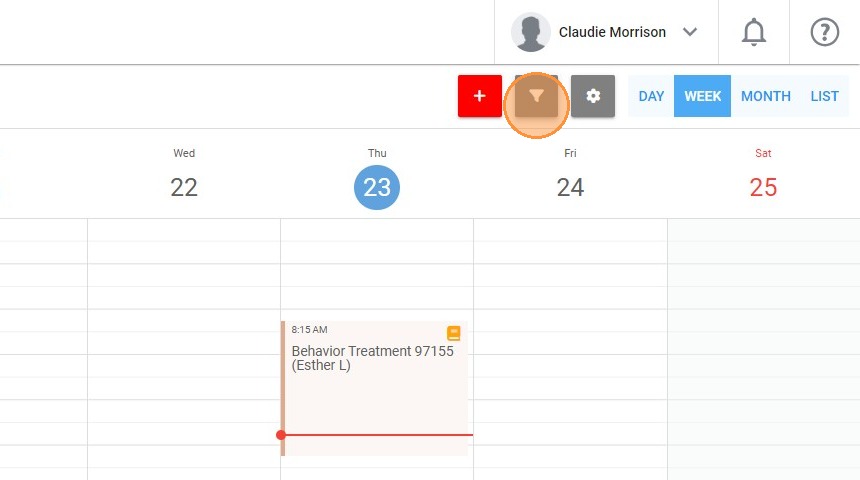
8. In the calendar, navigate to the filter option
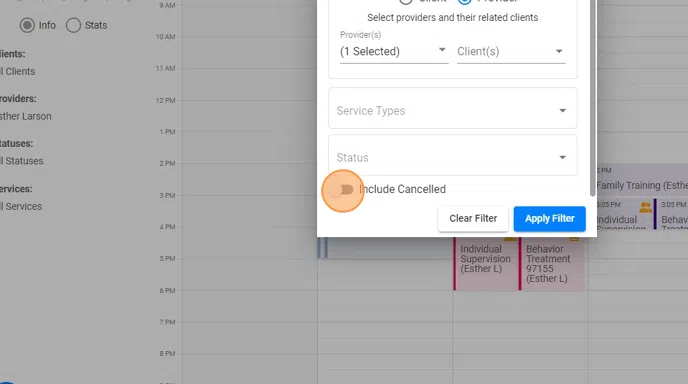
9. Mark the option "Include Cancelled" and click "Apply Filter"
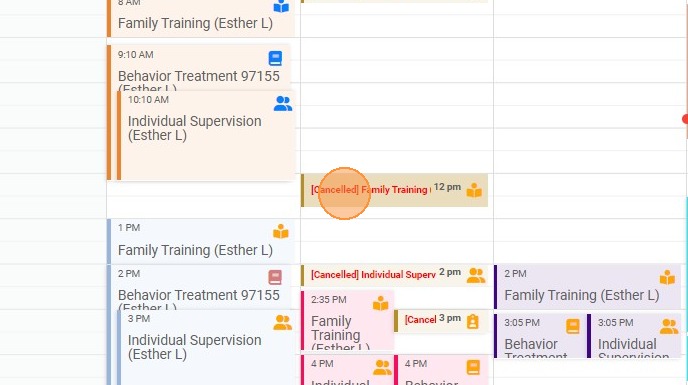
10. Then you will be able to see the cancelled visits
11. If you click a specific cancelled visit you will see the date the visit was cancelled and reason for the cancellation

12. You can also see cancelled visits from "Oversight"
13. Click the filter icon. Mark the option "Include Canceled" and click "Apply Filter"
14. Cancelled visits will have a different color
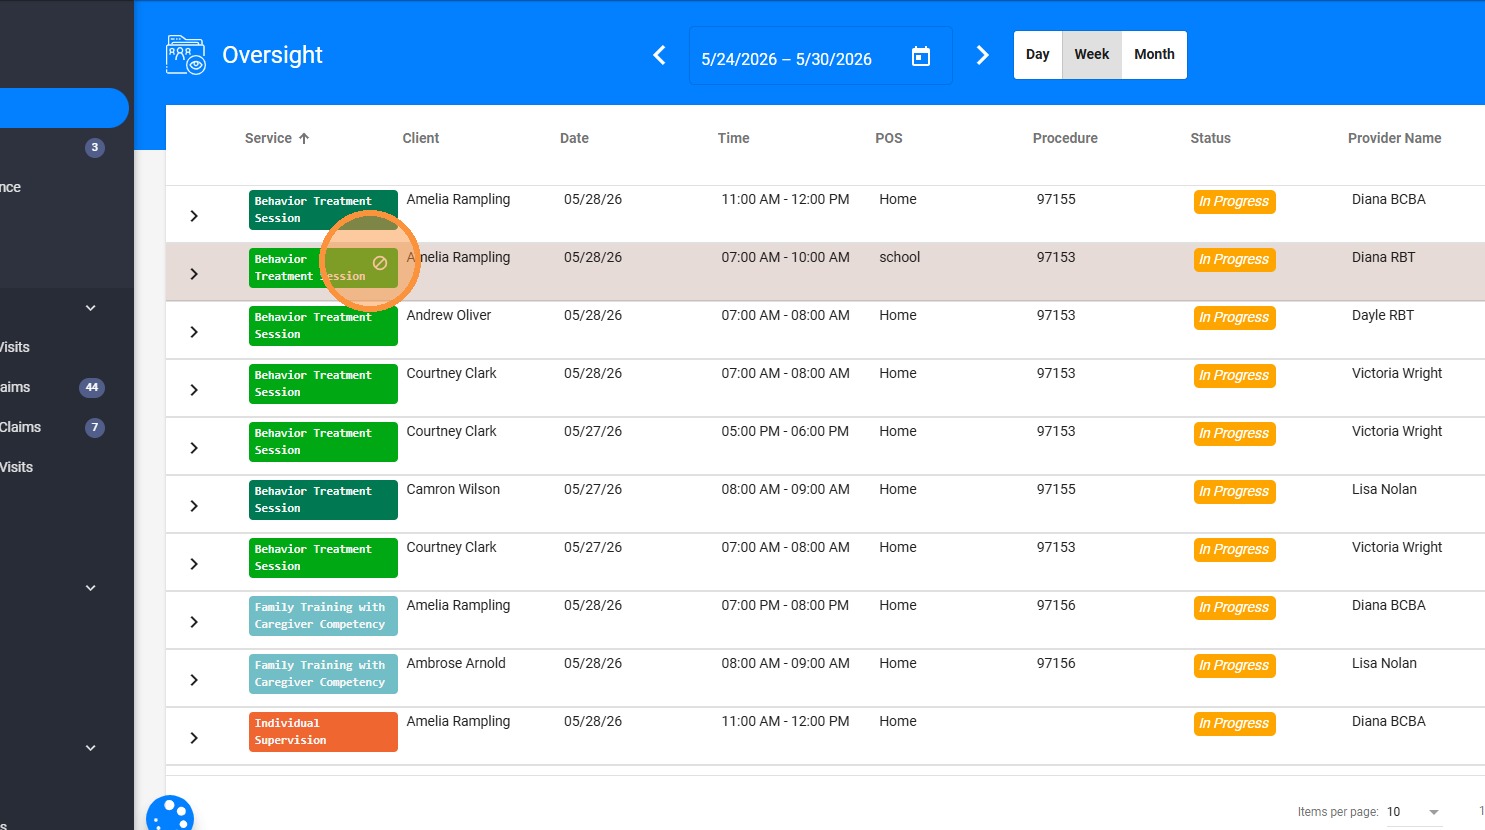
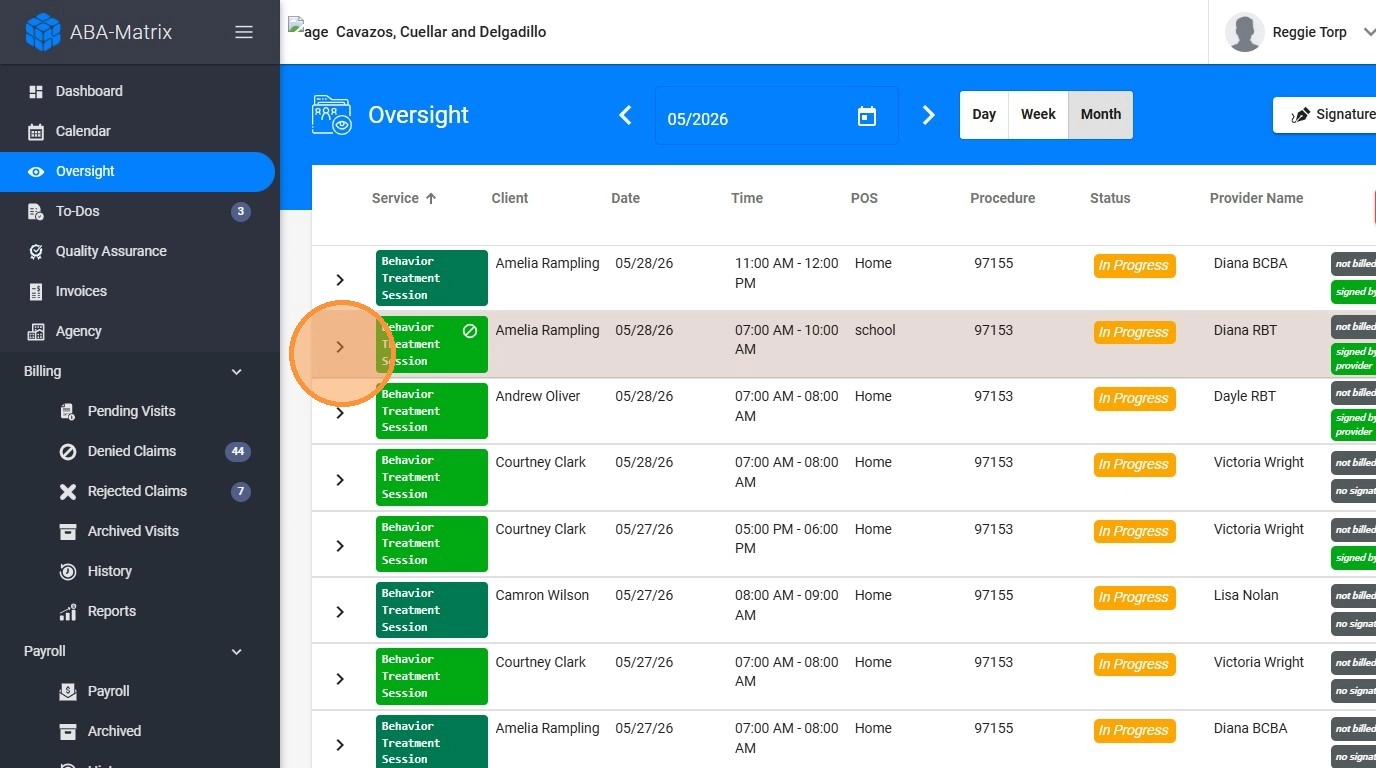
15. Click the arrow to check the reason for cancellation
Cancellation Settings
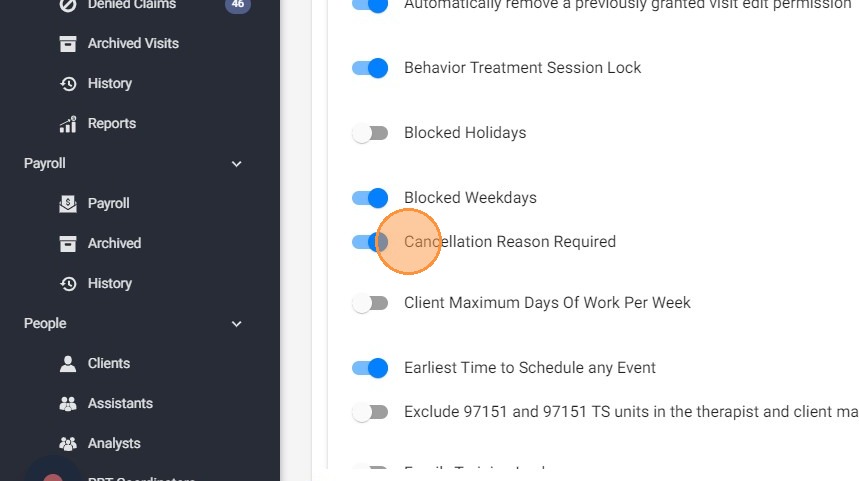
16. You can control two settings regarding cancellation. Just go to the settings under Scheduling

17. Requiring Reasons for Cancellation
If you enable the "Cancellation Reason Required" setting, it ensures that every cancelled visit includes a reason, which helps with tracking and analysis.
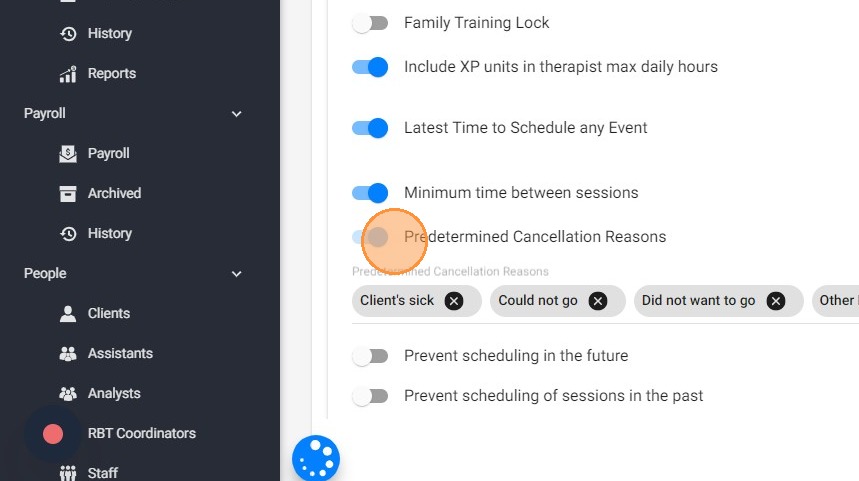
18. Set Up Predetermined Reasons
The "Predetermined cancellation reasons" setting allows you to standardize the reasons and make it easier for users to select the appropriate one when cancelling a visit. You can add, edit, or remove reasons from the list.
👉Users can also type a different reason directly if needed
Managing Cancellations
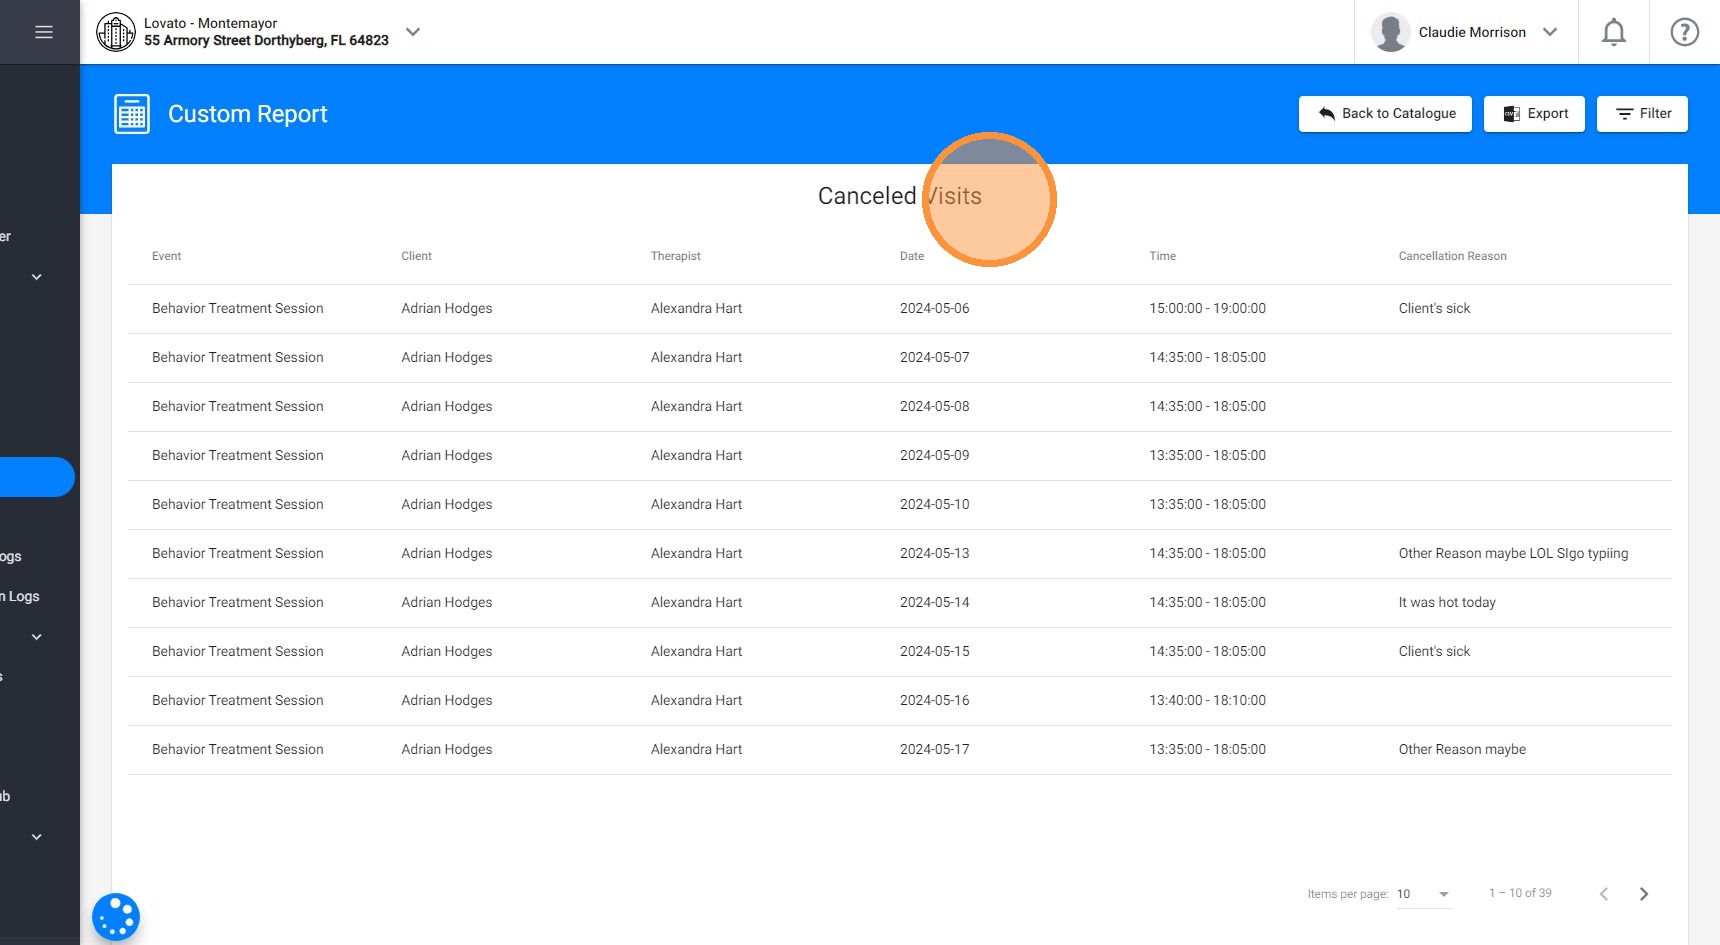
19. To view a record of cancelled visits, navigate to "Custom Reports" and select the report Canceled visits

20. Select the dates and click "Display Report"

21. This report will give you a list of all cancelled visits along with the reasons provided
Tips for Using the Cancellation Feature
Plan Ahead: Use the cancellation feature as soon as you are aware of the need to cancel a visit to give all parties ample notice.
Be Clear and Concise: Provide clear reasons for cancellations to avoid any confusion and to maintain accurate records.