
How to reconcile claims manually (for administrative staff)
This guide is essential for anyone managing claims, as it provides step-by-step instructions for manually updating claim statuses when automatic updates are unavailable. It emphasizes the importance of accuracy in financial records, offering detailed methods for marking claims as paid or denied, including how to enter payment and adjustment information. With this guide, users can efficiently navigate outstanding claims and ensure proper documentation for reconciliation, ultimately streamlining their billing processes.
- If you use local billing, claims will appear as outstanding by default, and you’ll need to manually post payments and adjustments after receiving payer responses—unless you enable the Local Billing Auto-Posting setting, which automatically marks claims as paid upon processing.
- If you use the billing integration, manual updates are typically unnecessary. The system will automatically update claim statuses, payments, and adjustments when the ERA is received from ClaimMD. Manual posting should only be used in rare cases where the ERA is unavailable or delayed.
1. This setting controls whether payments for locally billed claims are automatically posted or require manual entry. To adjust it, go to Agency > Settings > Billing, and toggle the Local Billing Auto-Posting option.
- When enabled, the system will automatically mark claims as paid after billing is processed.
- When disabled, all locally billed claims will remain in Outstanding status until you manually post payment and adjustment details.

Locate Outstanding Claims
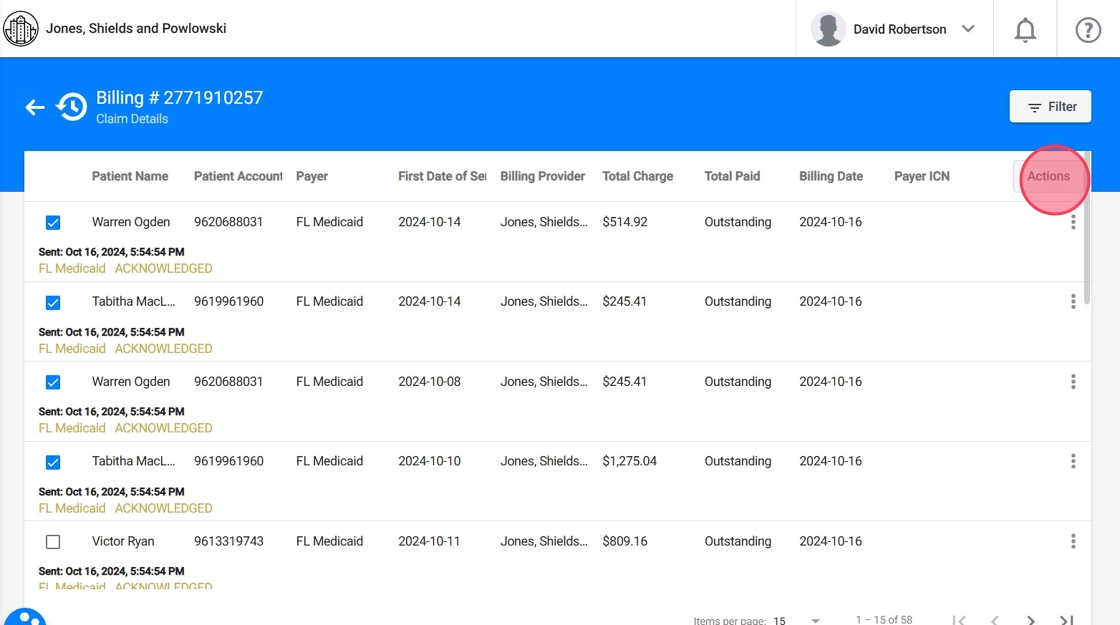
2. Navigate to the History section and open a specific billing group to view the claims within that group.

3. Select the claims you wish to update

4. Click "Actions" and choose the desired action:
- Set as Paid or
- Set as Denied
Marking Claims as Paid
5. Click "Set Selected Claims as Paid"

6. View Selected Claims
After selecting Set as Paid, you will see the selected claims along with their associated charges. For each claim, the following details are displayed:
- Provider
- Procedure Code
- Charge
- Date and Time
- Billed Amount
- Allowed Amount
- Paid Amount

7. Enter Payment Information
- You can manually add the Payer ICN

8. - You can manually add the Allowed Amount
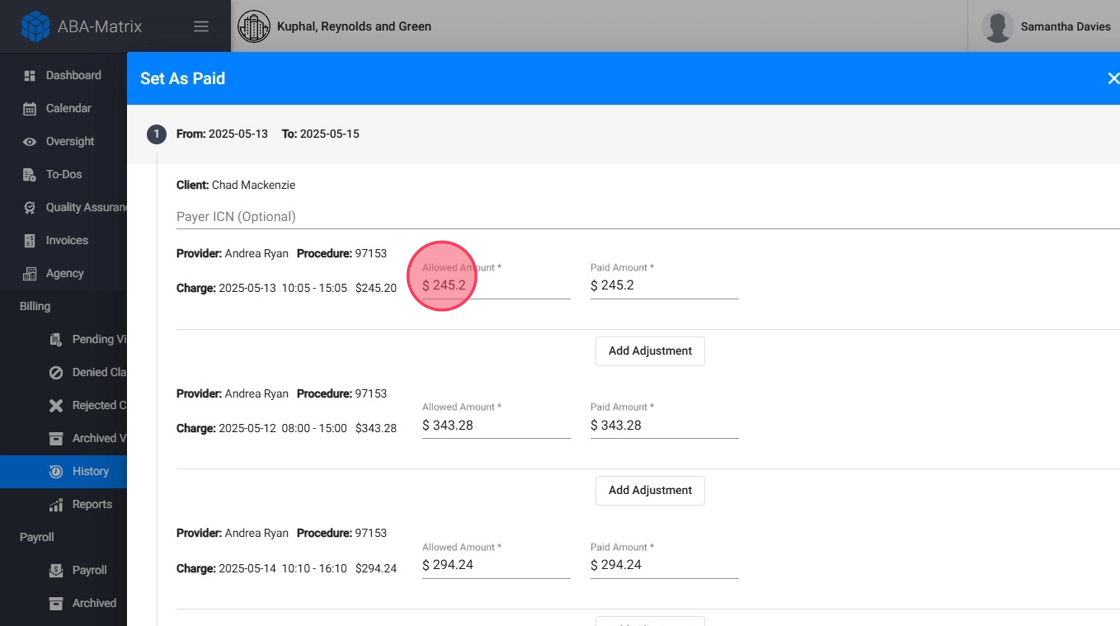
The Allowed Amount refers to the amount approved by the insurance payer for reimbursement of a medical claim. This is not the total amount billed by the provider, but the value the insurance company considers reasonable and covered for that specific service.
This value helps users easily compare:
- The total amount billed by the provider
- The allowed amount approved by the payer
- The actual amount paid
This information is visible in two places:
- In the Billing History overview
- Within the individual claim details
9. - For each charge you can enter the Paid Amount (by default you will see the billed amount)
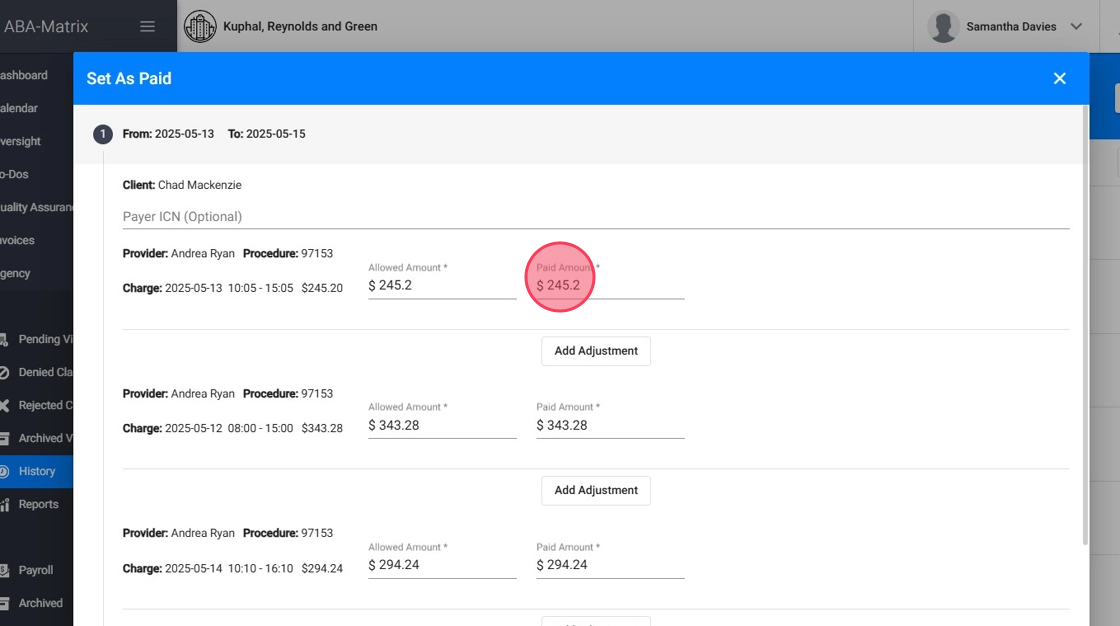
10. You can add Adjustments as needed:
- Specify the Adjustment Amount
- Choose the Adjustment Code
- Select the appropriate Adjustment Group

11. Save Changes
Review the details of each claim and save the updated information to reflect the changes.
- Click "Next"
- Click "Set as Paid"

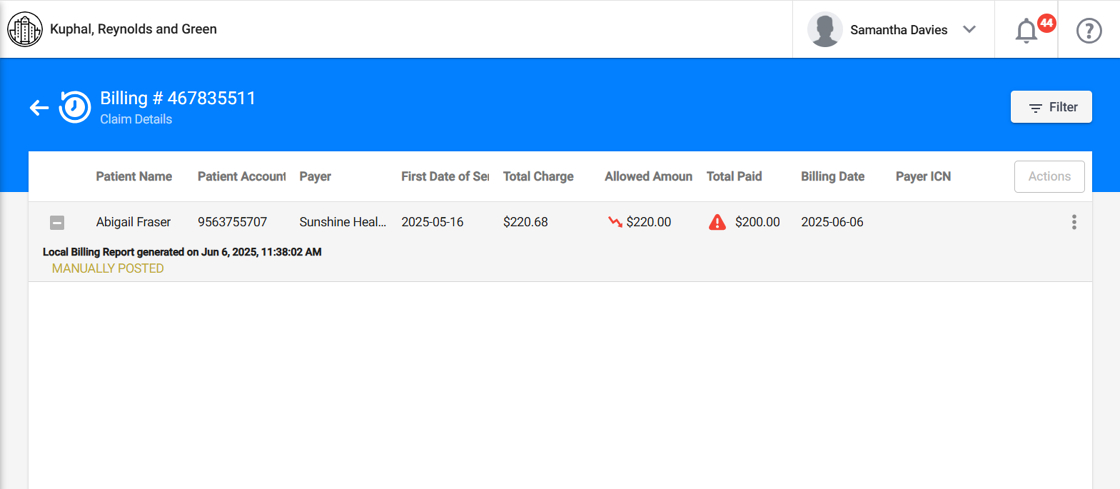
Visual indicators appear after manually reconciling claims to help alert staff to discrepancies:
- 📉 Red down arrow in the Allowed amount column: Indicates that the allowed amount is less than the total charge.
- 🔺 Red alert icon in the Total Paid column: Indicates that the paid amount is different from the allowed amount.
Marking Claims as Denied
12. Select Set Claims as Denied

13. You will see the selected claims and their charges with the same detailed information
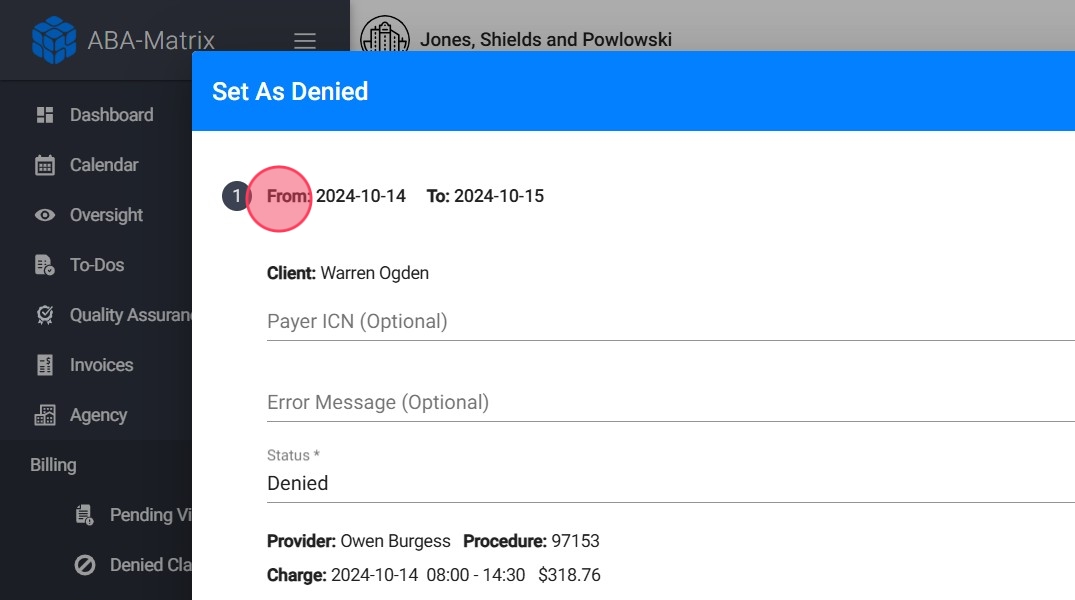
14. Enter Denial Information
You can manually add the Payer ICN and the Error Message

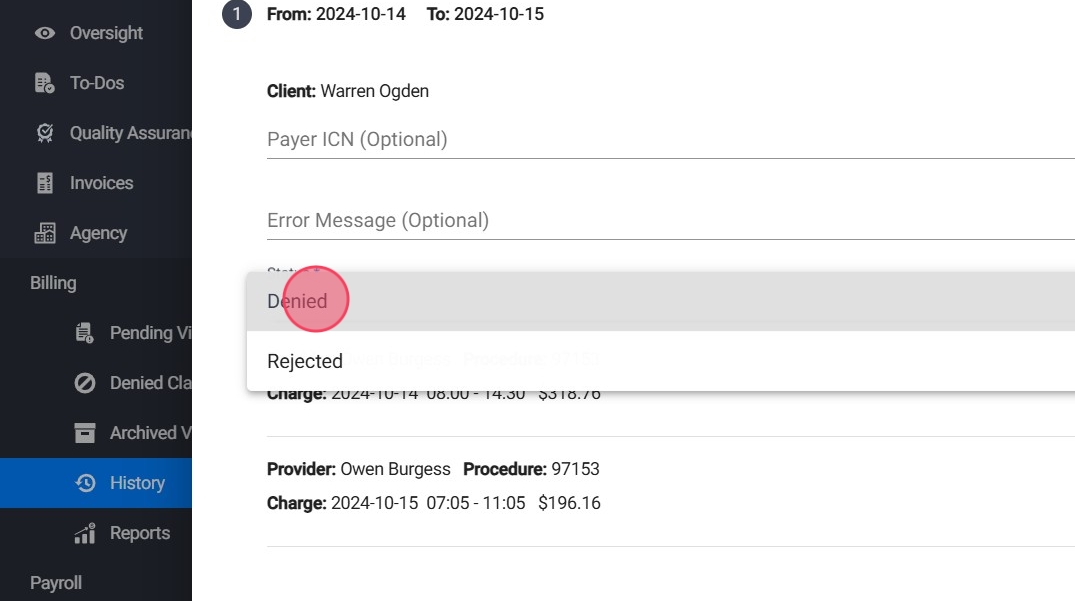
15. For each claim, classify it as:
- Denied: The claim is valid but not paid by the payer
- Rejected: The claim has errors and is not processed by the payer
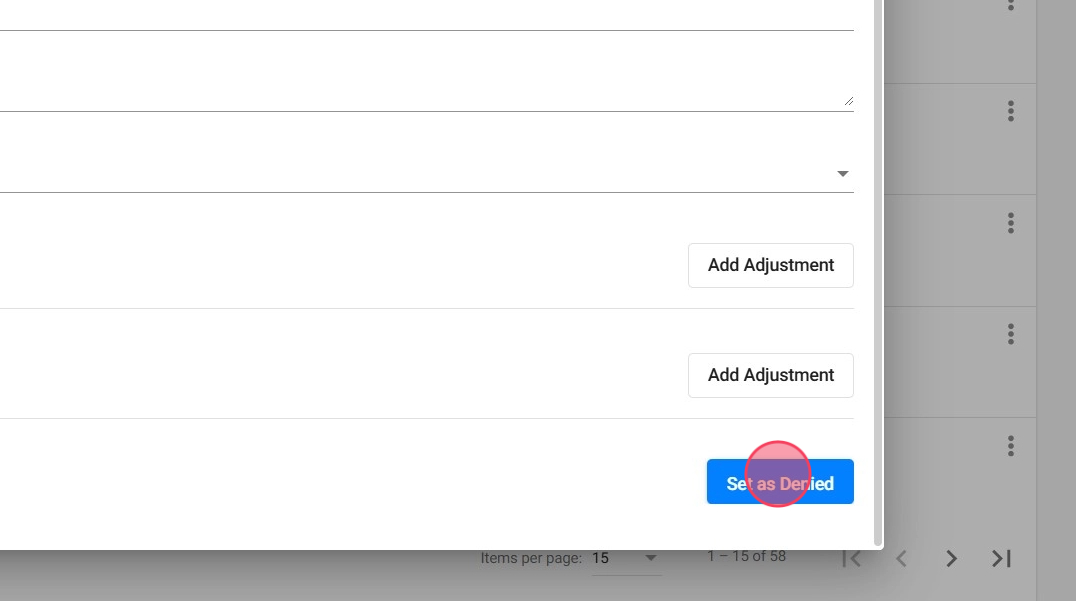
16. Save Changes
Verify the information entered and save the updates to reflect the claim's denial status.
Claims manually marked as Denied will go to the Denied claims, claims marked as Rejected will appear in the Rejected Claims section, and you will be able to re-submit them from there:
- If you use the billing integration, the claim will be resubmitted to Claim.MD.
- If you use local billing, the claim will be resubmitted locally and can be found in the Billing History section.
Updating claims from the Accounts Receivable Aging Report
17. You can also post claims as either Paid or Denied through the Accounts Receivable Aging Report. This report helps you monitor and manage the status of claims and outstanding balances efficiently.

- Always ensure the information entered is accurate to maintain proper financial records.
- Use the classifications (Denied or Rejected) appropriately based on the payer's response.
- Adjustments should be documented with correct codes and amounts for reconciliation purposes.