
How to run a Payroll (for administrative staff)
This guide provides step-by-step instructions on how to set up and run a payroll. It covers filtering sessions, paying sessions, additional fees, overtime, and adjustments. It also includes information on generating a payroll report and accessing payment history. This guide is essential for anyone who needs to manage payroll for their organization efficiently.
1. Set up a payroll
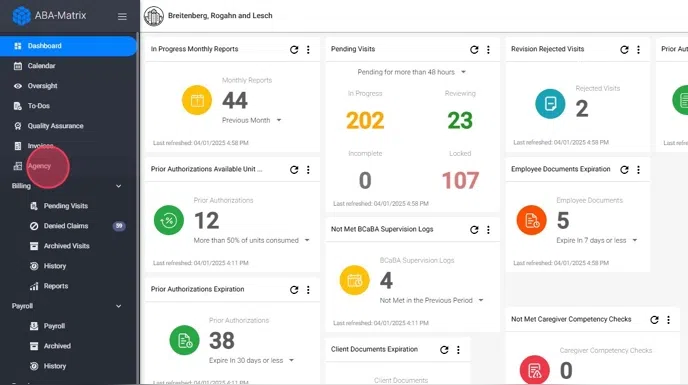
1. To set up and run a payroll, from an administration account, go to the Payroll view:

2. By default, all visits will be marked to run in the Payroll. If you want not to pay a specific session, you just have to uncheck it. Additionally, you will have the option to unmark all sessions:

The same conditions apply for both billing and payroll. By default, sessions must be completed to be available for billing and payroll, but you can choose a different condition.
* Payroll Components: Paying for Sessions
You can process payments for the following items within the system:
- Scheduled sessions
- Driving time
- Additional fees
- Overtime
- Manual adjustments
3. All sessions scheduled in the system that meet the agency’s payroll conditions will be available for payroll processing. For each session, the following details are displayed:
- Type of Visit: This includes:
- Behavior Treatment Sessions
- Family Training
- Assessments / Reassessments
- Driving Time
- Completion Date: The date the visit became eligible for payroll.
- Visit Date: The scheduled date of the session.
- Client Name
- Procedure Code
- Pay Rate ($): The rate assigned to the employee for that specific procedure and client.
-
Duration / Miles: The length of the session or the distance traveled (for mileage-based driving events).
Units
Amount Owed ($): Calculated by the system based on the configured pay rate.
Paid by Insurance
Billing Status:
- Billed: The session has already been billed—either manually or through the integration.
- Not Billed: The session is still pending and appears in the Pending Visits section.

Use the guide below to learn how the driving time feature works and how it aligns with your payroll strategy:
* Payroll Components: Paying Other Fees
4. Aside from the scheduled visits in the system, you can pay extra fees such as trainings, meetings, etc. These fees need to be entered manually to ensure they are included in the payroll calculations.

5. To add additional fees for an employee:
- Go to the employee’s profile.
- Navigate to the Other Fees section.
- Click Add New Fee.
- Select the date you want the fee to be paid.
- Enter the amount and a description of the extra fee.
- Click Save.
To include this fee in a payroll, ensure that the date you set for the extra fee falls within the payroll period.

* Payroll Components: Paying Overtime
6. Overtime is calculated on a weekly basis, from Sunday to Saturday. For each week, you will see the total hours of overtime worked and the amount to be paid for that overtime.

Alert: This option is disabled by default. If you'd like to enable overtime payments, just let us know.
* Payroll Components: Paying Adjustments for retroactive pay rate changes
7. Adjustments are automatically generated when an employee’s pay rate is updated with an effective date in the past. If sessions were already paid at the previous (incorrect) rate, the system identifies the difference and generates an adjustment to correct the employee's total compensation.
When this happens:
- The system compares the original pay rate used to process past sessions with the new rate that became retroactively effective.
- It calculates the difference in payment for each affected session.
- This adjustment is automatically added to the Adjustments section to ensure accurate payment.
- You’ll be able to see both the rate change that triggered the adjustment and the adjusted total per visit within the payroll details.

Tip: Need Help Updating Pay Rates? Follow this step-by-step guide to change or set an employee's pay rate:
👉 How to Edit or Set an Employee’s Pay Rate
1.1. Filter
8. You can use the filter option to help you selecting the sessions you want to pay. You can filter by client, therapist, insurance, procedure and/or date:

If you input only the end date of the current payroll period and leave the start date field empty in the "Visit Scheduled Date" filter, you will view all visits from the current payroll period as well as any visits that were overlooked in previous payroll periods for any reason. This approach guarantees that you pay all ready visits up to the specified end date.
9. The system is configured to show only sessions that have been transmitted to insurance (marked as "Billed"). This default setting helps you focus on visits that have already been submitted for payment processing.
For payroll purposes:
- Only billed sessions appear by default
- To view unbilled sessions, simply uncheck the Only Billed Sessions filter option
This gives you control over which visits are included in your payroll review while maintaining data integrity by defaulting to billed sessions only.

10. Users also have the option to filter and view only sessions that have been paid by insurance.
- This filter helps in tracking payments received and identifying outstanding claims.

11. By using these filters, agencies can efficiently manage payroll based on insurance payments and ensure accurate financial tracking.

1.2. Run Payroll
12. Once you have selected the sessions you want to pay, you just have to click Run Payroll:

* Show Pay Date and Payroll Date on payroll report
13. In your Agency Settings, you can enable the option: "Show Pay Date and Payroll Date on payroll report". If you enable this setting, you will be able to set the pay date when running the payroll report.
✓ When activated, this setting allows you to set custom pay dates.
14. When the "Show Pay Date and Payroll Date on payroll report" setting is enabled, during payroll processing, you will be able to:
- Set a custom payment date (when staff receive funds)
-
Define the pay period (dates covered by the payroll)
✓ These fields will then display on all generated payroll reports

1.3. Payroll Report
15. A Payroll Report will be generated, which will be downloaded to your computer automatically. The first page will have general payroll information:

16. In addition, there is a more detailed page for each therapist.

2. History
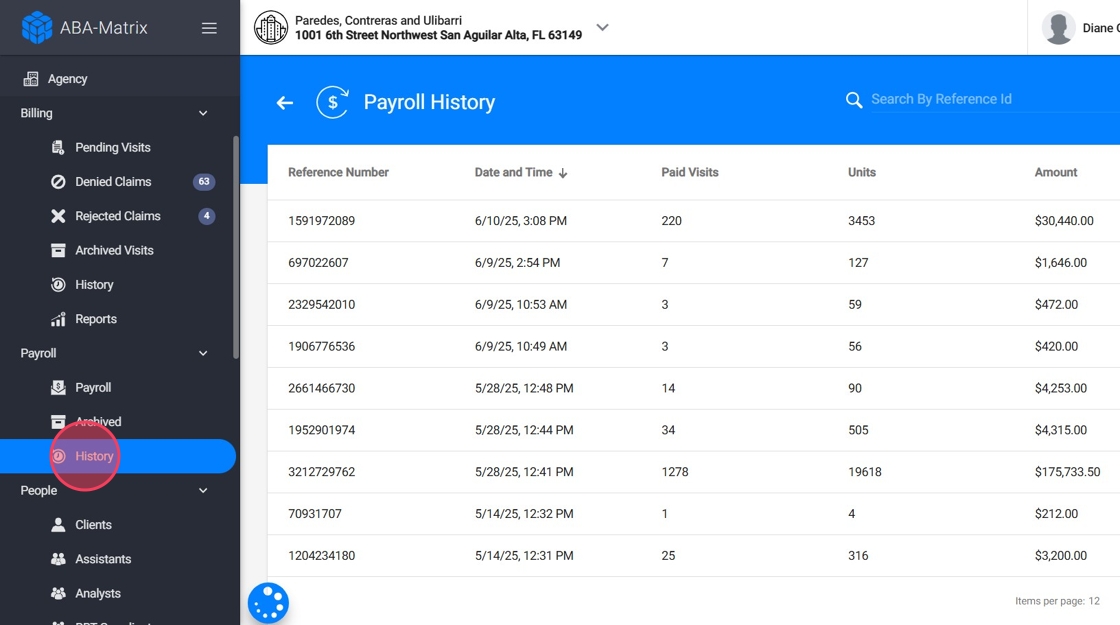
17. In the History section of the Payroll module, you can view a complete log of all payrolls run by your agency. This section provides transparency and record-keeping for every payroll cycle, including:
- Reference Number
- Date and Time the payroll was processed
- Paid Visits included in that cycle
- Total Units calculated
- Total Amount paid

2.1 How to download Payroll History Excel Report
18. From the History view, you can download detailed payroll reports summarizing the entire run.
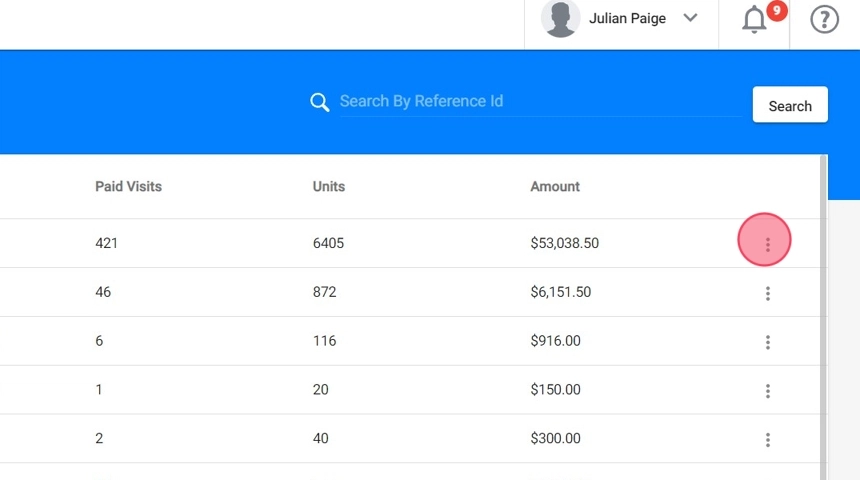
19. Locate the Payroll Entry

20. On the right side of the selected payroll entry, look for the three dots menu (⋮).

21. From here, you can download either the PDF report or an Excel report.

22. The excel report gives a high-level view of payroll data per employee

23. You can also find a detail tab with a breakdown of every service instance included in the payroll.

2.2 Reverting a Payroll
24. You also have the ability to revert the last payroll, but only the most recent payroll run can be reverted, if needed.
3. Employees' Pay Records
25. All employees can access their complete payment history by following these simple steps:
- Log in to your account
- Navigate to My Profile

26. 3. Select the Payment Records tab
4. View your full payment history and download any reports needed
5. Click "Download Pay Records"
