
How to add new documents for assistants, analysts, coordinators, and staff (for administrators)
This guide provides step-by-step instructions on how to add new documents for assistants, analysts, coordinators, and staff members in a company. The guide covers selecting the employee type, searching for the desired employee, navigating to the documents tab, adding the document, completing the document information, selecting and uploading the file.
The documents of the assistants, analysts and staff members (e.g. HIPPA, Security aguareness, Police Record, as well as the assistant and analyst license) can be filed within the "Documents" window found in the profile of each employee.
This tool will help to have control of the documents of the agency's employees. It will also allow documents to be kept up to date by sending each employee an email that will inform them of the document's expiration date.
1. Select the employee type
1. To add a new document, press the "assistant", "analyst", "coordinators" or "staff" button, as appropriate, which are located in the navigation bar located on the left of your screen, together as shown in the image.

2. Select the employee
2. Once inside the corresponding screen, in the search bar, located in the upper right part of the screen, enter the data of the desired employee. To locate the desired employee, names, surnames, email address, telephone number or supplier ID may be used. It can be seen in the image.

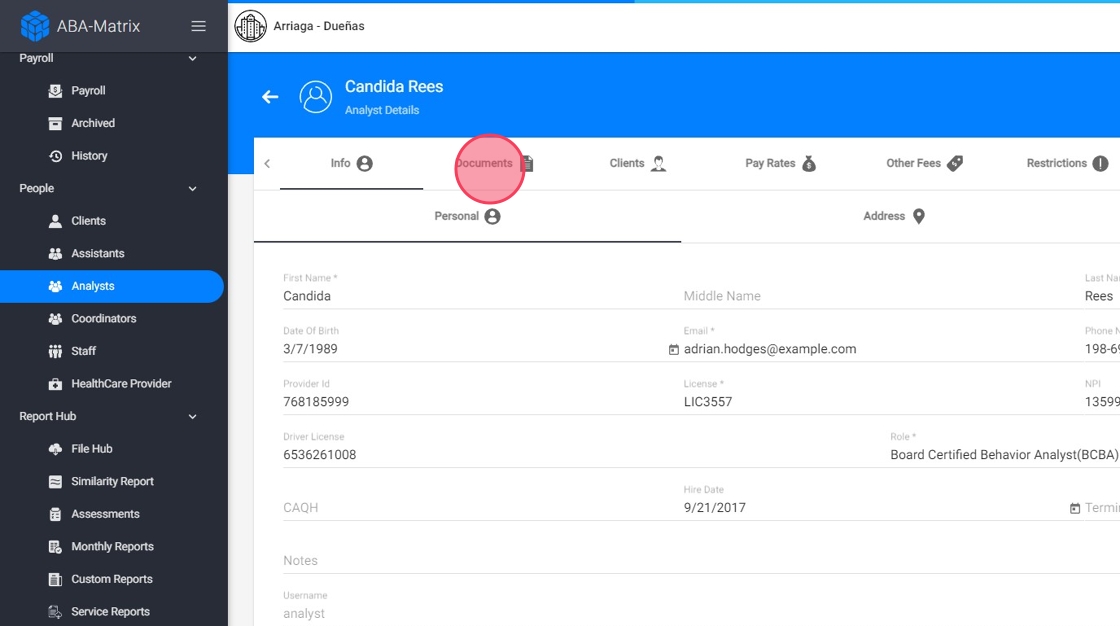
3. Go to the Documents tab
3. After entering the screen of the corresponding employee, press the "document" button located at the top of the monitor as shown in the image.
4. Add the Document
4. Look for the plus button that says "Add" when you hover over it. Click on this button to open a file explorer window. Click "Add Document".

5. Complete the Document Information
5. A new screen will open with fields that need to be filled in for the new document, such as the start date and the expiration date.
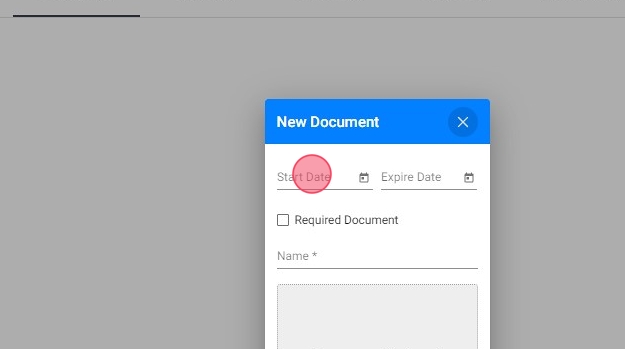
If you set a start and end date to the document, you can set restrictions so that therapists won't be able to work outside of the effective date of the documents, either because the document has not started yet or is expired. In any case, they will need to update the document in time to be able to work in the system.
6. You can mark the document as required.
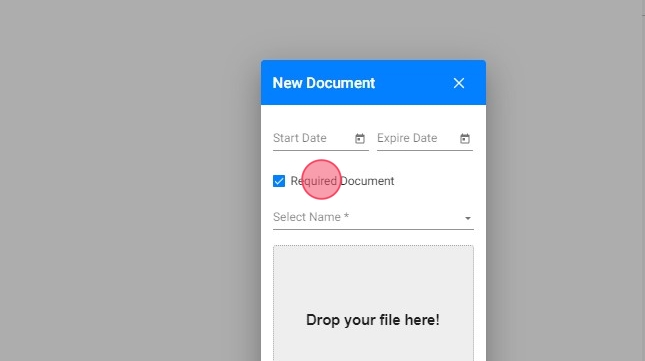
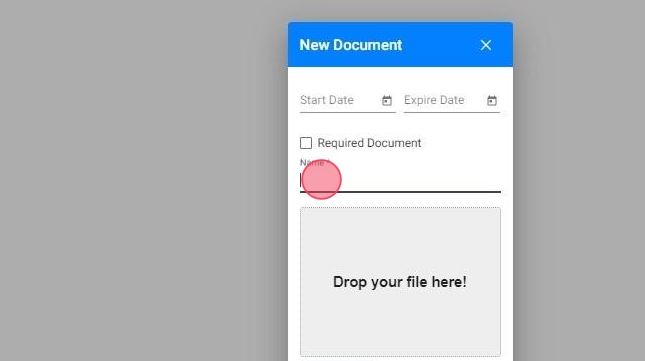
7. Remember that fields with an asterisk (*) are required to fill. In the "name" section, enter the name that the document will bear within the program and by which the search will be carried out.
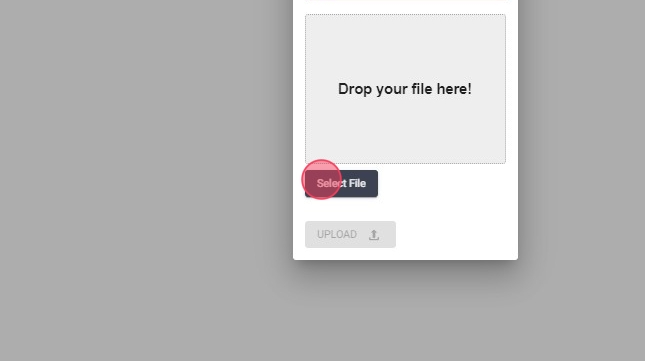
6. Select File
8. Once the fields are complete, press the "Select File" button to search your computer for the desired document. This will allow you to upload the document into the program.
7. Upload the document
9. Once the document has been selected, press the "upload" button.
