
How to add new documents to client profiles (for administrative staff)
By following these steps, you can efficiently add new documents to your folder structure, ensuring that all files are organized and easily accessible.
Clients documents (e.g. Assessment, Reassessment, etc.) can be archived in the "Documents" window found in each client profile. This tool will help you to have control over all the client's documents.
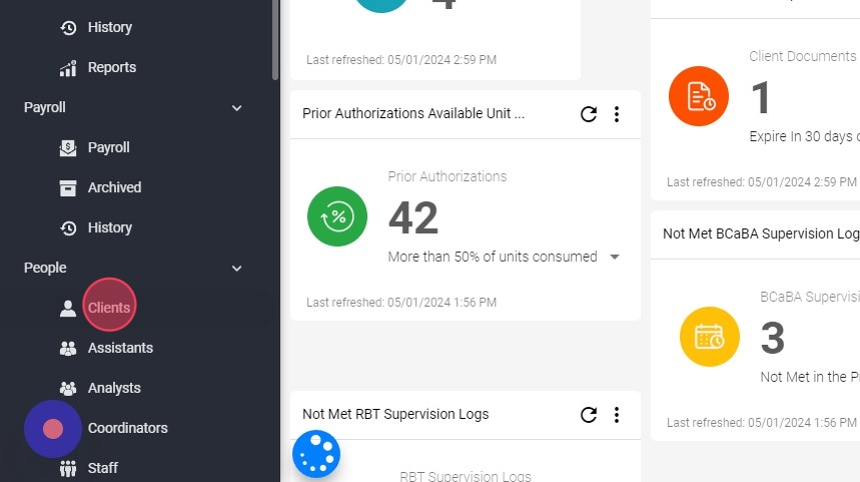
1. Go to the Clients view
1. To add a new document to a client's Profile Folder Structure, press the "clients" button found in the navigation bar located on the left of your screen, together as shown in the image.
2. Select the client
2. Write the name of the desired client in the browser tab. As can be seen in the example in the image, to search you can use the first and last name, "Medicaid number", "EQ Health number", the name of the guardian or the client's telephone number.

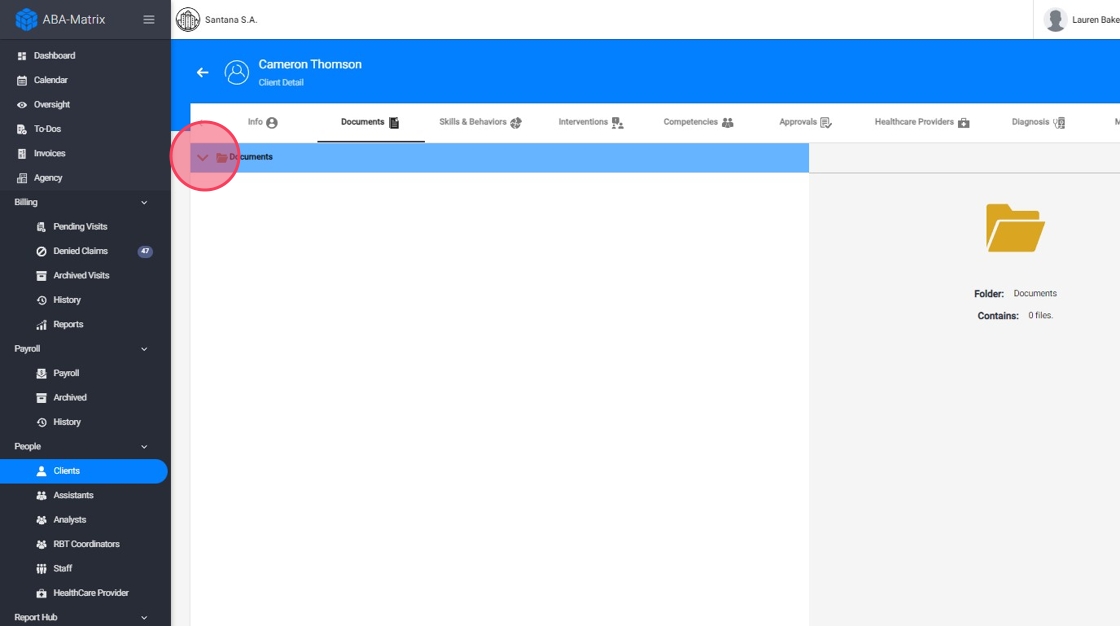
3. Go to Documents tab
3. After entering the client profile, press the "document" button located at the top of the monitor as shown in the image.

4. Select the Target Folder
4. Click on the target folder to open it.
5. Add the Document
5. Look for the plus button that says "Add" when you hover over it. Click on this button to open a file explorer window. Click "Add Document".

6. Complete the Document Information
6. A new screen will open, with data that must be filled in, referring to the new document. Remember that fields with an asterisk (*) are required to fill. In the "name" section, enter the name that the document will bear within the program and by which the search will be carried out.

Setting a start and end date for a document ensures that it remains valid only within the specified timeframe. This prevents any work on documents that are not yet effective or have expired.
7. Select File
7. Once the fields are complete, press the "Select File" button to search your computer for the desired document. This will allow you to upload the document into the program.

8. Upload the document
8. Once the document has been selected, press the "upload" button.
