How to give access to the Data Collection Hub (for administrative staff)
This guide provides instructions on how to access and efficiently edit data collection for clients using the data collection tool. It explains how to view basic information, collected data, graphic representation, and progress. The guide also explains how to modify data and control access to the tool for different staff members, including specifying access levels and selecting specific clients. It concludes with instructions on how to save and manage access settings.
1. Data Collection Tool
1. You will be able to edit the data collection of your clients more efficiently from the data collection tool.

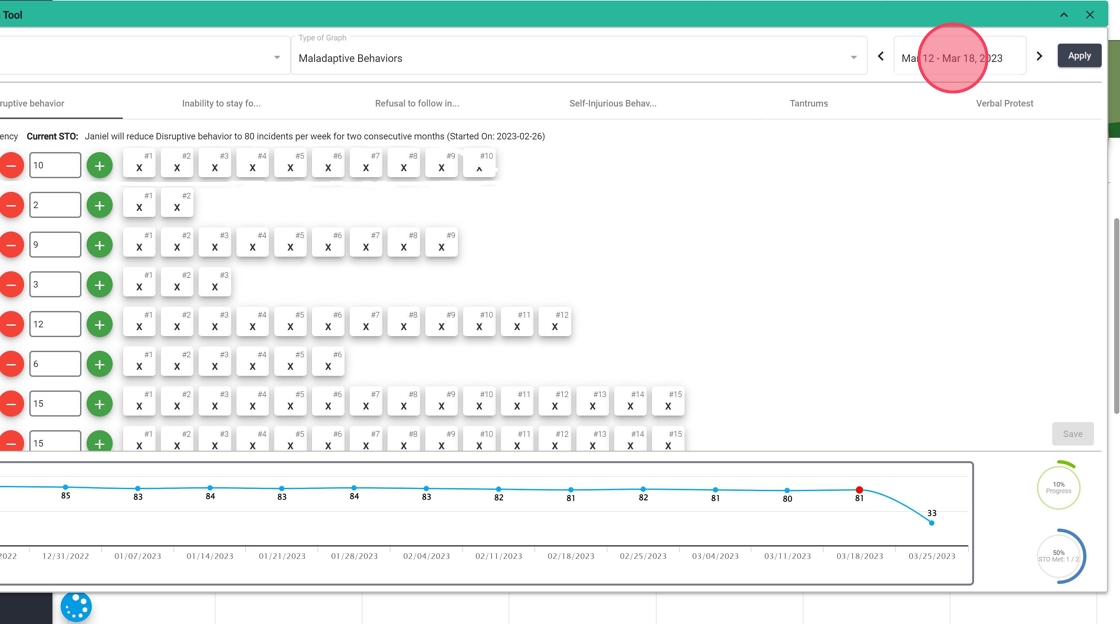
2. You only have to filter by the client you want, the type of graph (Maladaptive Behaviors, Replacement Behaviors or Skill Acquisitions) and date:

1.1. Data Collection Tool View
3. Basic information of the behavior, replacement or skill selected:
- Measure : Measure of the behavior, replacement or skill selected
- Current STO : Current STO, with start date

1.1.1. Data collected in the selected week
4. You can see all the days when you collected data within the selected week, and the values of each one:

1.1.2. Graphic representation
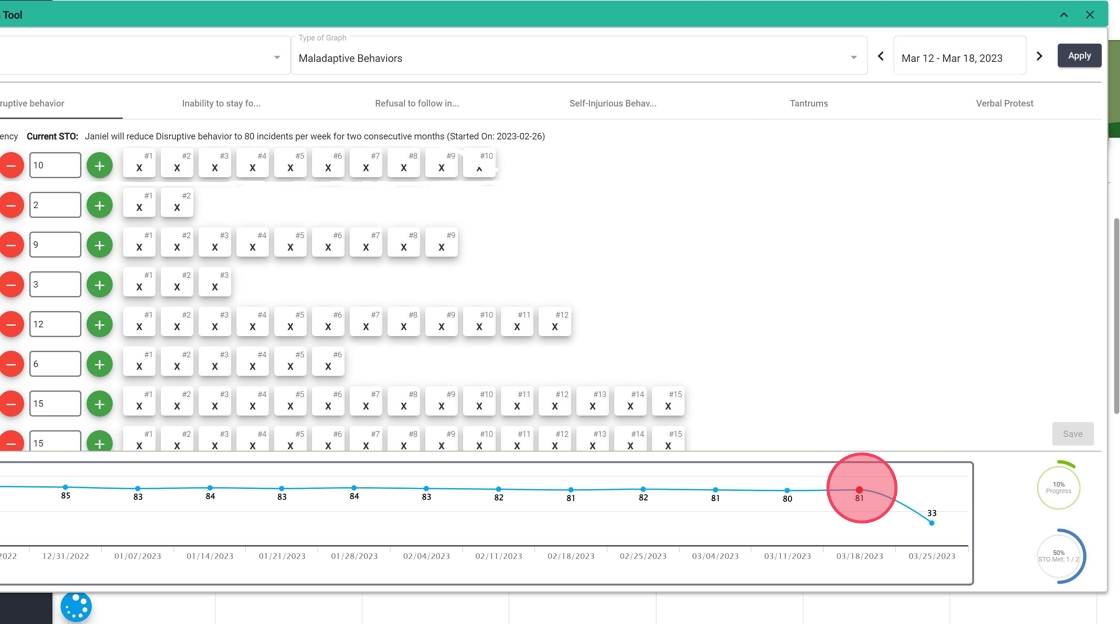
5. You can see all the days when you collected data within the selected week, and the values of each one:

1.1.3. Progress
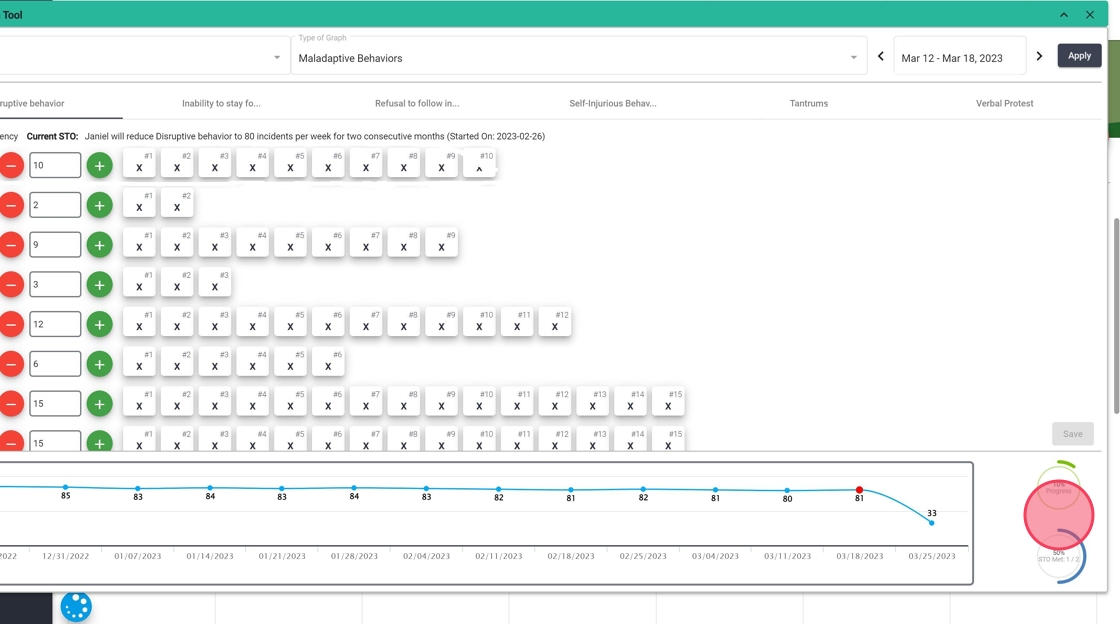
6. - Progress: % progress
- STO Met: Number of STOs that have been met out of the total

1.2. Modify the data collection
7. If you want to modify data on any of these days, you can do so as you normally would within a note:

2. Data Collection Access
8. By default, this tool will be available for all notes In Progress, but you can control which employee has access, and what type of access to this tool, like this:

2.1. Users
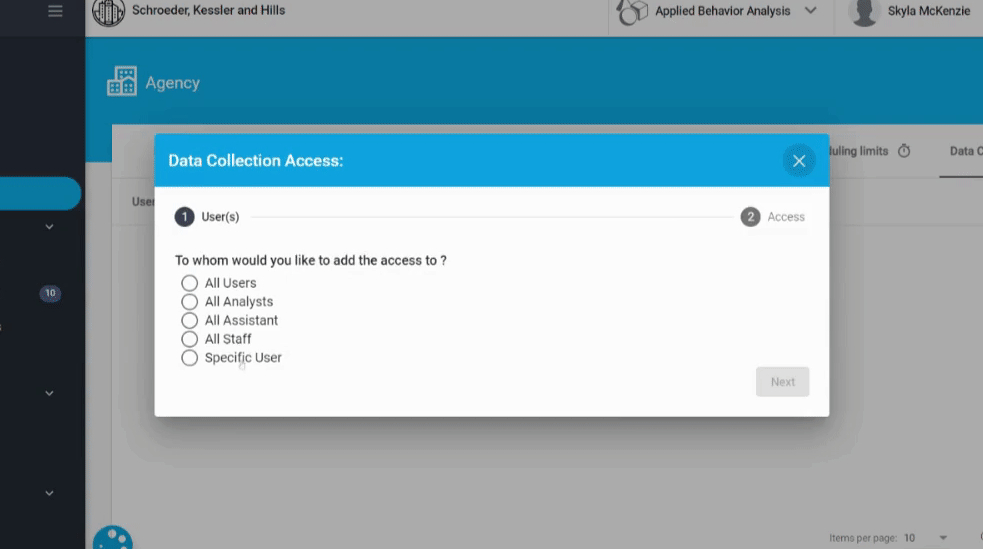
9. You can decide which users have different access to the data collection tool:

10. Specific User
When you select a specific user, you can also select with which of their clients they will have said access:
- Select the user
- Select the clients the user will have access to

2.2. Access
11. After choosing the user, you can choose what access they will have:
- All the data collection: The selected user will have access to edit all sessions.
- Current Treatment Period: The selected user will have access to edit the sessions that are contained in the current treatment period. When the treatment period changes, the user will continue to have access to the data of the new current period, and will not be able to edit data of the previous period.
- Current month: The selected user will have access to edit the sessions that are contained in the current month. When the month changes, the user will still have access to the data from the new current month, and will not be able to edit data from the previous month.
- Data range: you can also select a specific time interval in which you want to give access to edit data:

2.3. Save
12. When you're done adding access, you can save the changes. Then you will see a list with all the accesses that you have granted to the employees in the system. You can add as many accesses as you want.

Edit or Delete
13. You can edit or delete the accesses already created:

