
How to add a new client
This guide provides step-by-step instructions on how to add a new client to a system. By following these instructions, users will be able to easily navigate to the clients view, add a new client, enter the required information, and successfully add the client. This guide is useful for anyone who needs to add new clients to their system efficiently and accurately.
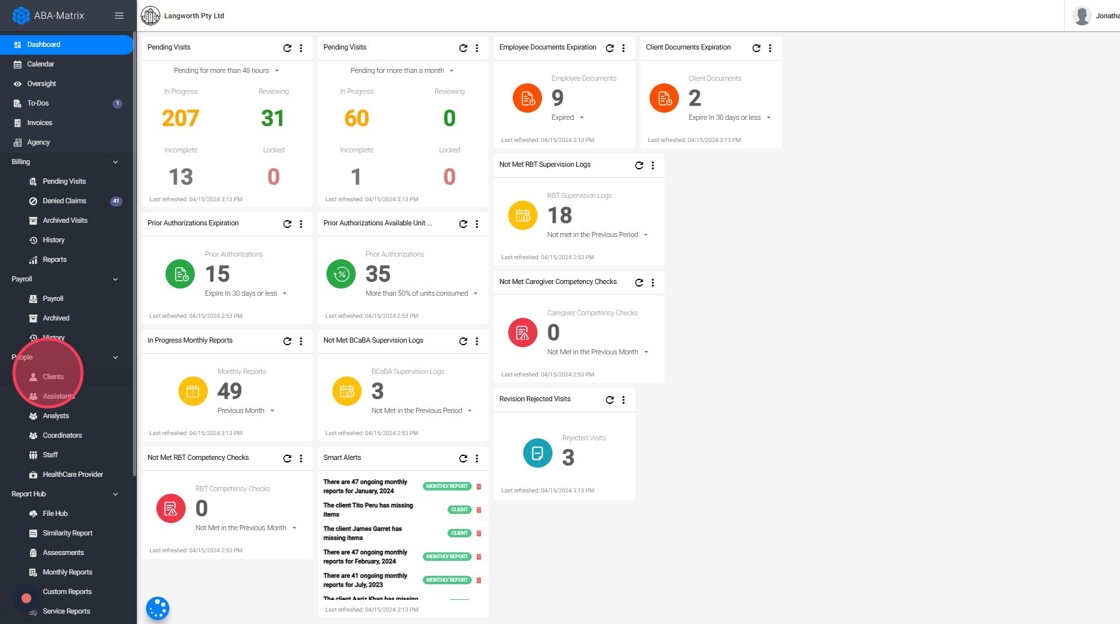
1. Go to Clients view
To add a new client, press the "Clients" button found in the navigation bar located on the left of your screen.
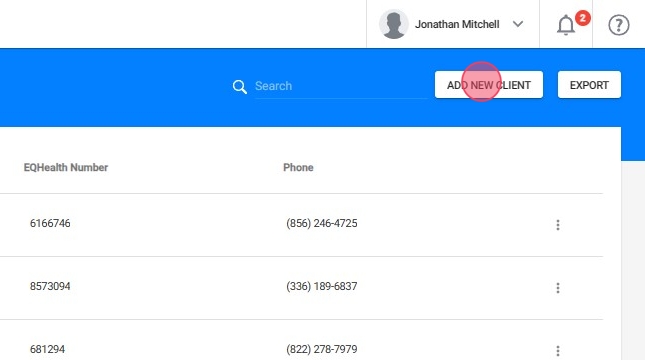
2. Add a new client
Then, at the top right of the screen you will find the "Add new client" button, which will allow you to create a new client, as shown in the following image.
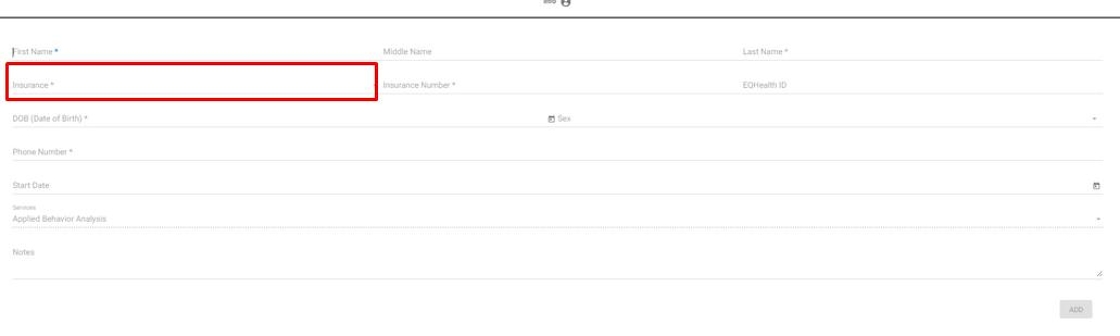
3. Add the required information
You will see a window like the one in the image where you must enter the client's personal information.
The fields that have an asterisk (*) are required and must be completed.

Make sure you are adding the correct insurance for the client. If you don't see it in the Insurance dropdown, you need to set it up for your agency
4. Add the client
Once the information is in the system, press the “Add” button to finish the process of adding a new client.
