
How to change the client's insurance (for administrative staff)
This guide provides a step-by-step process for changing a client's insurance in our software. It ensures a smooth transition by guiding users through selecting a new insurance plan, completing necessary information, setting the effective date, handling existing visits and approvals, and reviewing insurance history. Following these steps will ensure that the client's new insurance is correctly configured, and all future visits will be billed under the updated insurance.
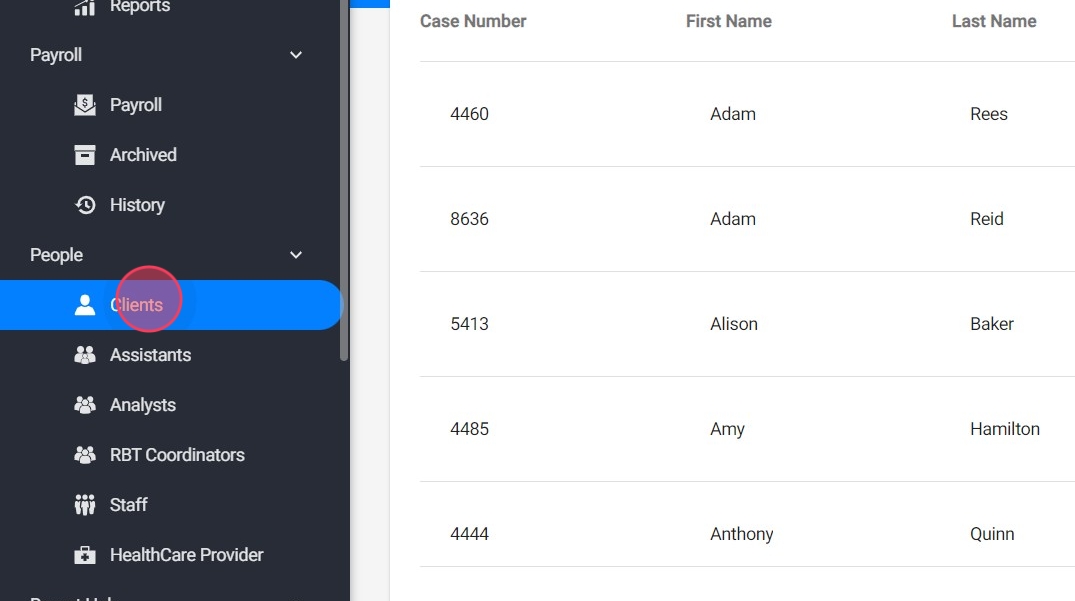
1. Changing a client’s insurance in our software is a straightforward process. Follow the steps below to ensure a smooth transition. Just go to "Clients"
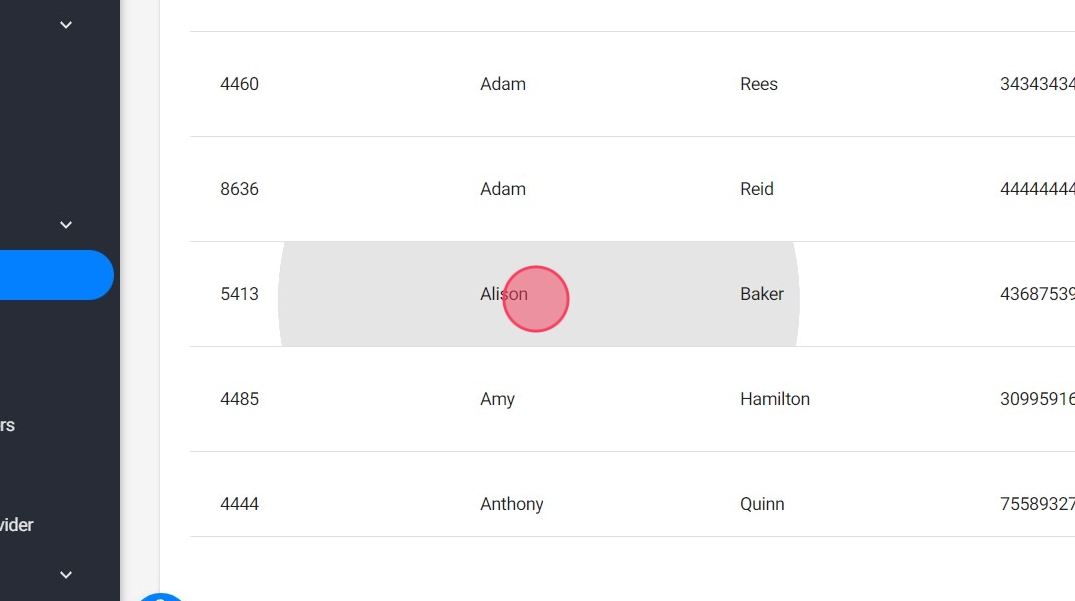
2. Navigate to the Client’s Profile: Go to the client’s profile where you wish to change the insurance information.
Step 1: Select the New Insurance
3. Click "Insurance"

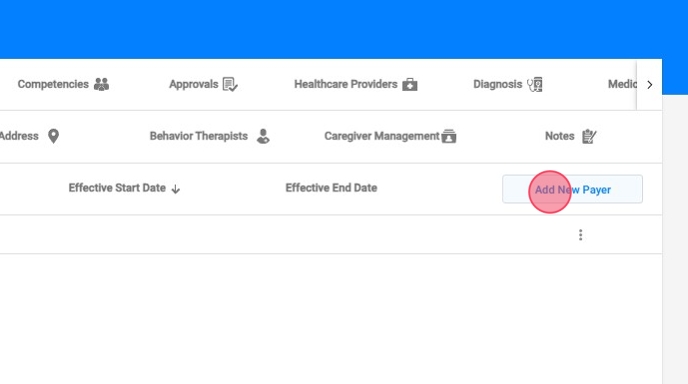
4. Click "Add New Payer"
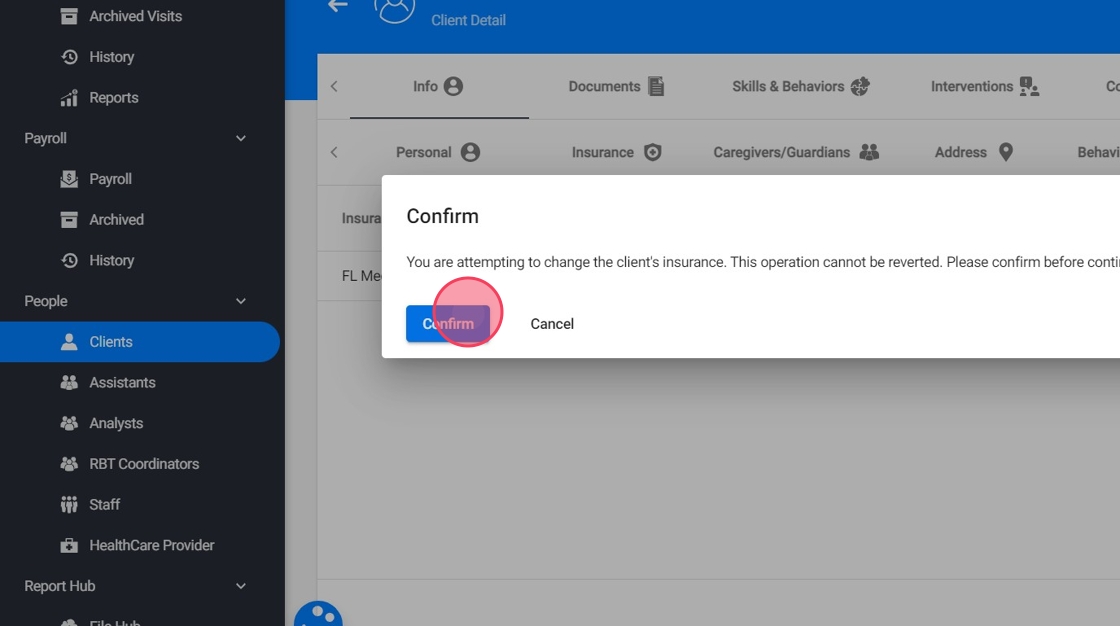
5. This operation cannot be reverted, so you need to confirm before continuing.
6. Choose the New Insurance: From the list of all insurances configured in your agency, select the new insurance plan.

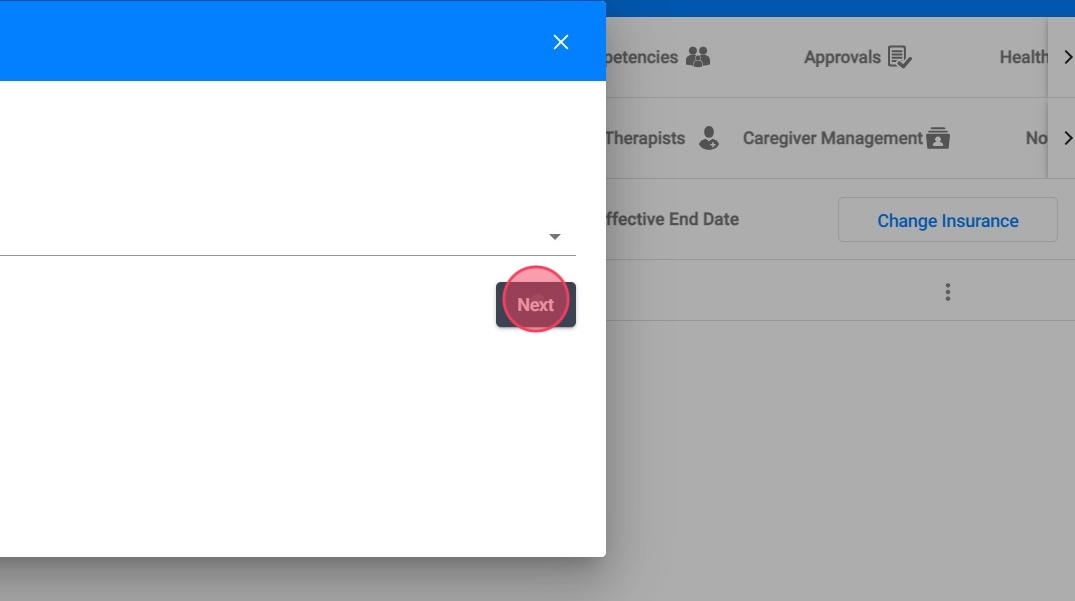
7. Click "Next"
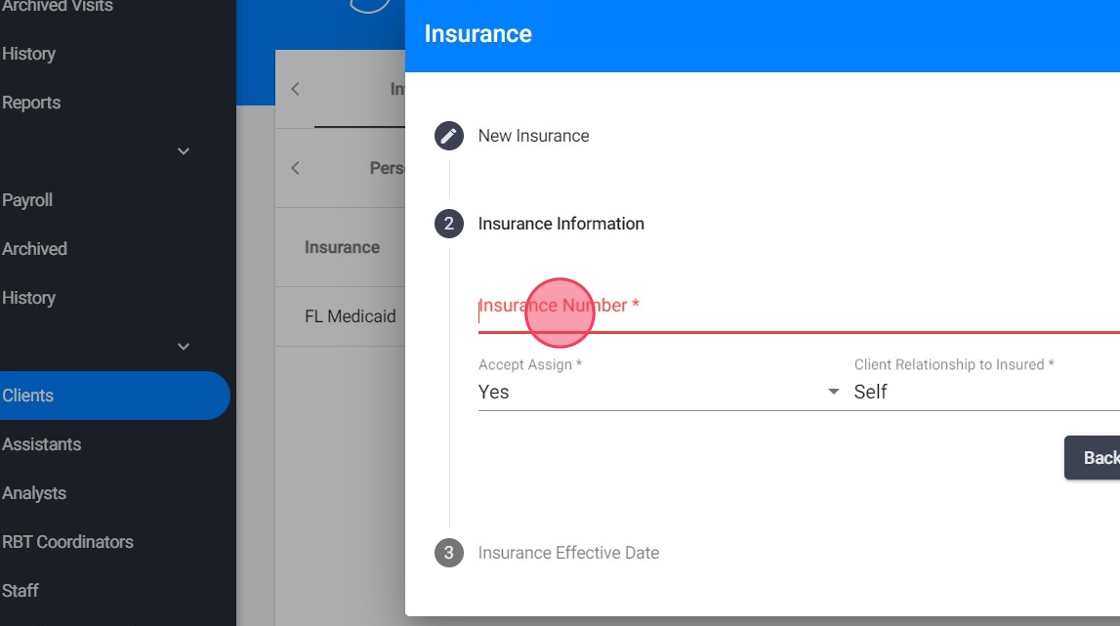
Step 2: Complete the Insurance Information
8. Fill in the necessary insurance information:
- Insurance Number
- Accept Assignment (Yes/No)
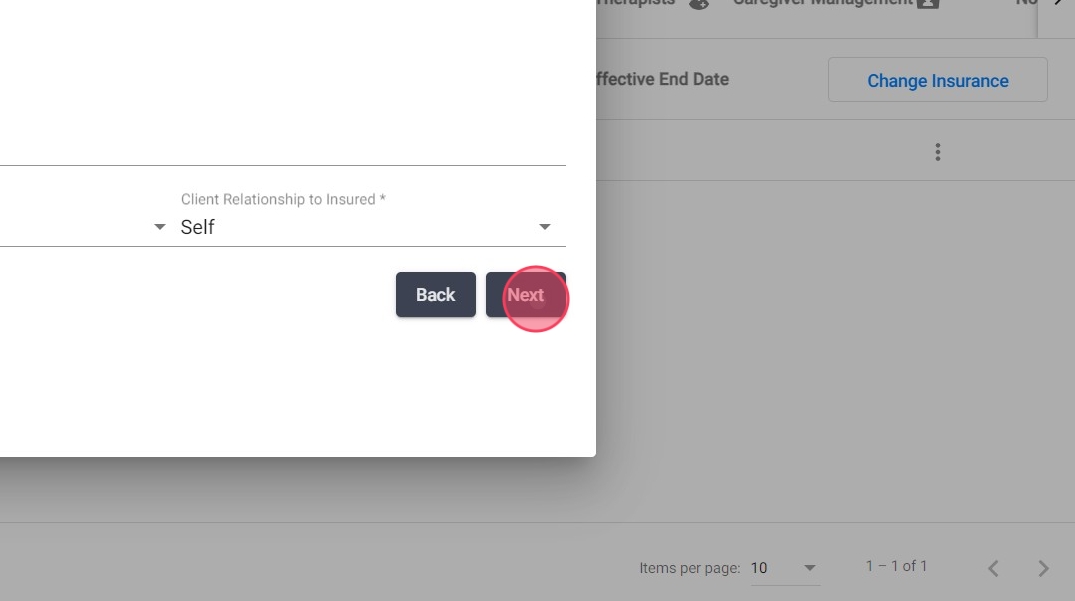
- Client's Relationship to Insured (e.g., self, spouse, child)
9. Click "Next"
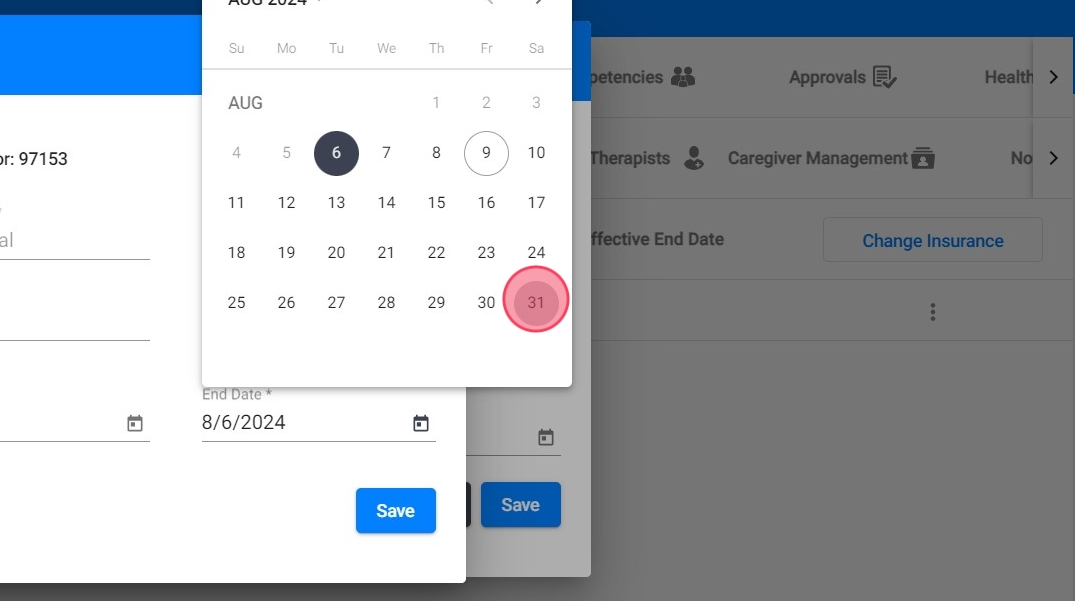
Step 3: Set the Effective Date
10. Choose the Effective Date for the New Insurance
You can select an effective date based on the following criteria:
- If there are previously billed visits: The earliest date you can choose is the day after the last billed visit under the previous insurance.
- If there are authorizations with a start date later than the last processed claim date: The earliest date you can choose is the day after the start date of the most recent authorization.
The system will suggest this date by default, but you can select a later date if needed.

If there are visits in the "Pending Visits" section ready for billing, the system will automatically update the insurance information for those visits. Only visits that have already been billed are locked to the insurance they were billed under.
Step 4: Handle current authorizations
When changing a client’s insurance, you have two options for handling existing authorizations:
- Transfer the current authorizations into the new insurance
- Create new authorizations for the new insurance
11. (Option 1) Transfer current authorizations into the new Insurance:
If you have active authorizations that need to be moved to the new insurance after its effective start date, simply mark the "Transfer current authorizations into new insurance" option and click "Save"

12. The system will automatically split the existing authorization:
- The original authorization will now end on the day before the new insurance’s start date.
- A new authorization will be created under the new insurance, starting from its effective date and continuing until the original authorization’s end date.

13. The transferred authorization will carry over any remaining units available at the time of the transition.
This is useful when a client switches insurance providers but still has valid authorizations that need to be transferred to ensure continuous service coverage. The system enables this transfer efficiently, ensuring that authorizations remain active and are correctly reflected under the new insurance, allowing services to continue without interruption.
- (Option 2) Create new authorizations for the new insurance
If you prefer not to transfer existing authorizations, simply leave the "Transfer current authorizations into new insurance" option unchecked.
If there are any scheduled visits after the effective date that haven't been billed yet, the system will prompt a window where you’ll need to enter new authorization details for those visits.

Alert: Visits cannot be left without an associated procedure code
15. Create New Approvals: Add the new approvals for all procedure codes with scheduled visits.
- Include the PA (Prior Authorization) number or create it as provisional.
- Enter the units

16. Set the Authorization Dates:
- The start date of the new authorization must be at least the last day a session from the previous insurance/authorization was billed. The system will suggest this date by default.

17. The end date should be at least the last day of visits scheduled in the system.
18. Click "Save"

19. Once you have completed these steps, the client's new insurance will be correctly configured, and all future visits will be billed under the updated insurance. If you have any pending visits that need to be billed, make sure to check that their insurance information has been updated accordingly.

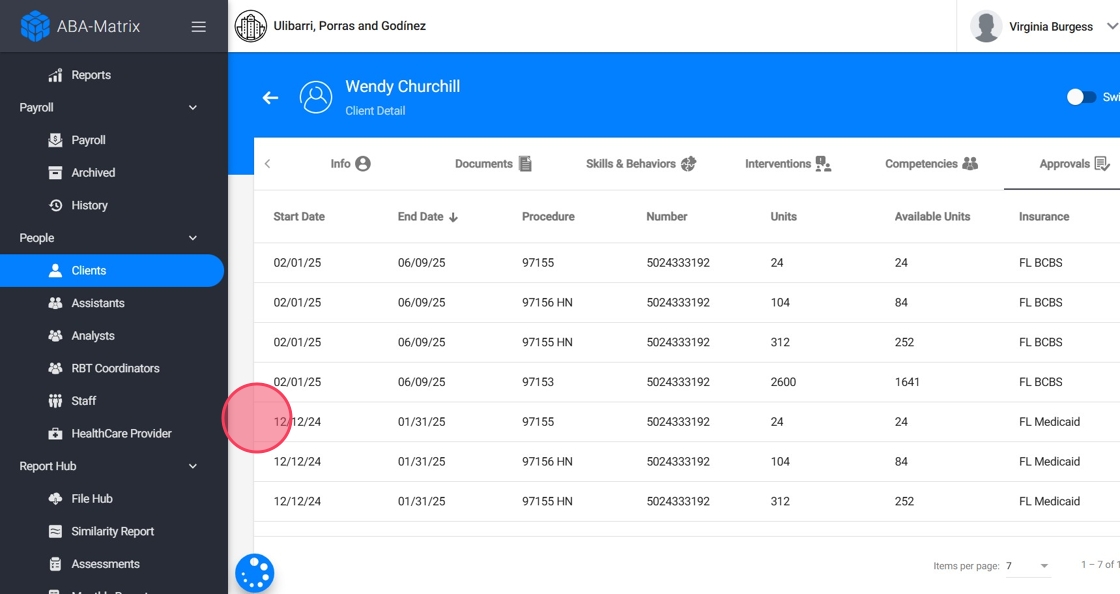
Review the Insurance History
20. View Insurance Records:
- After updating the insurance, you will see a record of all the client's insurances listed in their profile.
- Previous insurances will be marked with their respective effective end dates.
- The current insurance will be listed with its effective start date.
