
How to set up a new insurance (for administrative staff)
This guide provides a comprehensive overview of setting up new insurance within your agency, ensuring efficient management of insurance providers. It breaks down the process into clear sections—Active, Draft, and Inactive Insurances—allowing for easy navigation and understanding. By following the steps outlined, users can accurately configure billing information, assign services, and avoid common mistakes, ultimately streamlining their insurance management process. Additionally, it offers support options for further assistance, enhancing user experience.
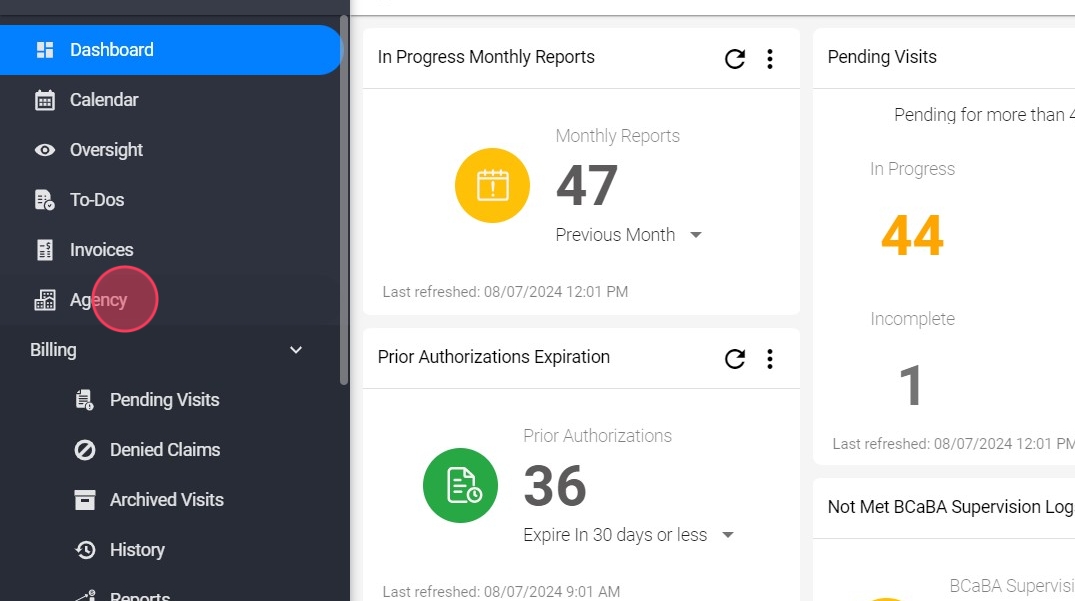
1. To set up a new insurance click "Agency"
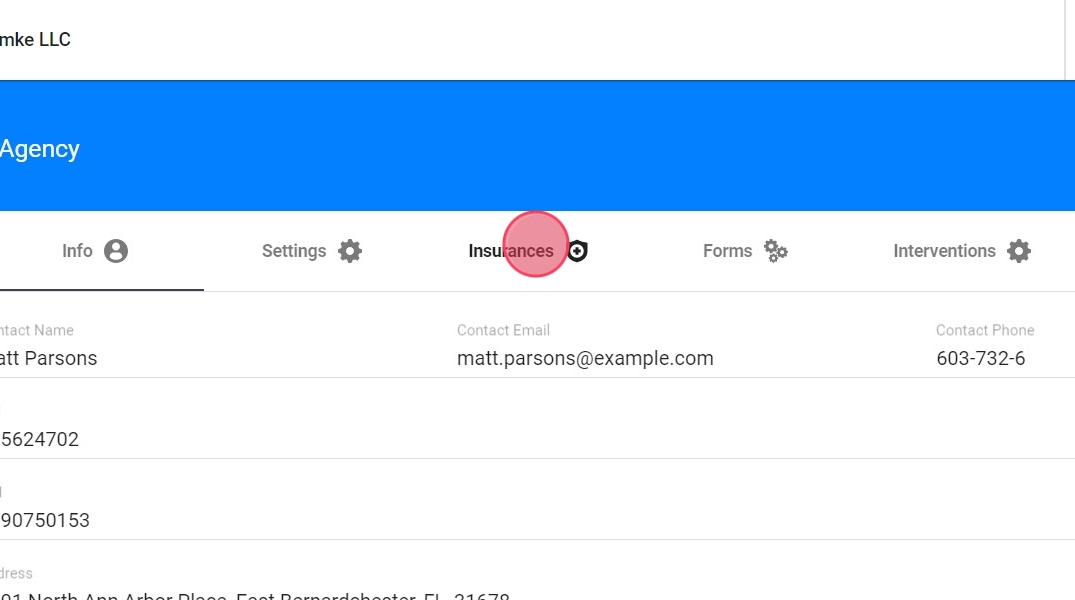
2. Click Insurances
1. Understanding the Insurance sections
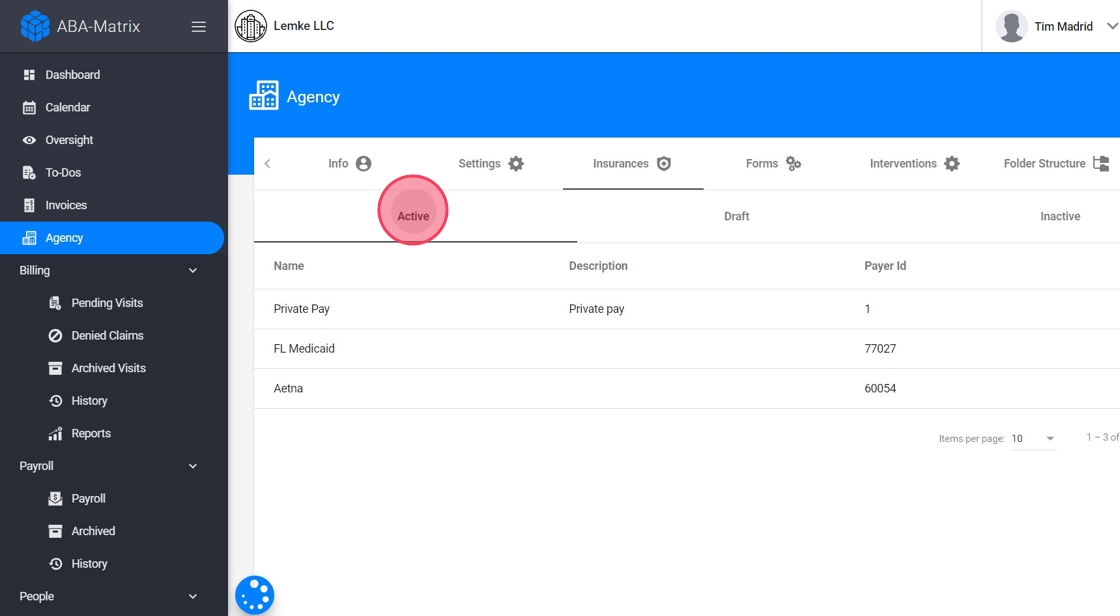
3. Our system allows you to manage insurance providers effectively by organizing them into three main sections: Active Insurances, Draft, and Inactive Insurances.
-
Active Insurances:
This section lists all the insurances currently in use by your agency. Once an insurance is moved to this section, it becomes available for scheduling visits. While you can continue to make certain edits, such as adding modifiers to procedure codes, major changes cannot be made once the insurance is linked to a scheduled visit.
-
Draft:
The Draft section is where you configure new insurances. You can freely add and adjust details here until the insurance setup is complete. Once fully configured and approved, you can move the insurance to the Active section.
-
Inactive Insurances:
This section contains insurances that are no longer in use. You can move insurances here if they are no longer needed.[[ ]]While inactive, they can't be assigned to any new client.
2. Adding a new Insurance
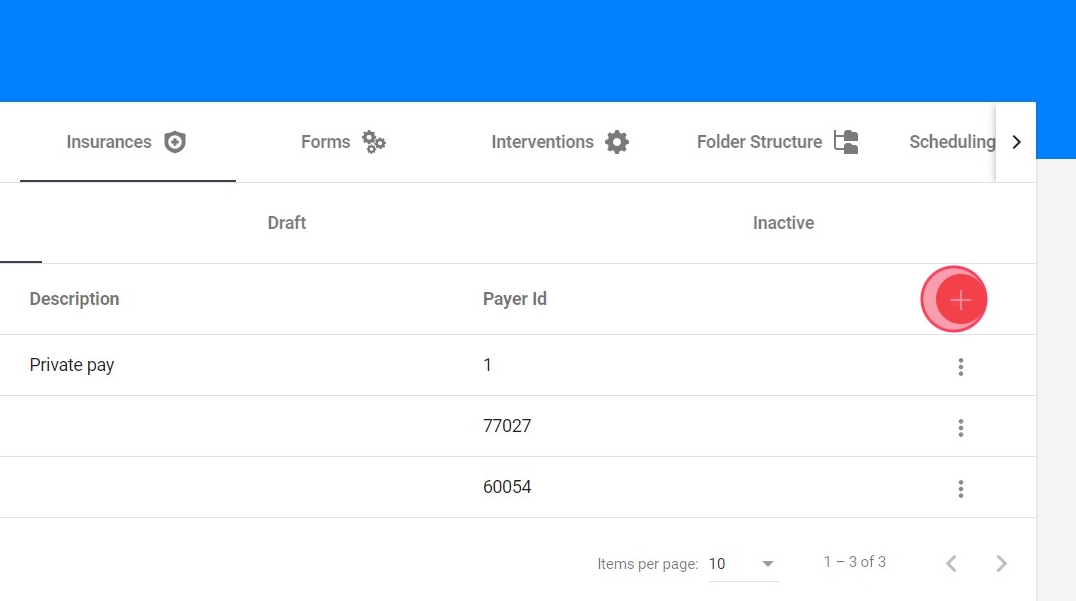
4. To add a new insurance click this icon.
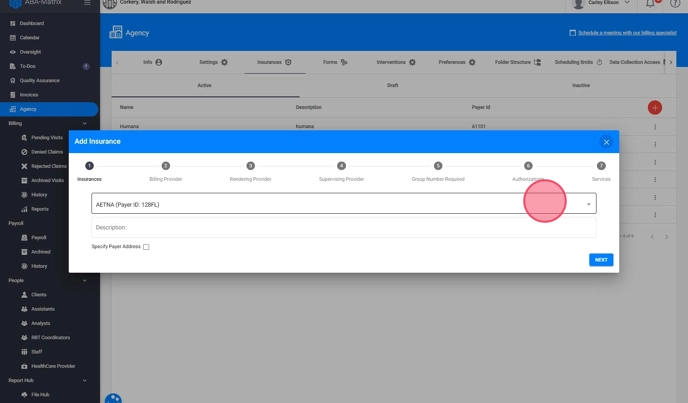
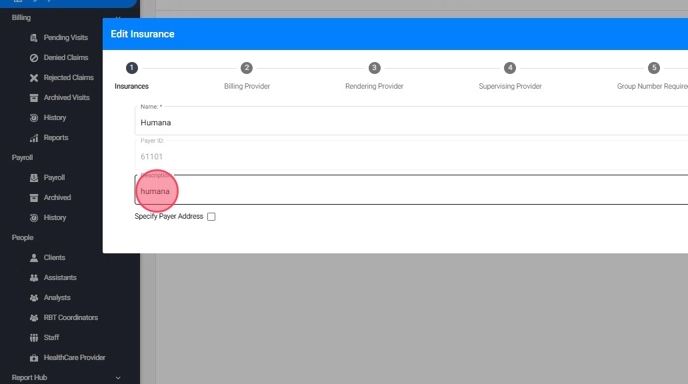
Step 1: Select the insurance
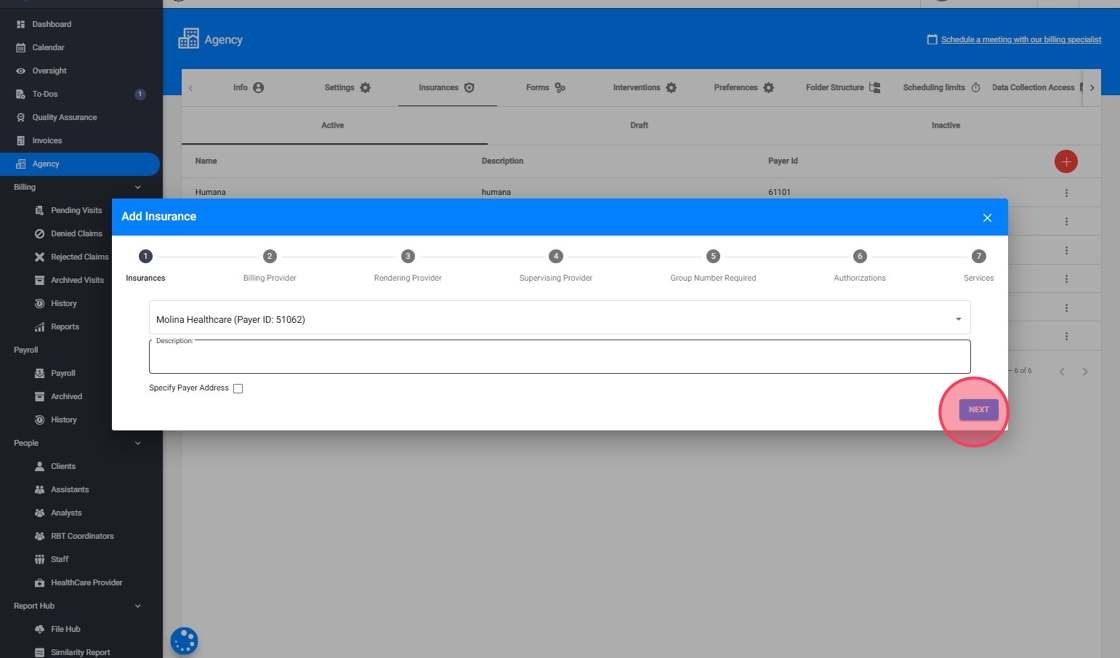
5. You can search for the Insurance by payer ID. You can also add a description to provide additional context or details about the insurance.
6. If you don’t find the insurance with the specific payer ID, you can add it manually by entering the necessary details.
Just select "Other", add the Insurance name, payer ID and description.
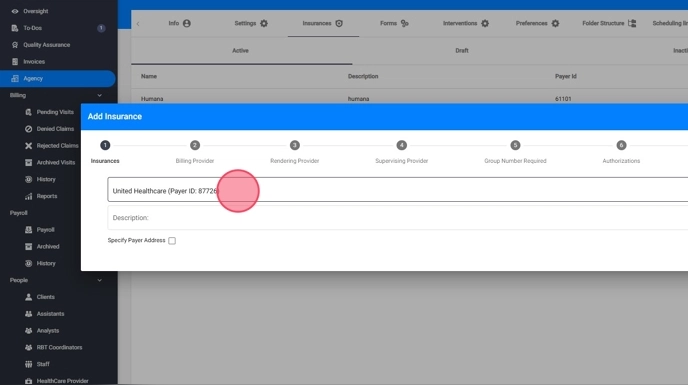
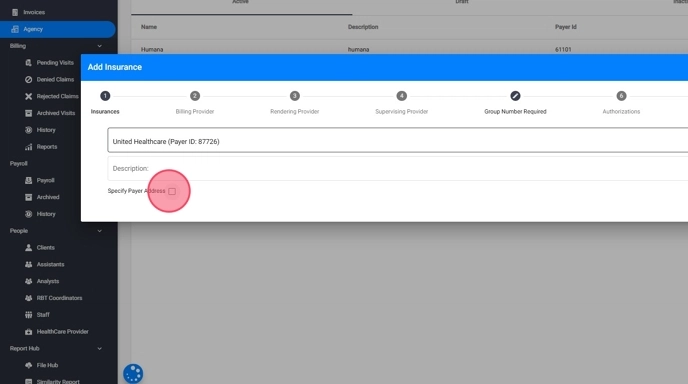
7. Payer Address
If required, you can add the payer address during insurance setup. This address will automatically be included on all claims associated with that insurance.
8. Once you have the insurance, click "NEXT"
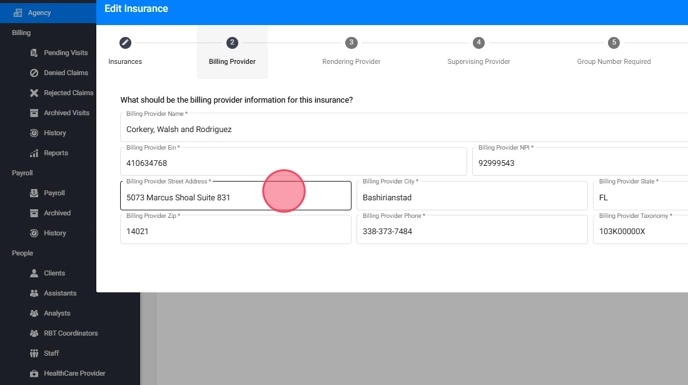
Step 2: Review the Billing Provider Information
9. In the Billing Provider section, please review, and change if necessary, the fields to ensure they contain accurate details about the billing provider. This includes:
- Provider Name: Name of the billing provider.
- Billing Provider EIN
- NPI (National Provider Identifier): Provider's unique identification number.
- Address: Complete address, including city, state, and zip code.
- Phone Number: Contact number for the billing provider.
- Billing Provider Taxonomy: Verify the taxonomy code aligns with the provider's classification.
After confirming that all the information is accurate and up to date, click Next to proceed to the third section.
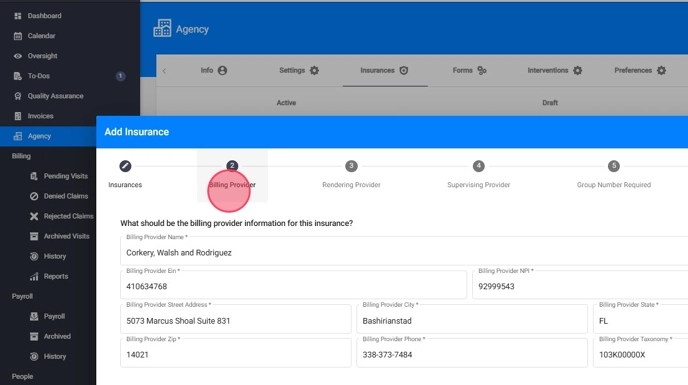
By default, the information in this section will match with the agency's information in the system.
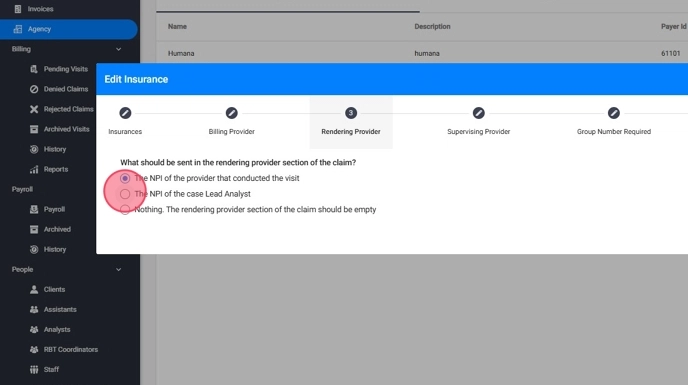
Step 3: Select the Rendering Provider for Claims
10. Decide what information should be sent in the rendering provider section of the claim. You can choose from:
- NPI of the rendering provider who conducted the visit
- NPI of the case Lead Analyst
- Leave it blank
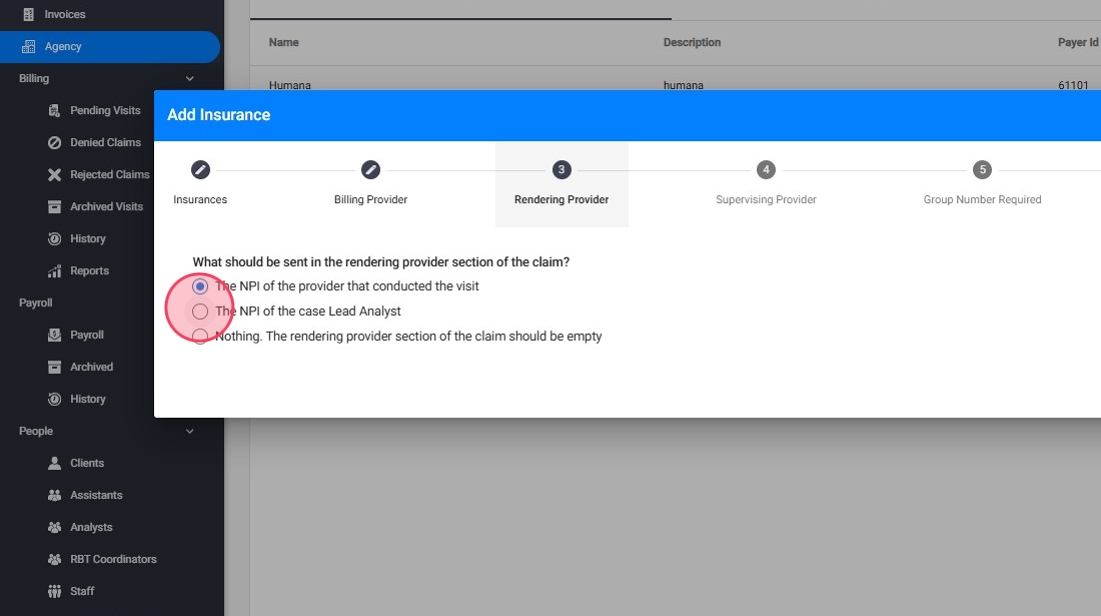
If you select "The NPI of the Case Lead Analyst" you must assign a Case Lead Analyst to each client covered by that insurance. This information will be sent to Billing based on the designated lead analyst for each case.
11. To assign a Case Lead, go to the client's profile, navigate to the Insurance section, select the insurance, and choose the Case Lead.

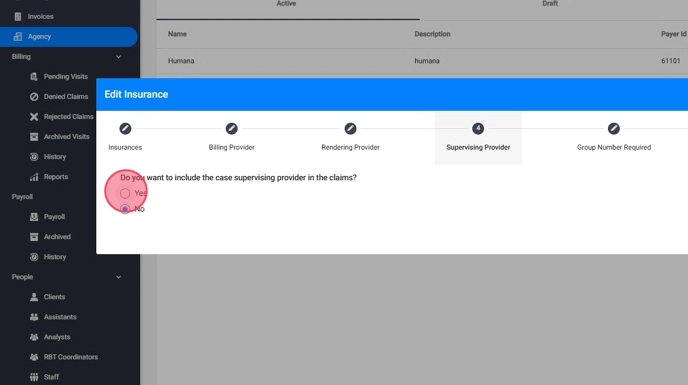
Step 4: Supervising Provider
12. To answer the question "Do you want to include the case supervising provider in the claims?", follow these steps:
- If you want to include the information of the case supervising provider in the claims, select Yes and click Next to proceed.
- If you do not want to include the case supervising provider, select No and then click Next to continue.
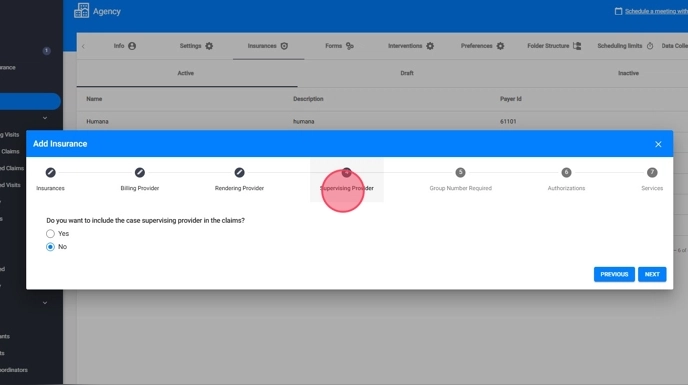
If you select Yes, you must select a Supervising provider for each client covered by that insurance. This information will be sent to Billing based on the designated supervising for each case.
13. To select the Supervising provider, go to the client's profile, navigate to the Insurance section, select the insurance, and choose the provider.

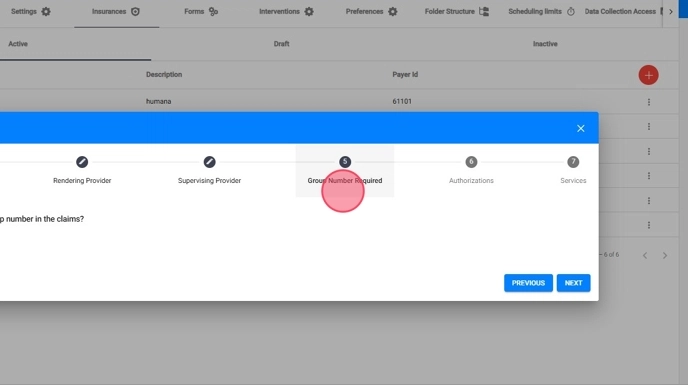
Step 5: Group Number Required
14. If needed, you can also configure the insurance to include the group number in the claims
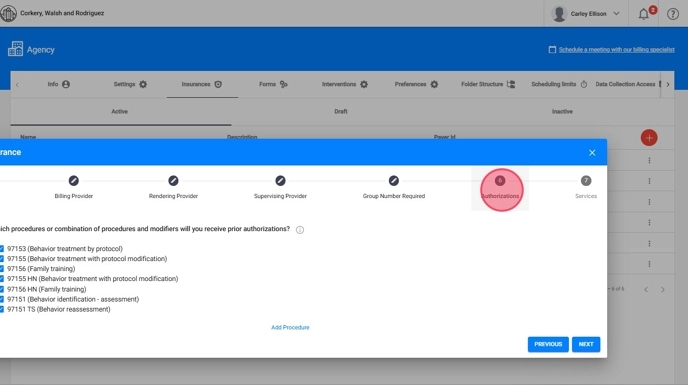
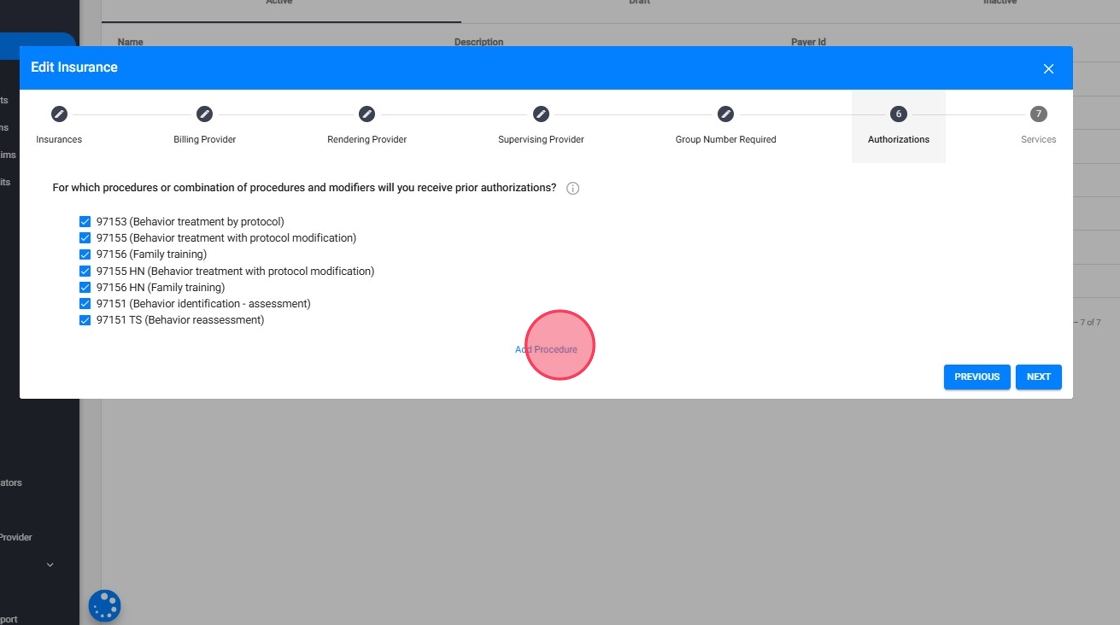
Step 6: Select the Procedures
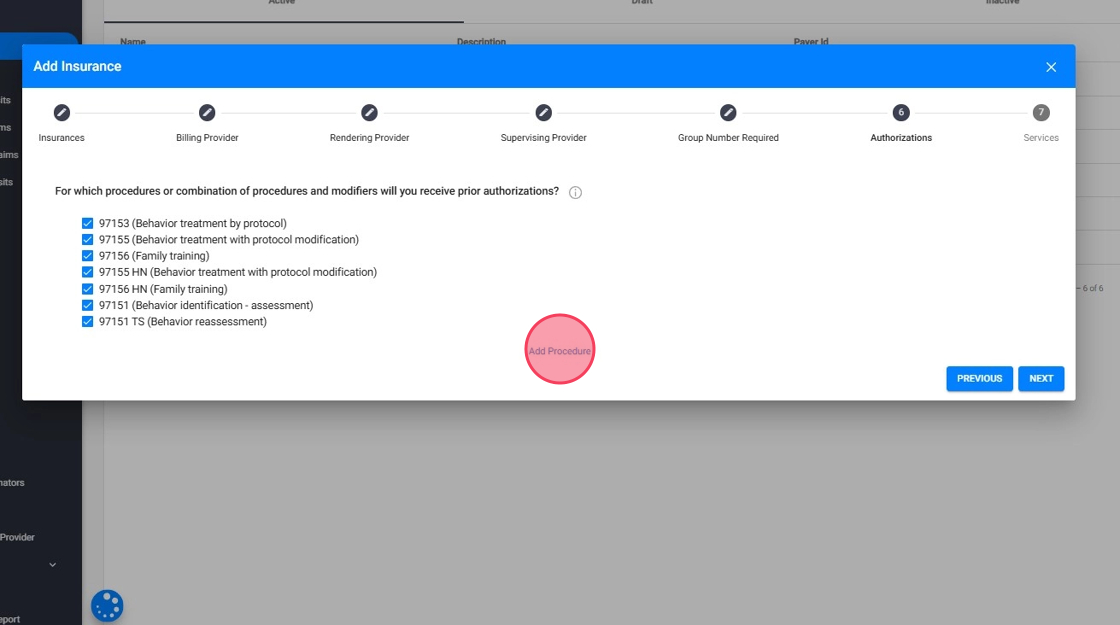
15. Choose the procedures or combinations of procedures and modifiers that you have received prior authorizations for. By default, our system includes
- 97153 (Behavior treatment by protocol)
- 97155 (Behavior treatment with protocol modification)
- 97155 HN (Behavior treatment with protocol modification)
- 97156 (Family training)
- 97156 HN (Family training)
- 97151 (Behavior identification - assessment)
- 97151 TS (Behavior identification - reassessment)
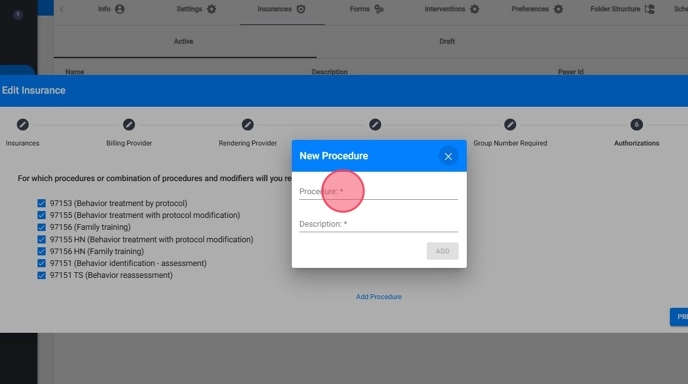
16. You can manually add more procedures as needed. Just click "Add Procedure"
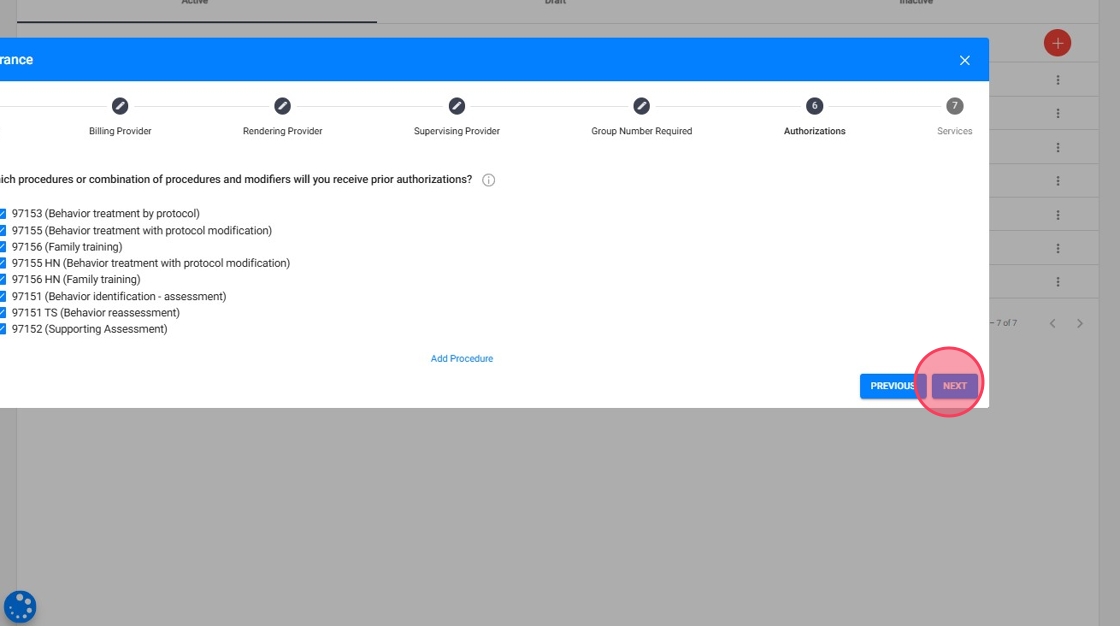
17. Enter the procedure and the description, and click Add
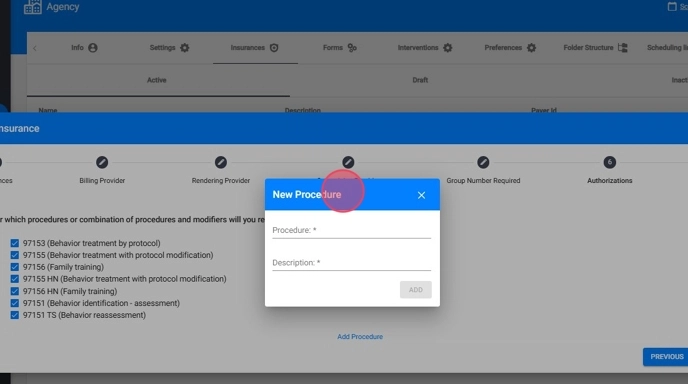
For combinations of procedure and modifier, the procedure and the modifier should be separated by a space.
Ex 97155 HN instead of 97155HN
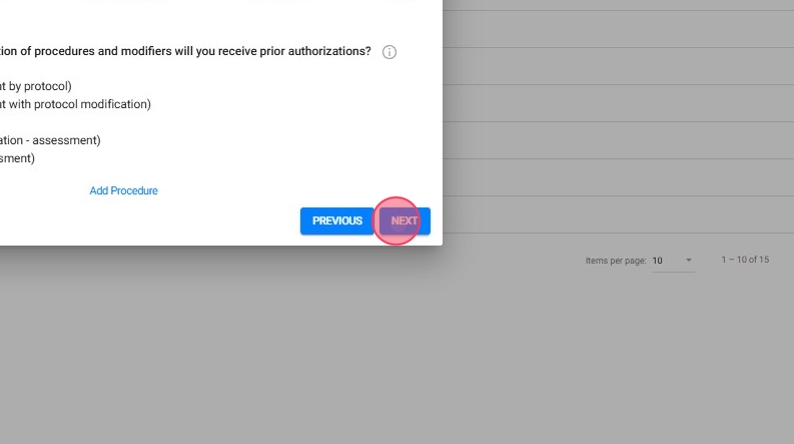
18. Click "NEXT"
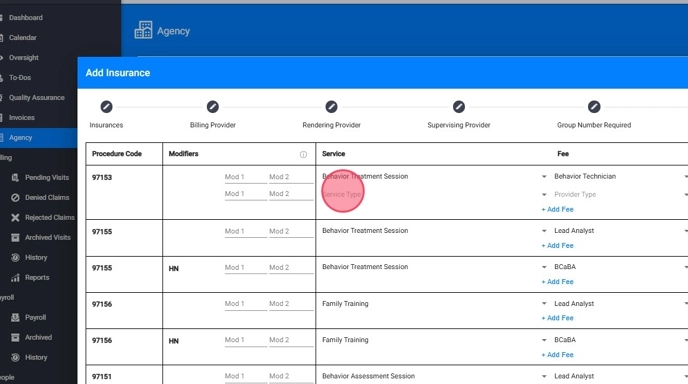
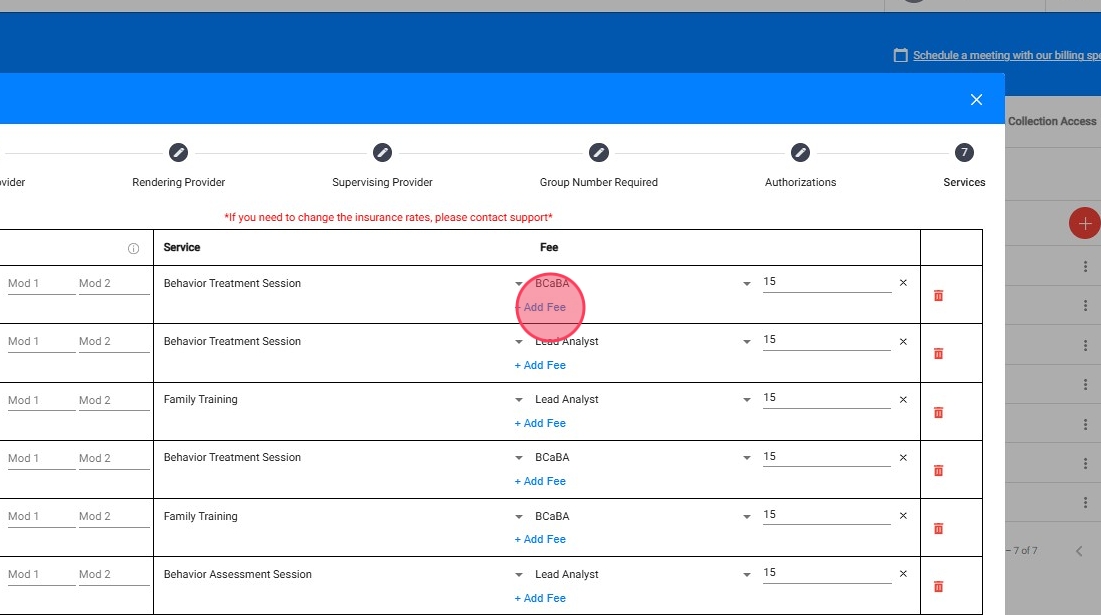
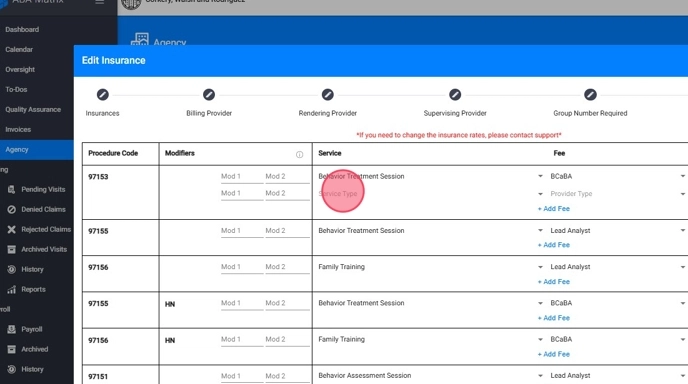
Step 7: Configure services assigned to each code
19. You need to assign specific services to each procedure code, ensuring that your scheduling and billing processes align with the services your agency offers
We will give some suggestions, but you can edit those fields.
- Click "Add Fee" in the table

20.
2. Select the Service for each Code
For each procedure code, you need to assign a corresponding service. This service is what will appear on the calendar when scheduling visits, like:
- Behavior Treatment Session: Typically associated with the procedure code 97153.
- Family Training: Often linked to the procedure code 97156.
- Behavior Assessment Session: Usually tied to the procedure code 97151.
- Behavior Reassessment Session: Can be linked with codes used for reassessments.
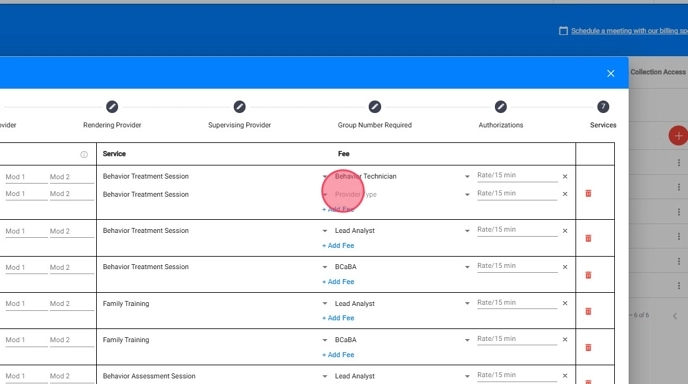
21.
3. Assign the Provider Role
After selecting the service, you'll assign which type of provider can schedule this event. This step is crucial for ensuring that only the appropriate employee can book specific types of sessions. You can choose from:
- Behavior Technician: Typically schedules sessions like Behavior Treatment.
- BCaBA: Can schedule sessions like Behavior Treatment or Family Training.
- Lead Analyst: Typically has the ability to schedule any type of session, including assessments and supervisions.
This role-based assignment ensures that each service is linked to the right provider, maintaining compliance and organizational workflow.
22.
4. Enter the Rate per 15 Minutes
For each service linked to a procedure code, you must enter the rate per 15-minute. This is crucial for accurate billing and ensures that the rates align with your agency’s contracts and agreements with payers.
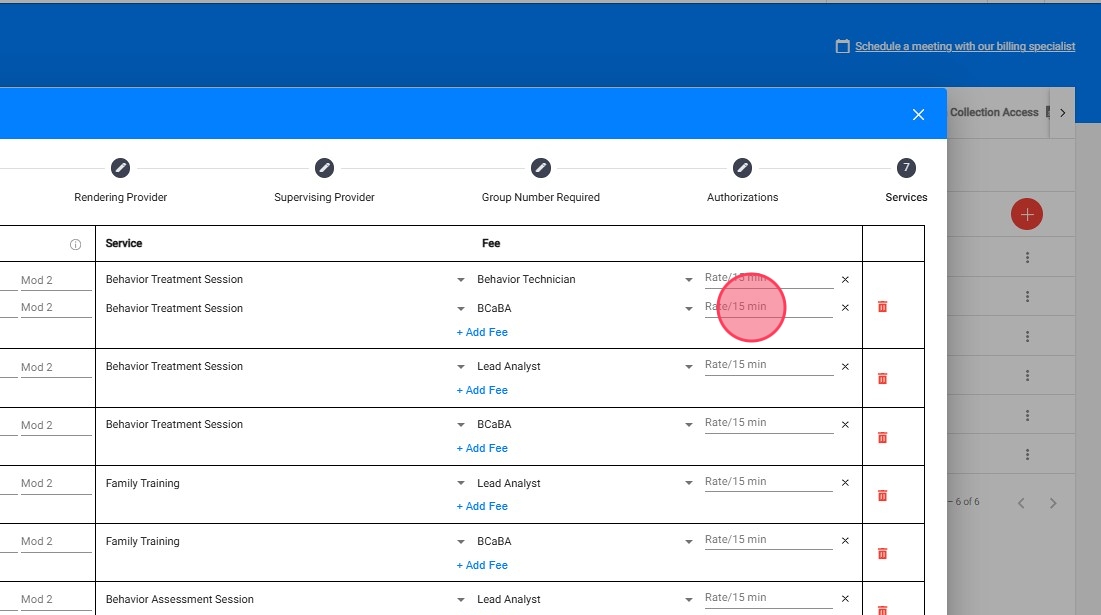
When adding a service rate, ONLY enter the number.
🚨 DO NOT INCLUDE:
❌ "$" signs (e.g., ❌ "$10" → ✅ "10")
❌ Time units (e.g., ❌ "10/15 min" → ✅ "10")
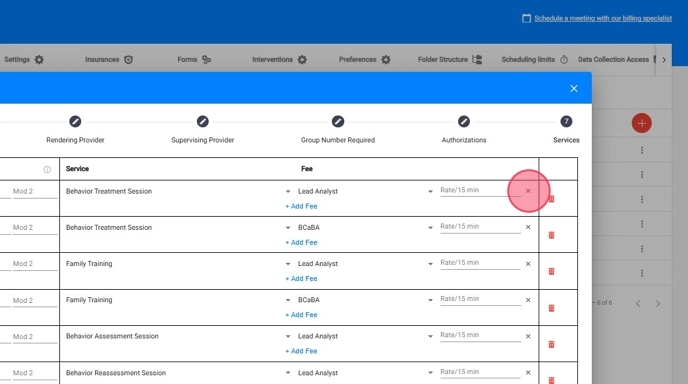
Removing a Service from a Code
23. 🗑To remove a service:
- Simply click the ❌ icon next to the service you want to remove from the code.
- The system will instantly remove that service from your fee schedule.
This helps keep your list clean and up to date with only the services you actually use.
Adding Modifiers (Optional)
24. Modifiers allow for more specific billing requirements.
- Locate the service in the table.
- Click "Modifier" next to the service.
- Enter the correct modifier

Only add modifiers that are not already included in the prior authorization codes. Staff members will be able to select these modifiers when creating a visit.
Billing Validations – Avoid Mistakes!
🚫 No duplicate modifiers – If a procedure already includes a modifier (e.g., "97155 HN"), the system will block adding "HN" again.
🚫 No incorrect format – The system will prevent entering modifiers without a space (❌ "97155HN", ✅ "97155 HN").
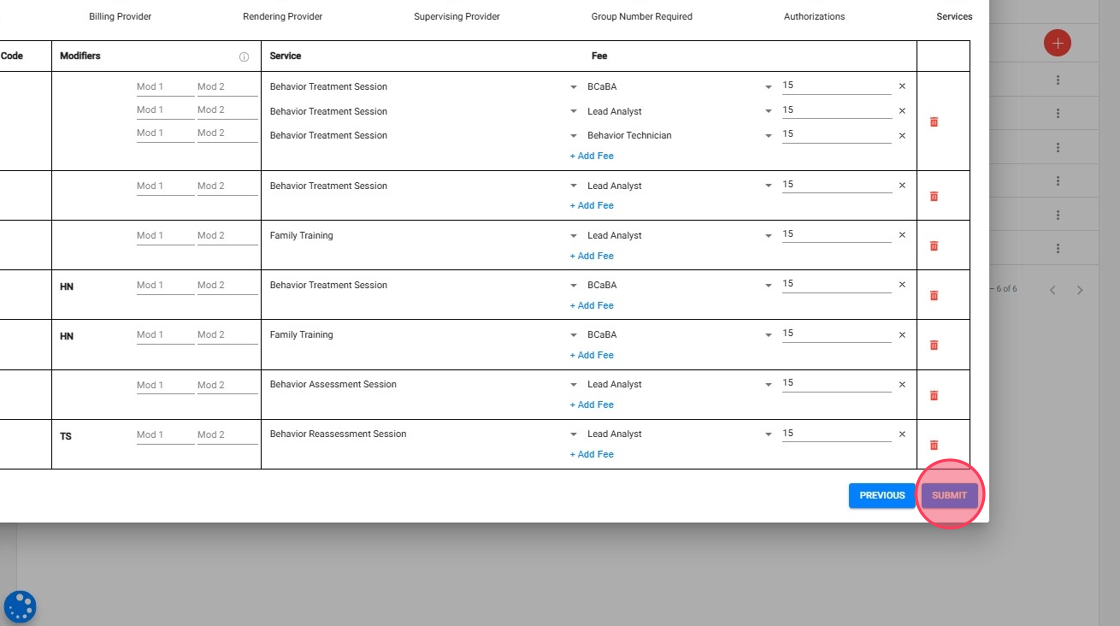
Step 8: Review
25. Final Check & Save Your Changes
✅ Review all entered services, modifiers, and rates. Once everything looks good, click "Submit"
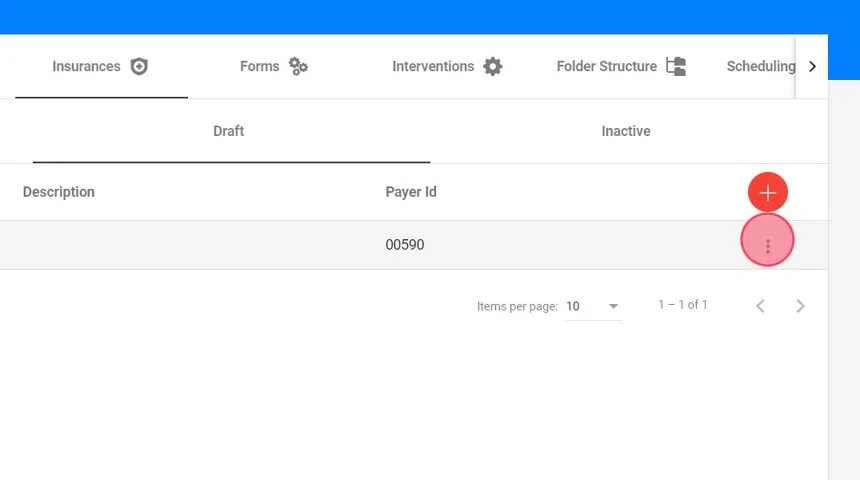
26. The insurance will remain in the Draft section where you can continue editing it as needed.

27. You can edit the information in all the steps.
3. Activating the Insurance
28. Once you are satisfied with the setup in the Draft section, you can move the insurance to the Active section.
Just click the three dots at the right side of the insurance you want to activate, and click "Make Active"

29. Click "Make Active"
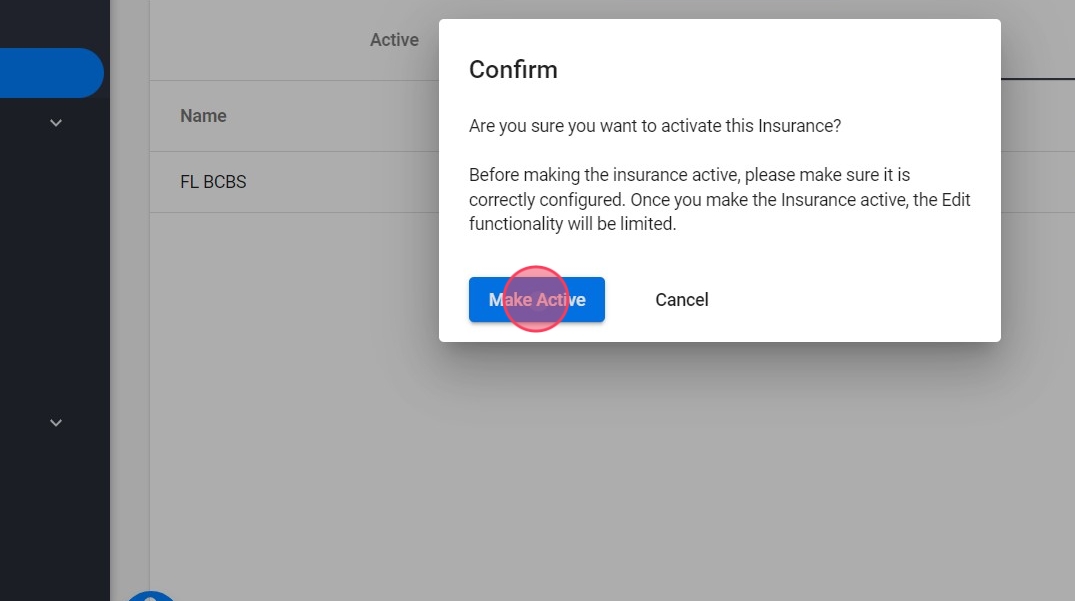
After the insurance is activated, it will be available for scheduling.
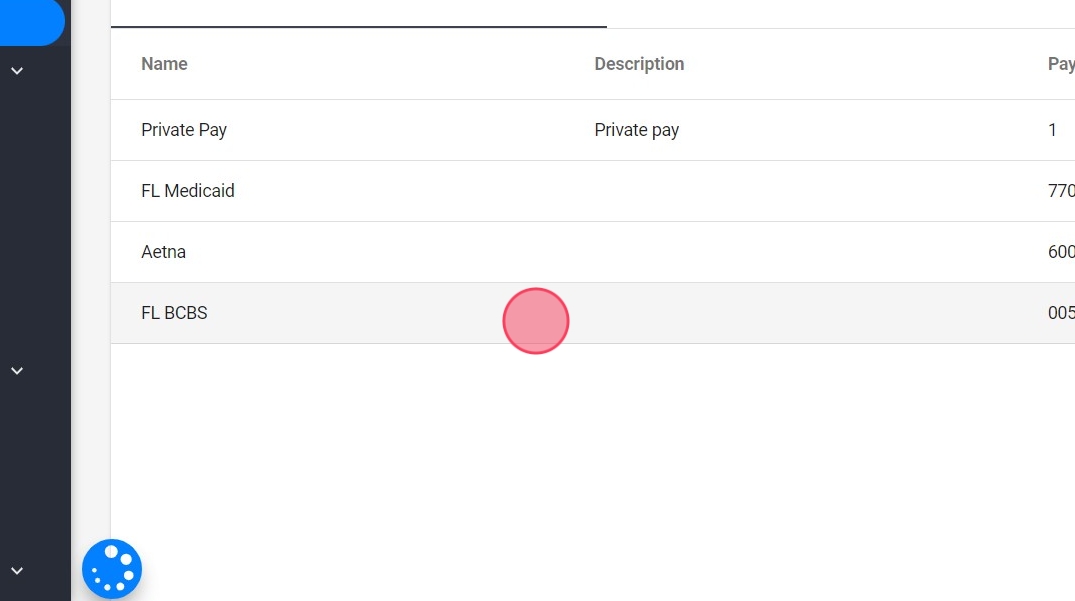
4. Editing configured Insurances
30. If you need to edit an already configured insurance, just find the insurance you want to edit in the Active section.
You can continue editing the insurance configuration in the Active section as long as no visits have been scheduled. Once a visit is scheduled, some elements will no longer be editable. You will still be able to edit the following:
- Insurance name
- Description
- Billing provider information
- Rendering provider
- Supervising provider
Additionally, you can continue adding procedures, service events, and modifiers.
Edit Insurance Name, and Description
31. Make the necessary modifications, then click "Next" until reaching the "Save" button at the end of the insurance configuration.
Edit Billing Provider Information
32. Make the necessary modifications, then click "Next" until reaching the "Save" button at the end of the insurance configuration.
Editing the Rendering Provider for Claims
33. Decide what information should be sent in the rendering provider section of the claim. You can choose from:
- NPI of the rendering provider who conducted the visit
- NPI of the case Lead Analyst
- Leave it blank
Click Next until you reach the Save button at the end of the insurance configuration, and then click Save.
In the client's profile, it is necessary to designate the Case Lead Analyst for the case. If the option "The NPI of the Case Lead Analyst" is selected, this information will be transmitted to Billing accordingly.
Editing the Supervising Provider for Claims
34. Editing the Selected Option for Supervising Provider
- Edit the selected option based on whether you want to send the Supervising Provider information.
- Mark Yes or No.
- Click Next until you reach the Save button at the end of the insurance configuration.
- Click Save.
In the client's profile, you must select the Supervising Provider for the case. If the "Yes" option is selected, this information will be transmitted to Billing accordingly.
Add a new procedure
35. You can manually add more procedures as needed. Just click "Add Procedure"
36. Enter the procedure and the description, and click Add
For combinations of procedure and modifier, the procedure and the modifier should be separated by a space.
Ex 97155 HN instead of 97155HN
37. Click "NEXT" to configure the service corresponding to the procedure.
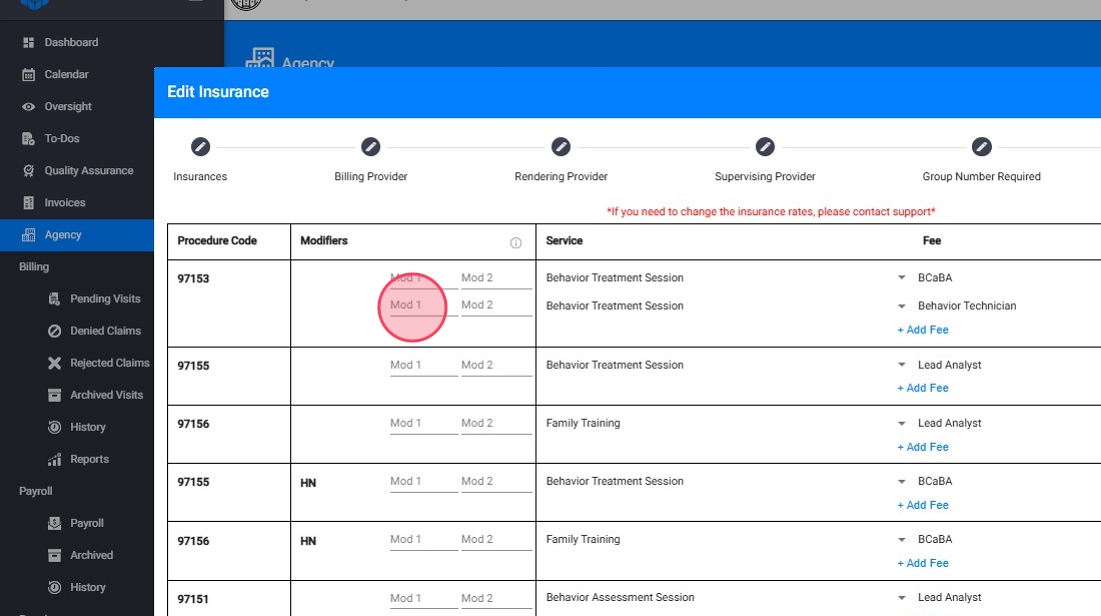
Add more events
38. You can also add more events, just select "Add Fee" in the table
39. Select the Service for each Code
For each procedure code, you need to assign a corresponding service. This service is what will appear on the calendar when scheduling visits, like:
- Behavior Treatment Session: Typically associated with the procedure code 97153.
- Family Training: Often linked to the procedure code 97156.
- Behavior Assessment Session: Usually tied to the procedure code 97151.
- Behavior Reassessment Session: Can be linked with codes used for reassessments.
40. Assign the Provider Role
After selecting the service, you'll assign which type of provider can schedule this event. This step is crucial for ensuring that only the appropriate employee can book specific types of sessions. You can choose from:
- Behavior Technician: Typically schedules sessions like Behavior Treatment.
- BCaBA: Can schedule sessions like Behavior Treatment or Family Training.
- Lead Analyst: Typically has the ability to schedule any type of session, including assessments and supervisions.
This role-based assignment ensures that each service is linked to the right provider, maintaining compliance and organizational workflow.
41. Enter the Rate per 15 Minutes
For each service linked to a procedure code, you must enter the rate per 15-minute. This is crucial for accurate billing and ensures that the rates align with your agency’s contracts and agreements with payers.

When adding a service rate, ONLY enter the number.
🚨 DO NOT INCLUDE:
❌ "$" signs (e.g., ❌ "$10" → ✅ "10")
❌ Time units (e.g., ❌ "10/15 min" → ✅ "10")
Adding Modifiers (Optional)
42. Even after activation, you can still add modifiers to the procedure codes. This is particularly useful if new authorization requirements or billing guidelines emerge.
- Locate the service in the table.
- Click "Modifier" next to the service.
- Enter the correct modifier
Only add modifiers that are not already included in the prior authorization codes. Staff members will be able to select these modifiers when creating a visit.
Billing Validations – Avoid Mistakes!
🚫 No duplicate modifiers – If a procedure already includes a modifier (e.g., "97155 HN"), the system will block adding "HN" again.
🚫 No incorrect format – The system will prevent entering modifiers without a space (❌ "97155HN", ✅ "97155 HN").
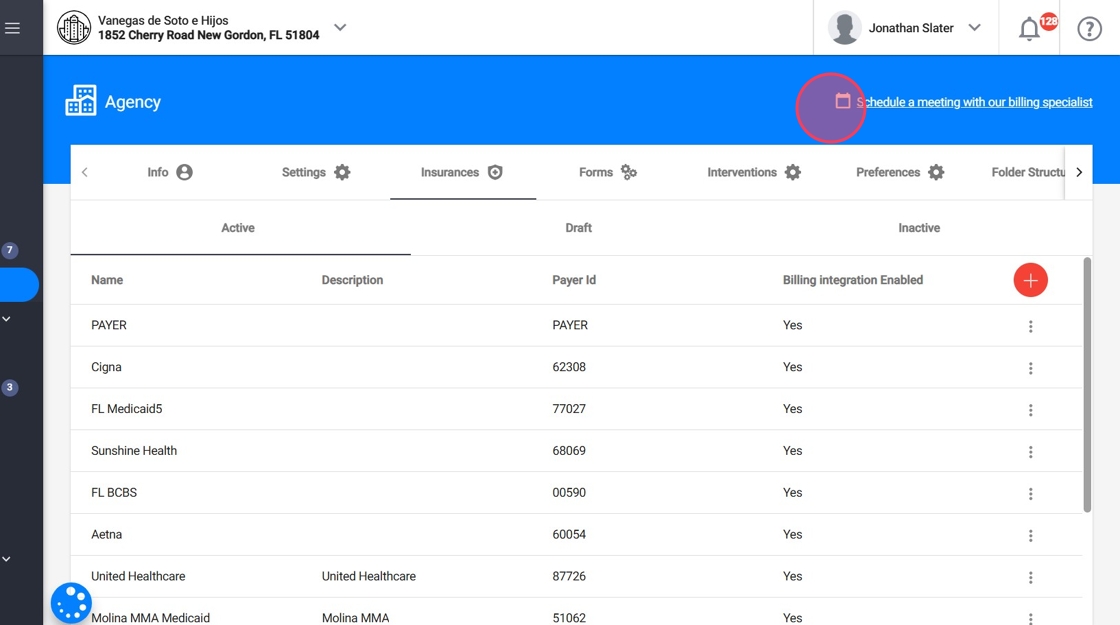
📆💬Need Help? Schedule a meeting with our Billing Specialist!
If you have any trouble with the insurance setup, you can now schedule a meeting directly from this page!
43. How to Book a Meeting
- Click the "Schedule a meeting with our billing specialist" button.
44.
2. A Calendly calendar will appear with available time slots.
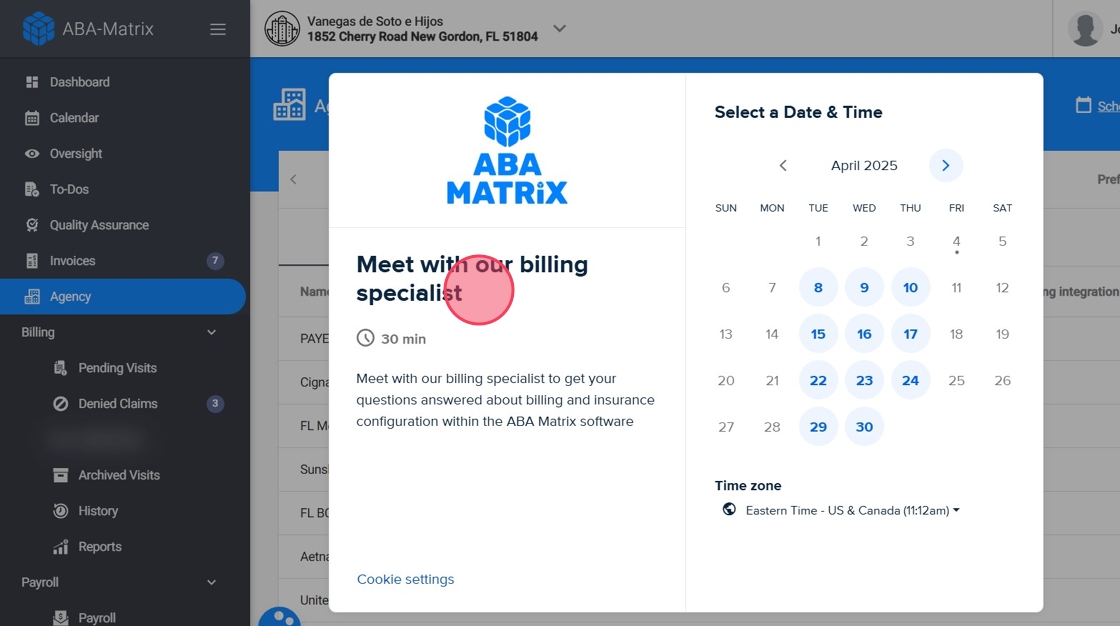
45.
3. Select a date and time that works for you.

46.
4. Confirm your meeting and the billing specialist will assist you!
