
How to work with Assessments/Reassessments reports
This guide provides ideas and instructions on how to work with assessments/reassessments in the system. It explains how to access and navigate the different sections of the assessments, as well as how to use the various tools available to edit customer information. The guide also explains the different types of sections. Overall, this guide is a useful resource for anyone who needs to work with Assessments/Reassessments.
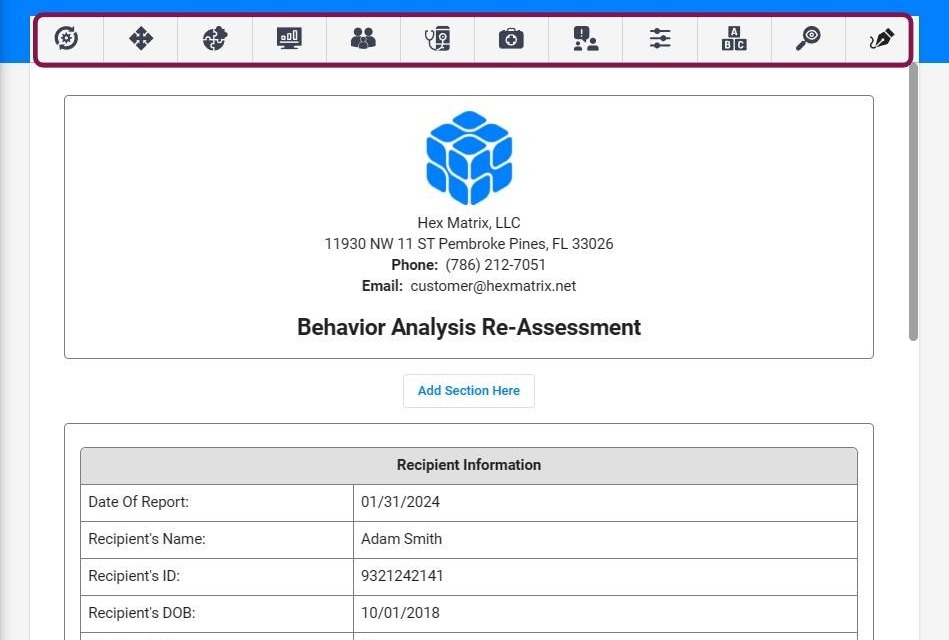
1. Access the Assessments view and select the Assessment/Reassessment you want to work with:

Assessments/Reassessments sections
You can find different sections within each Assessment/Reassessment:
1. Tools bar
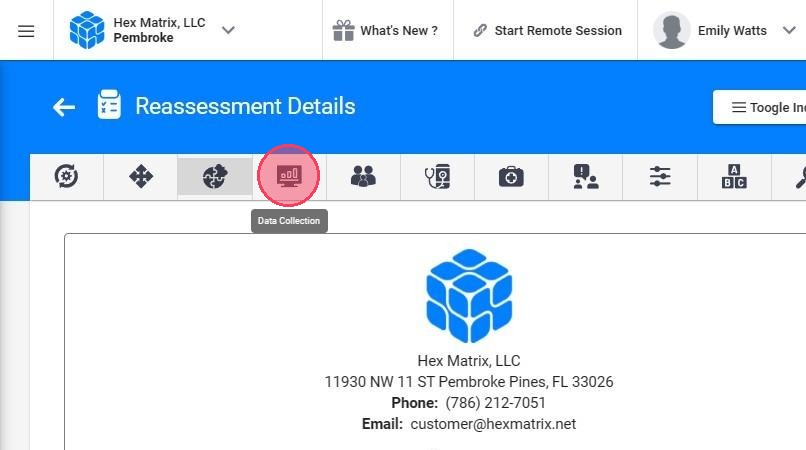
2. Within the report window, various tools are available to edit client information without needing to navigate away. Let’s review each tool:
3. Set as Default Configuration:
You can set the current Assessment/Reassessment template (including sections and their order) as the default for future reports.

4. Change Component's Order:
With this tool, you can change the order of each component within the report, just drag and drop the component in the order you want.

5. Skills & Behaviors:
Using this tool, you can edit the client’s maladaptive behaviors, replacement behaviors, and skill acquisition without leaving the report. You can add or update information just as you would within the client’s profile.

6. Data collection:
Using this tool, you can edit collected data based on the permissions assigned by your agency’s administration.
7. Just select the type of graph (maladaptive behaviors, replacement behaviors or skills) and the week you want to edit:

8. Competencies:
You can edit the goals and tasks associated with caregiver and RBT competencies. You can add or update information just as you would within the client’s profile.

9. Diagnosis:
You can edit the client's diagnosis.

10. Medications:
You can edit the client's medications.

11. Interventions:
You can edit the client's interventions.

12. Preferences:
You can edit the client’s preferences, which can be used by the system to support the Stimulus Preference Assessment.

13. ABC:
You can edit the client’s ABC data, which is used by the system to support the ABC Data Collection section.

14. Sessions:
You can manage session observations directly within the report, including updating session times, collecting signatures, submitting sessions, and making any necessary updates to session details.

15. Sign Report:
Use this option to sign the report at any time.

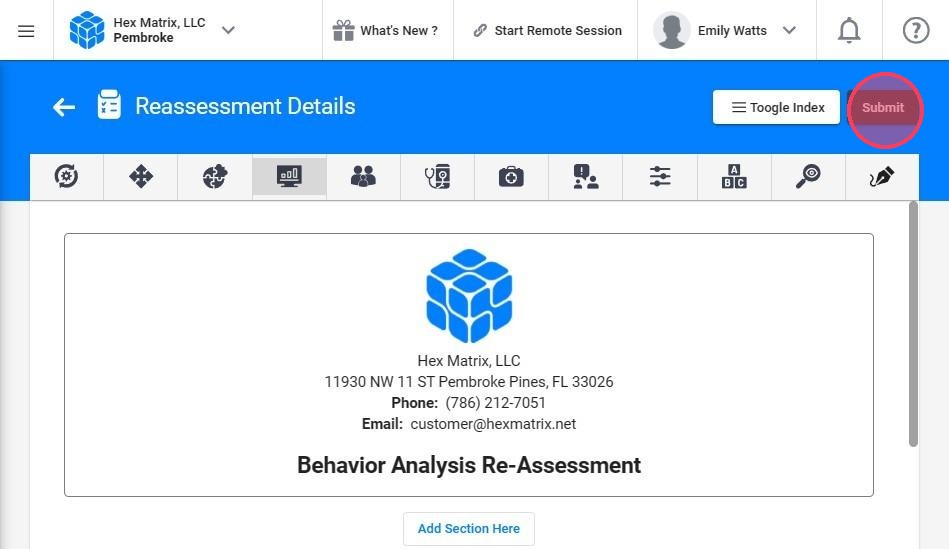
16. Submit:
Once completed, you can submit the report.
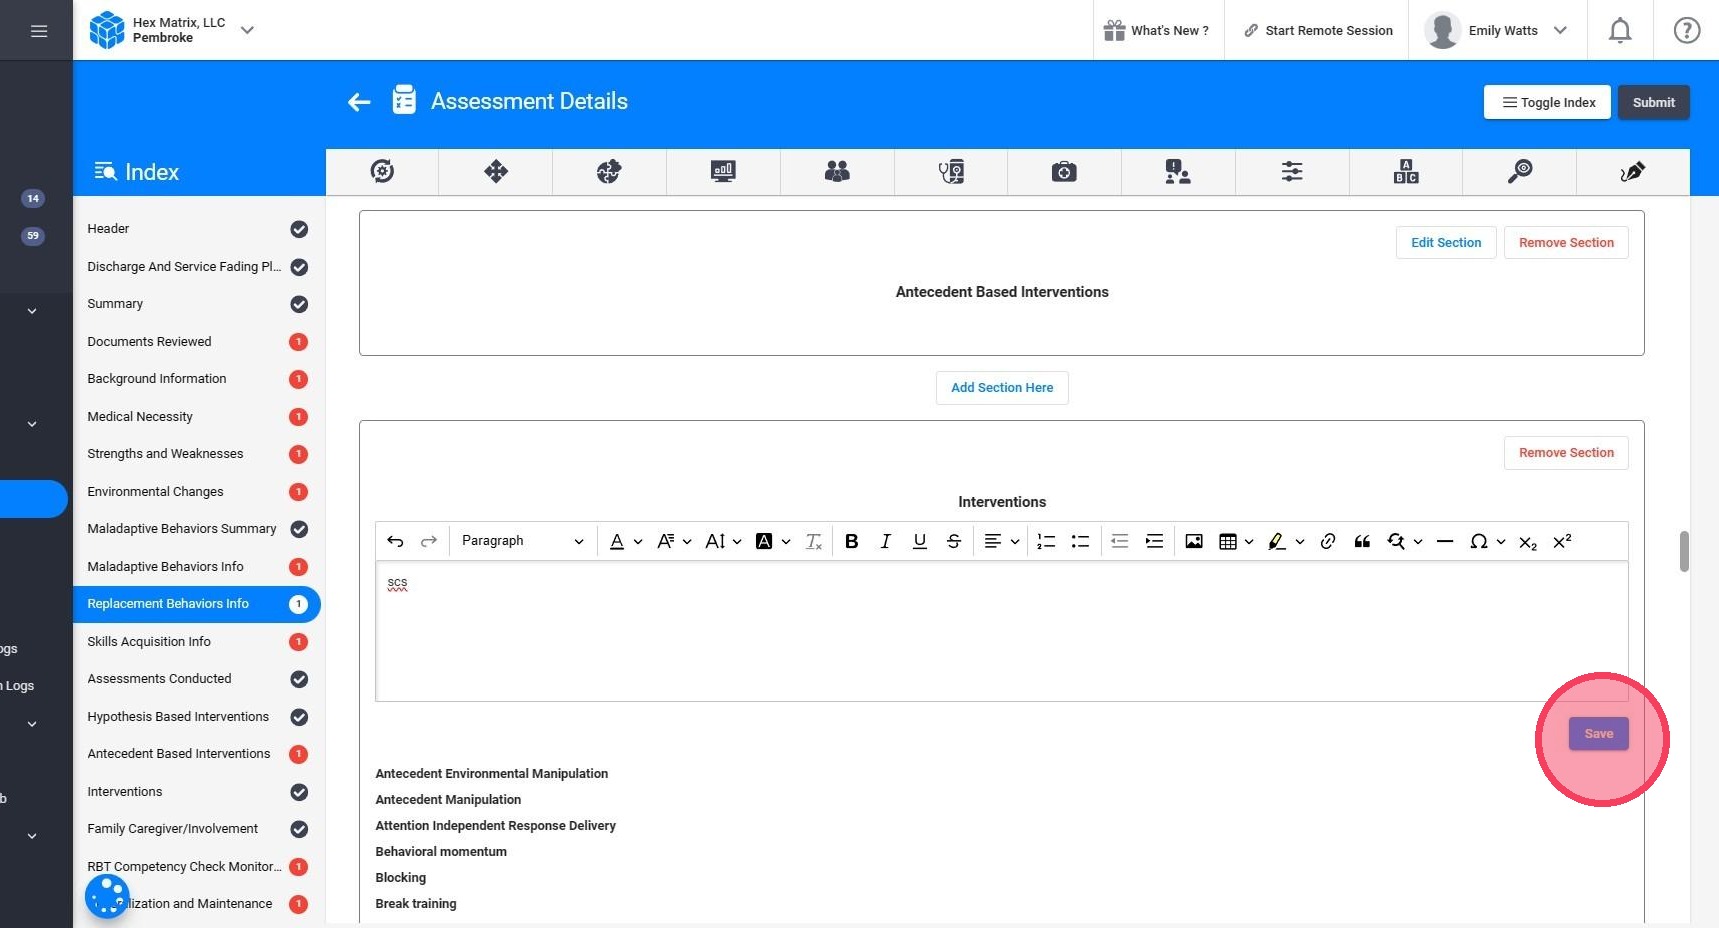
2. Index
17. You will have an index for easier access to each section within the report. By clicking on any section, you can navigate directly to that part of the report without scrolling.

18. Red alerts:
Red dots with numbers indicate that a section has pending items that must be completed before submitting the report. The number represents how many tasks are still pending within that section, like:
- Summary: Indicates that a summary needs to be completed for that section.

19. Review and Save: Indicates that you need to review the auto-completed information and save it.
3. Section options
Default sections are included in the report, but you can edit or remove them as needed. You can also add custom sections to fit your workflow.
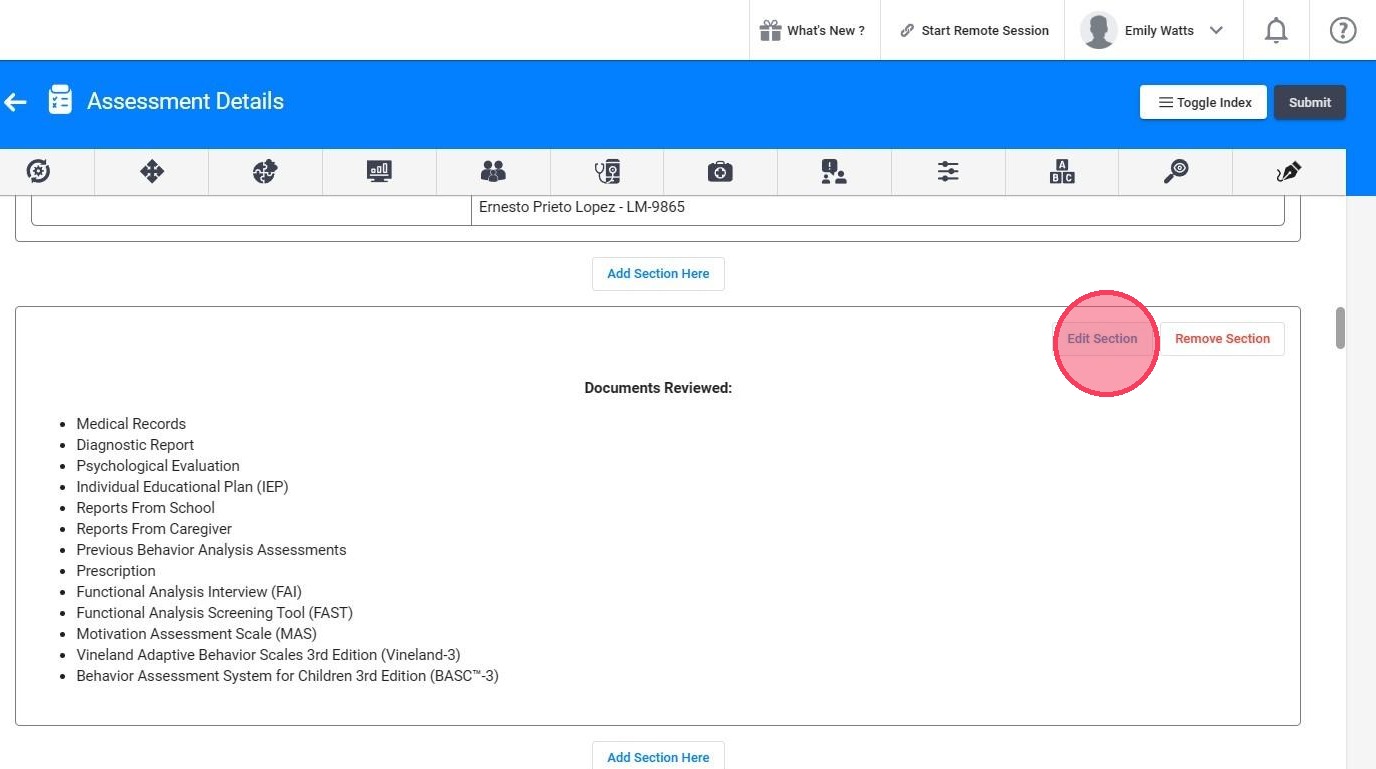
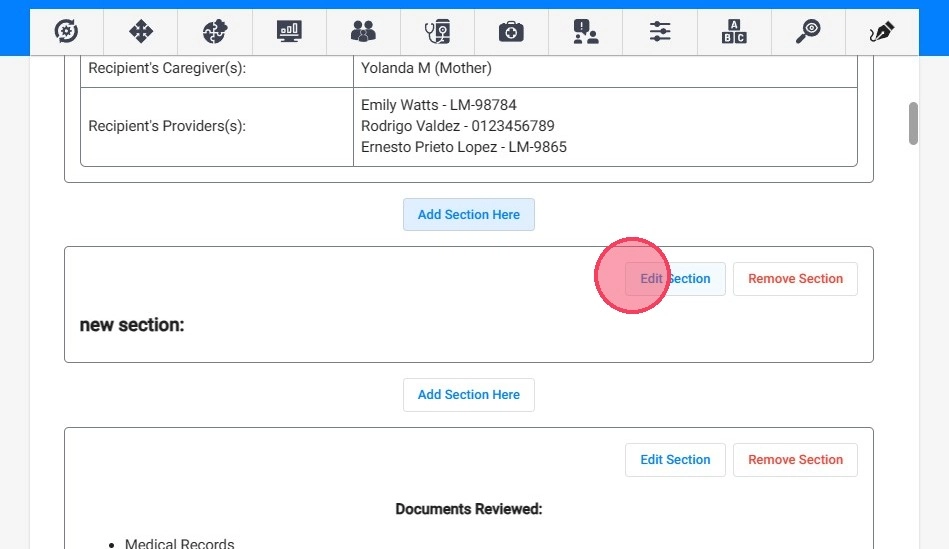
20. Edit a section
Once you open a section, click the “Edit Section” button to edit its information.
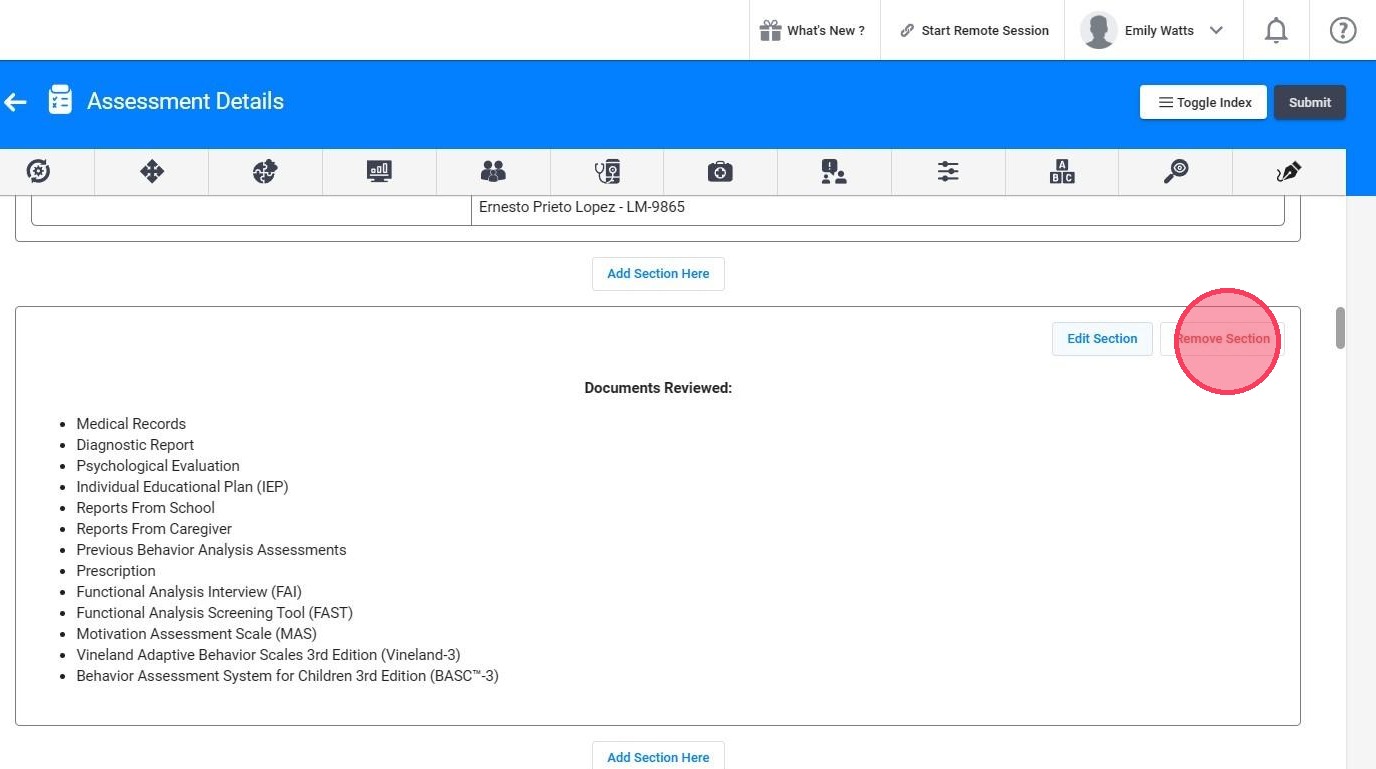
21. Remove a section
You can delete a section if you don't want it in the report.
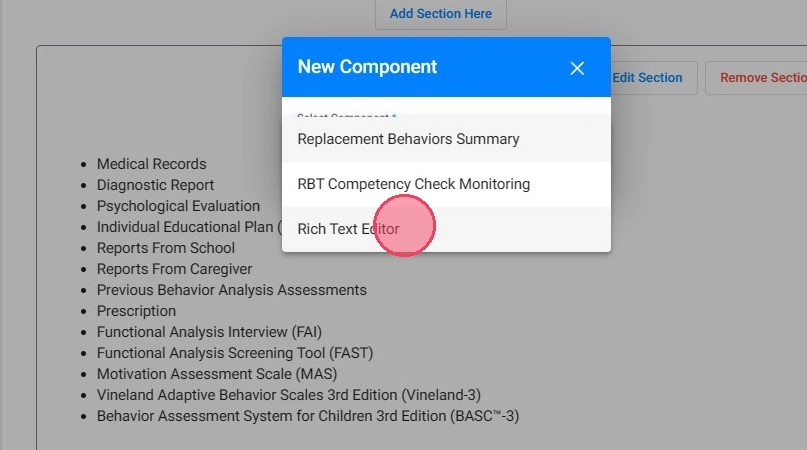
22. Add a section:
You can add sections as needed, either by restoring a previously removed section or creating your own sections (Rich Text Editor).

23. Previously removed sections: You can restore sections that were previously removed or deleted by mistake.
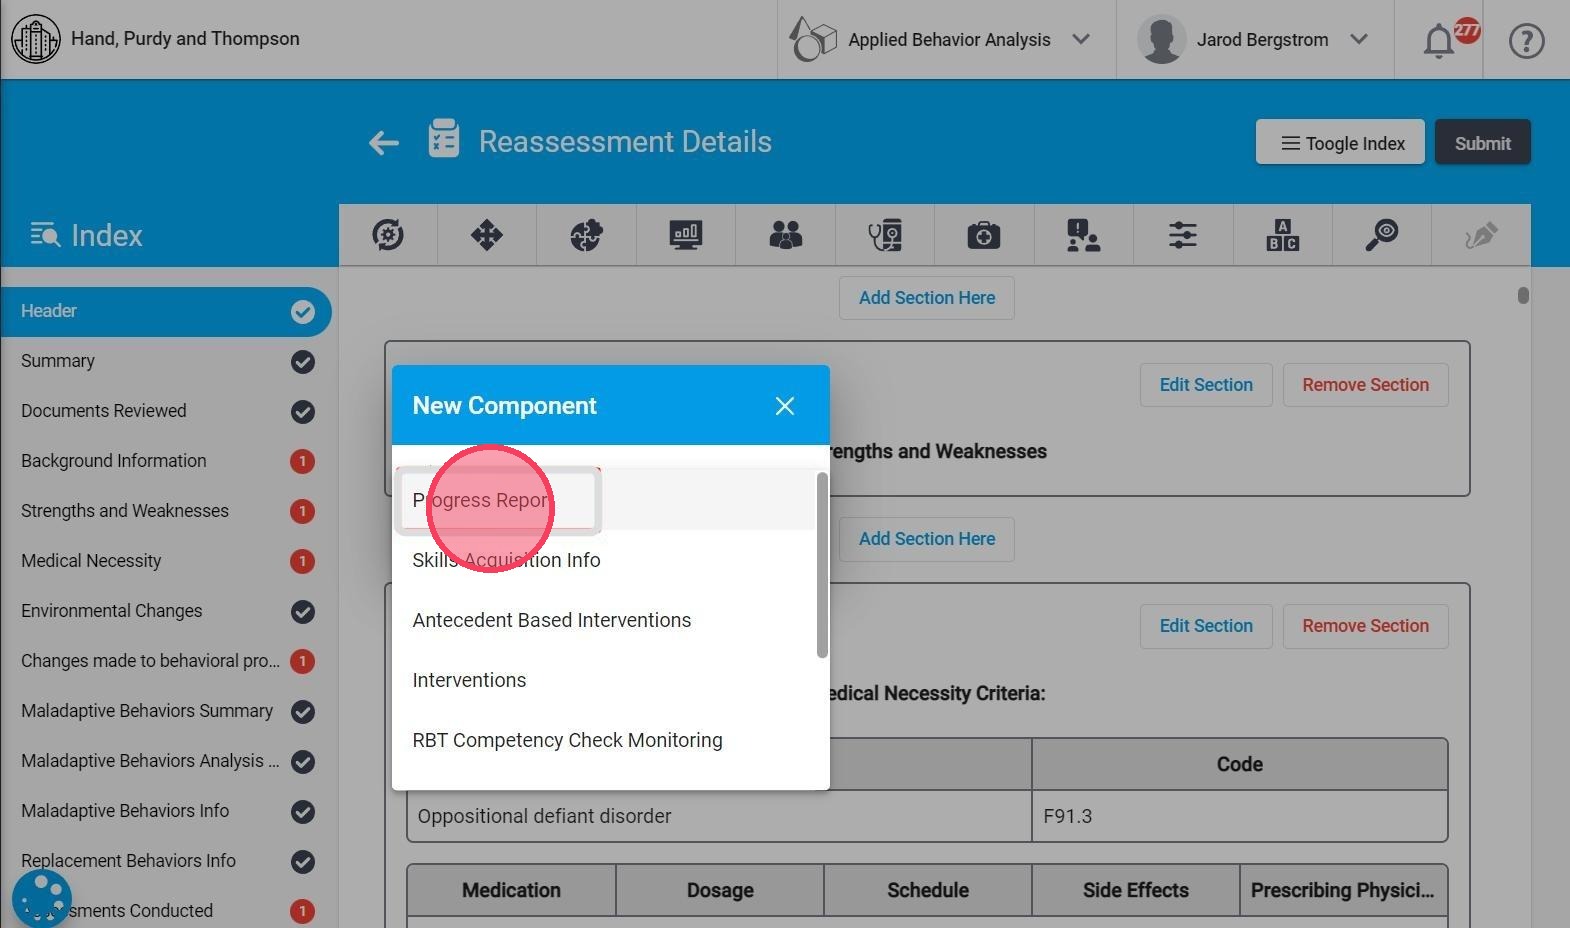
24. Rich Text Editor: You can add a new section using the Rich Text Editor, which works like a word processor and allows you to write content, insert images, tables, and more. To add a section:
- Click Add Rich Text Editor
- Enter a name for the section
- Click Save, then open it to start editing
25. The Rich Text Editor provides a variety of formatting tools to make your documentation more effective and visually organized, including:
- Text Formatting: Apply bold, italics, underline, change text color, or highlight key information
- Content Organization: Use headings, adjust alignment, and set line spacing
- Lists: Create bulleted or numbered lists, including nested lists
- Links: Add hyperlinks to external resources
- Tables: Insert tables to present structured or comparative information
- Additional Tools: Use undo/redo and clear formatting options
4. Section types
There are three types of sections, based on how the system generates and uses information:
- Autocompleted: These sections are automatically populated by the system using client information, session details, and collected data.
- Functional: These sections provide a predefined structure where users can add and customize information based on the client’s needs.
- Rich Text Editor: These are user-created sections that allow full customization using a flexible text editor.
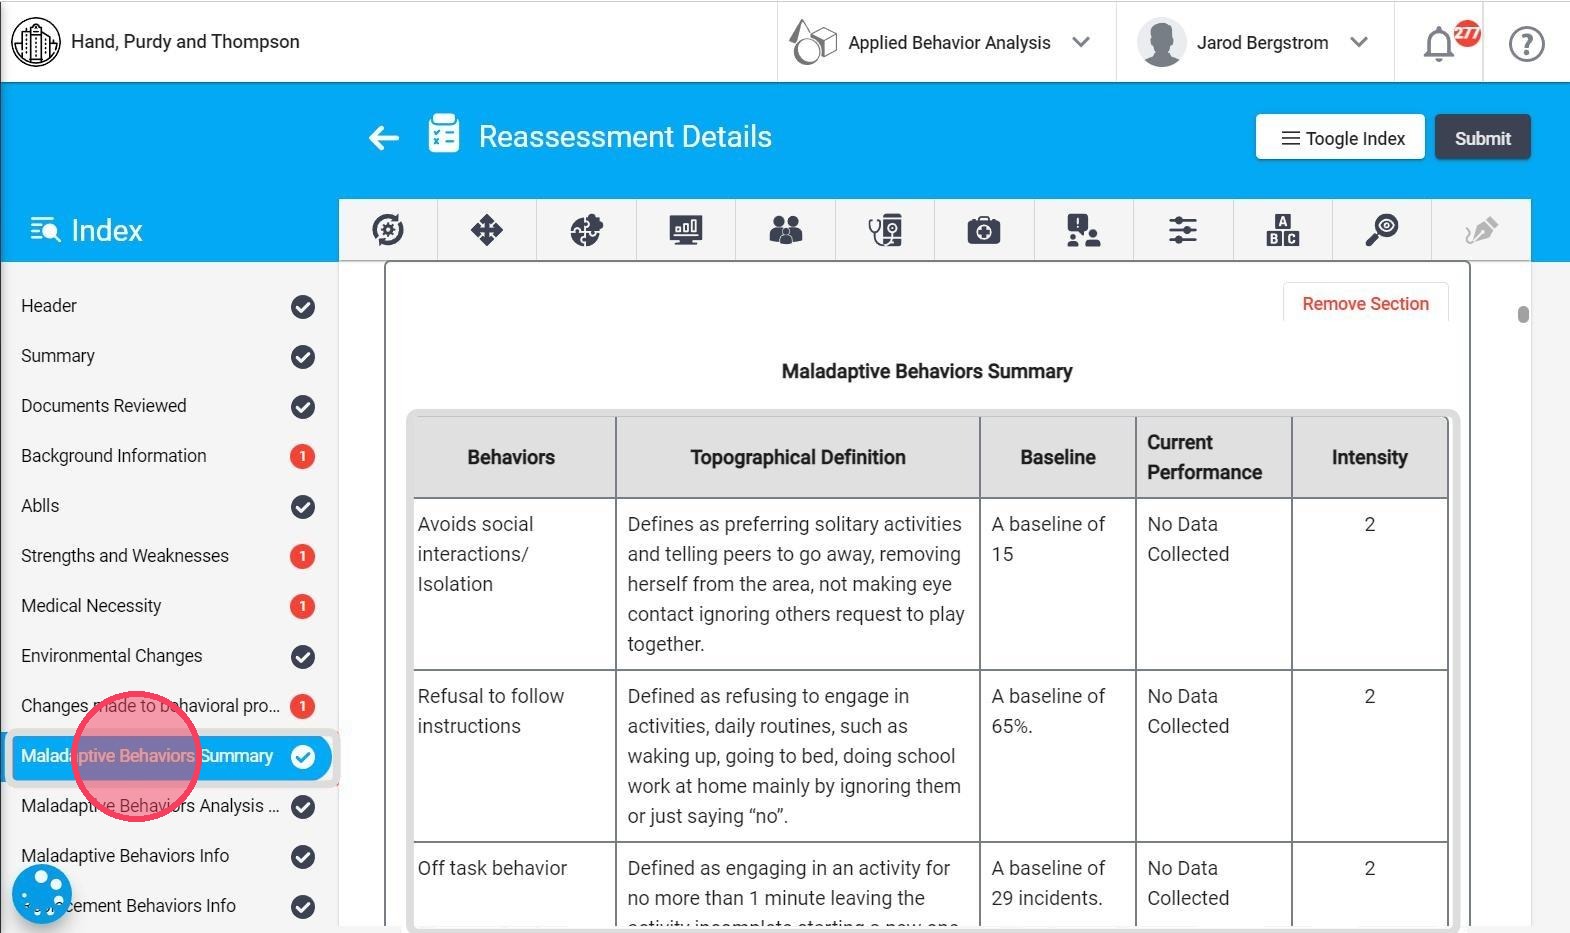
4.1. Autocompleted
26. These sections are automatically populated using information from the client’s profile, session notes, and collected data within the system. If you need to make changes, you must update the original source of the information (for example, editing the client’s behaviors or the collected data), as these sections cannot be edited directly.
Example:
- Maladaptive Behaviors Summary: This section is generated by the system using client data within the selected treatment period.
5.2. Functional
27. These sections provide structured options that you can use and customize based on the needs of the treatment plan.
Example:
- Crisis Plan Section: This section includes selectable options that can be marked as needed.

28. Summary and Recommendations Section: This section provides fields for you to complete based on the needs of the treatment plan.

29. Assessments Conducted Section: Here you can add and manage the assessments conducted for the client.
To add an assessment:
- Click Edit Section
- Click the red (+) icon to select Add Conducted Assessment
- Select the desired assessment(s)
- Add them to the list
- The selected assessments will appear with their corresponding information

For more information about this section, you can check this guide.
5.3. Rich text editor
30. These sections function as flexible text editors, allowing you to create and customize content freely based on your needs. You can enter written information, format text, and organize content without predefined structure.
They are ideal for adding detailed notes, summaries, or any additional information that is not covered by the system’s predefined sections.
