
How to create a Reassessment
This guide provides step-by-step instructions on how to add a reassessment. It explains how to select a client, copy from an existing template, set the report date and treatment period, add observations, and save the reassessment.
1. Add a Reassessment
- Go to the Assessments section. From there:
- Click the Add button.
- Select the client.
- Select Reassessment.
- Click Next to proceed with adding the reassessment.

2. Complete the Reassessment information
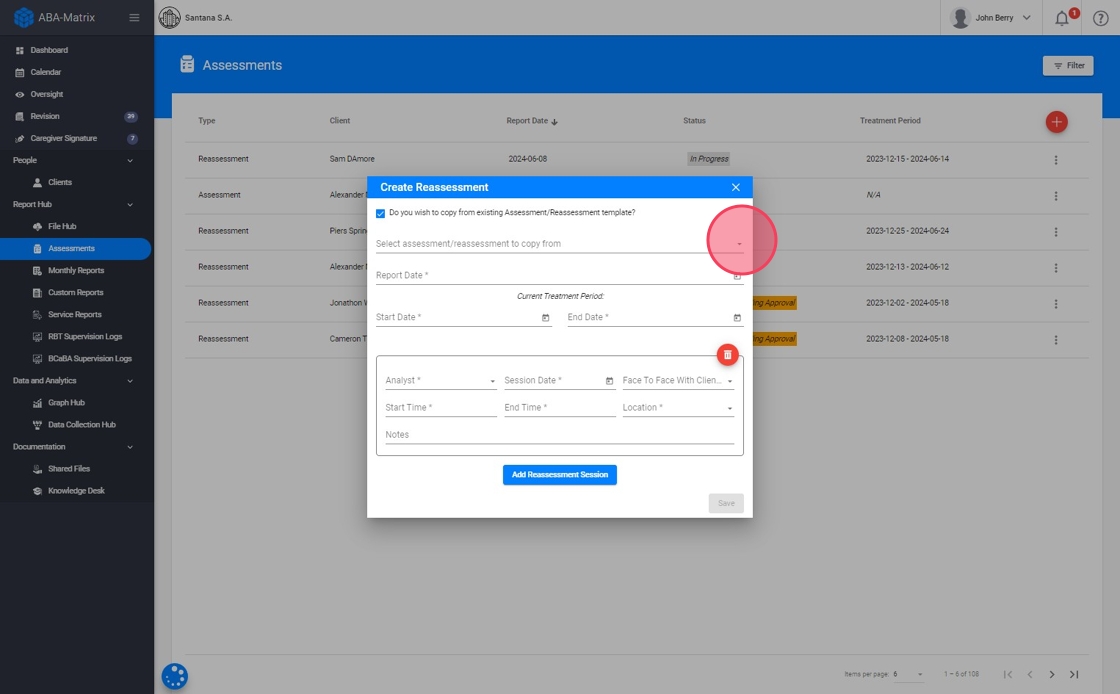
2.1. Copy from an existing template
- If the client already has a previous Assessment or Reassessment, you can reuse the same template for the new report using this function.
This allows you to copy the structure and relevant information from a prior report, saving time and ensuring consistency. Once selected, you can review and update the copied information as needed to reflect the current assessment.

-
A dropdown menu will display the client’s previous assessments and reassessments, allowing you to select the template you want to use, for example, the most recent reassessment.
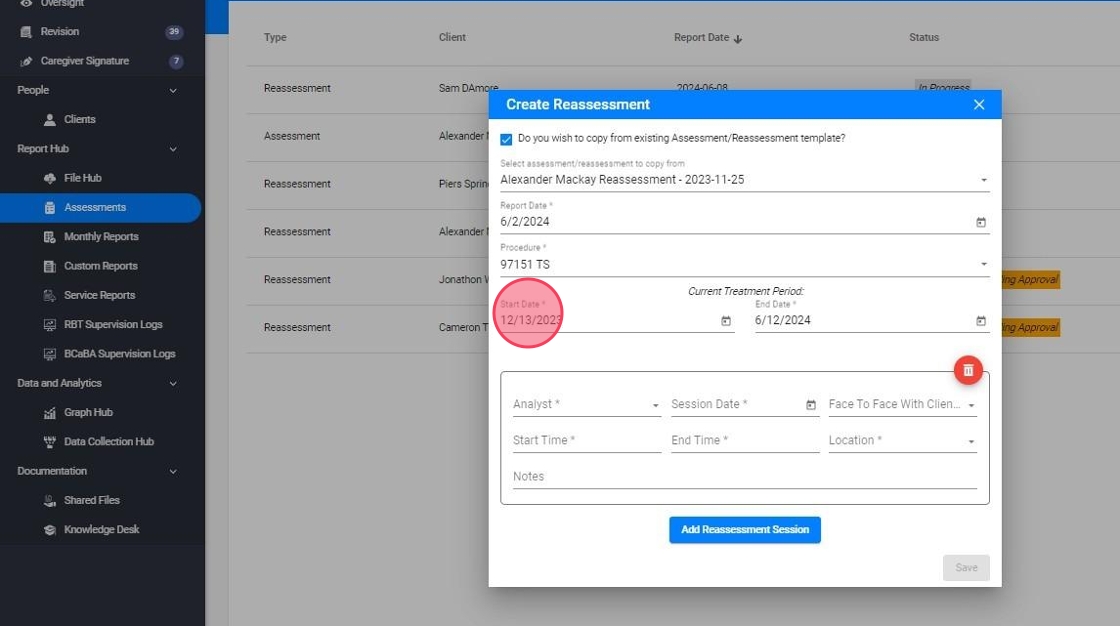
2.2. Set the Report date
- You must select a report date within the client’s approved authorization period for the reassessment code 97151 TS. If the selected date is valid, the procedure will be assigned automatically, and suggested dates for the treatment period will be generated.

2.3. Set the Treatment Period
- By default, once you set the report date, the system will automatically populate the treatment period based on the client’s active authorization. You can adjust this information if needed.
This period is used as a reference to determine what information is included in the report, such as goals, behaviors, and collected data.
In the report, you will only see the client information that is effective within this treatment period. As a rule of thumb, if you would like to see the graphs from January 1st, 2023, to July 1st, 2023, then the start treatment date should be January 1st, 2023, and the end treatment date should be July 1st, 2023.
2.4. Add the Observations
- To create a reassessment session, you must complete all required fields marked with an asterisk (*). You can add as many reassessment sessions as needed.
- Session Date: must be scheduled within the client’s approved authorization period for the reassessment code 97151 TS.
- Start Time / End Time: enter the exact time the session began and ended, reflecting the actual duration of the session.
- Location: select or enter where the session took place (e.g., home, clinic, school, telehealth).
- Face to Face With Client/Caregiver:
- If the session is conducted with the client, the caregiver’s signature will also be required.
- If the session is not conducted with the client, only the analyst’s signature will be required.
- Notes: include any relevant observations, session details, or important information collected during the reassessment.
Click on Add Reassessment Session to add each session.

- You can delete an observation like this:

2.5. Save the Reassessment
- Once you complete all the required fields, marked with an asterisk (*), you will be able to save the report.
