
How to create an Assessment
This guide provides step-by-step instructions on how to add an assessment. It covers important details such as selecting the client, setting the report date, adding observations, and saving the assessment. Following this guide will ensure that all necessary information is included, and the assessment is saved successfully.
1. Add an Assessment
1. Go to the Assessments section. From there:
- Click the Add button.
- Select the client.
- Select Assessment.
- Click Next to proceed with adding the assessment.

2. Complete the Assessment information
2.1. Set the Report date
2. You must select a report date within the client’s approved authorization period for the assessment code 97151. If the selected date is valid, the procedure will be assigned automatically.
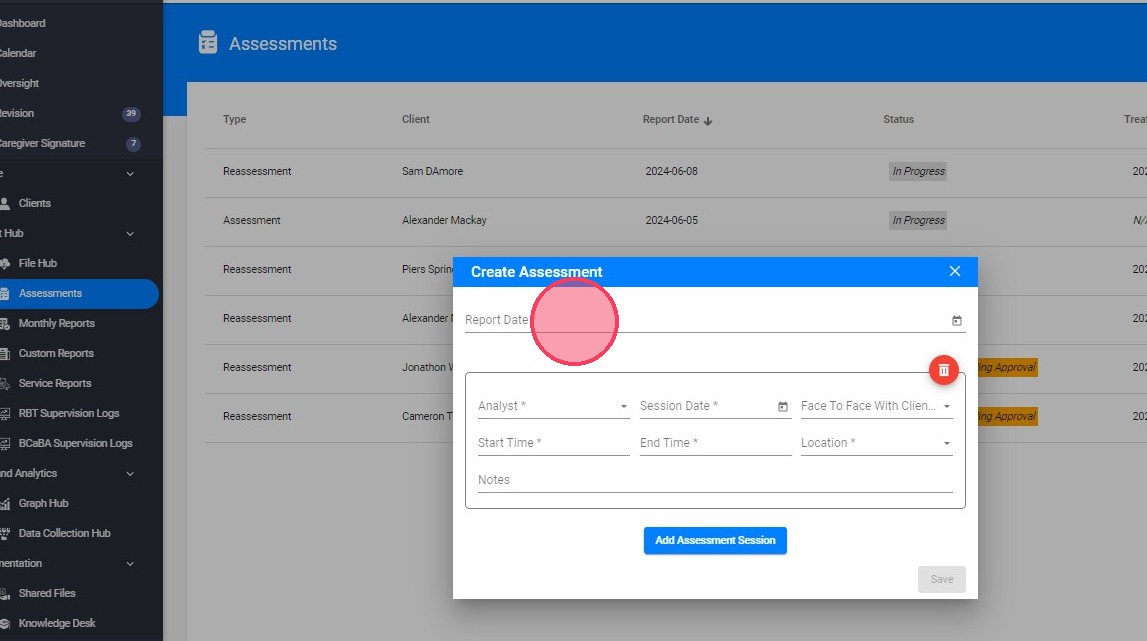
2.2. Add the Observations
3. To create an assessment session, you must complete all required fields marked with an asterisk (*). You can add as many assessment sessions as needed.
- Session Date: must be scheduled within the client’s approved authorization period for the assessment code 97151.
- Start Time / End Time: enter the exact time the session began and ended. These should reflect the actual duration of the assessment session.
- Location: select or enter where the session took place (e.g., home, clinic, school, telehealth).
- Face to Face With Client/Caregiver:
- If the session is conducted with the client, the caregiver’s signature will also be required.
- If the session is not conducted with the client, only the analyst’s signature will be required.
- Notes: You can include any relevant observations, session details, or important information collected during the assessment.
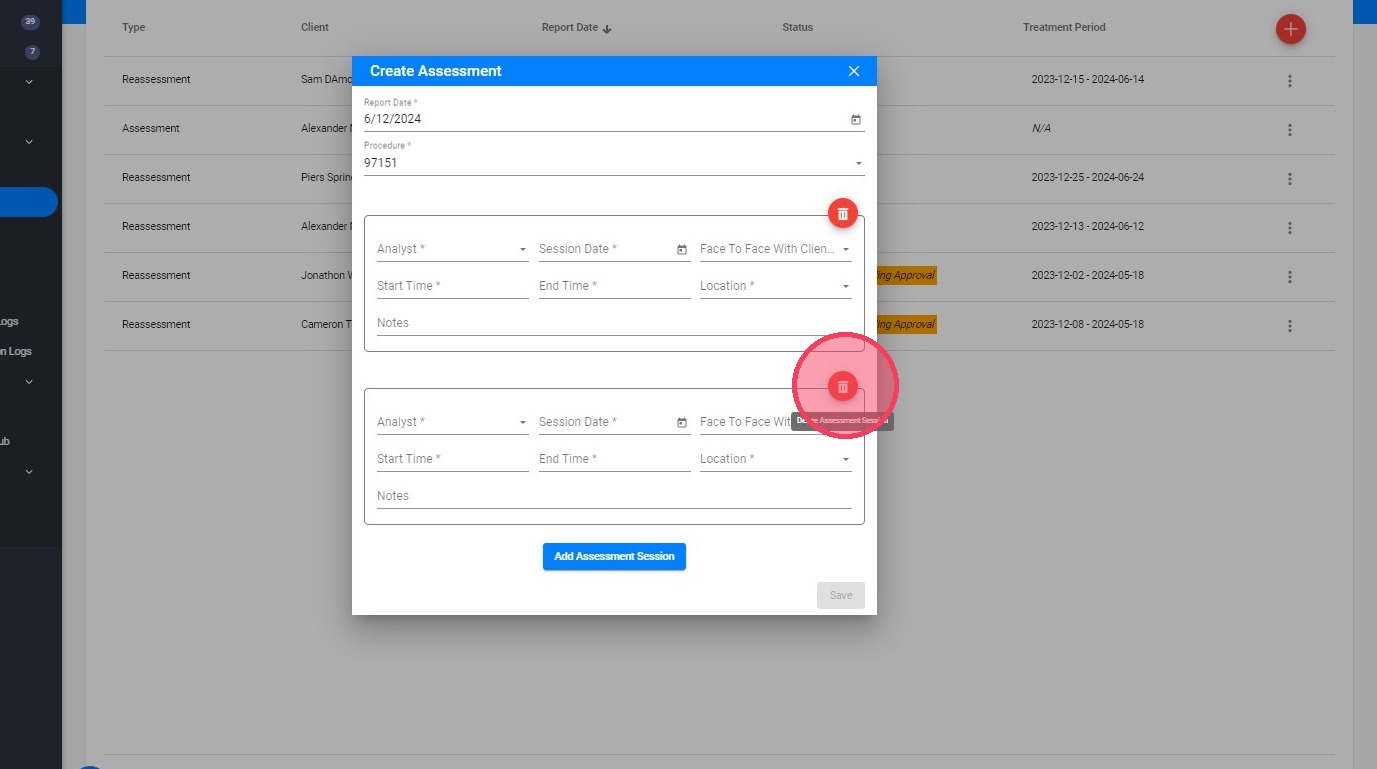
Click on Add Assessment Session to add each session.

4. You can delete an observation like this:
2.3. Save the Assessment
5. Once you complete all the required fields, marked with an asterisk (*), you will be able to save the report.
