
How to add a new Staff
This guide provides step-by-step instructions on how to add a new staff member to a program or system. It covers everything from accessing the staff tab to completing personal information, assigning a username and role, and editing permissions. Following this guide will ensure that the process of adding a new staff member is seamless and efficient.
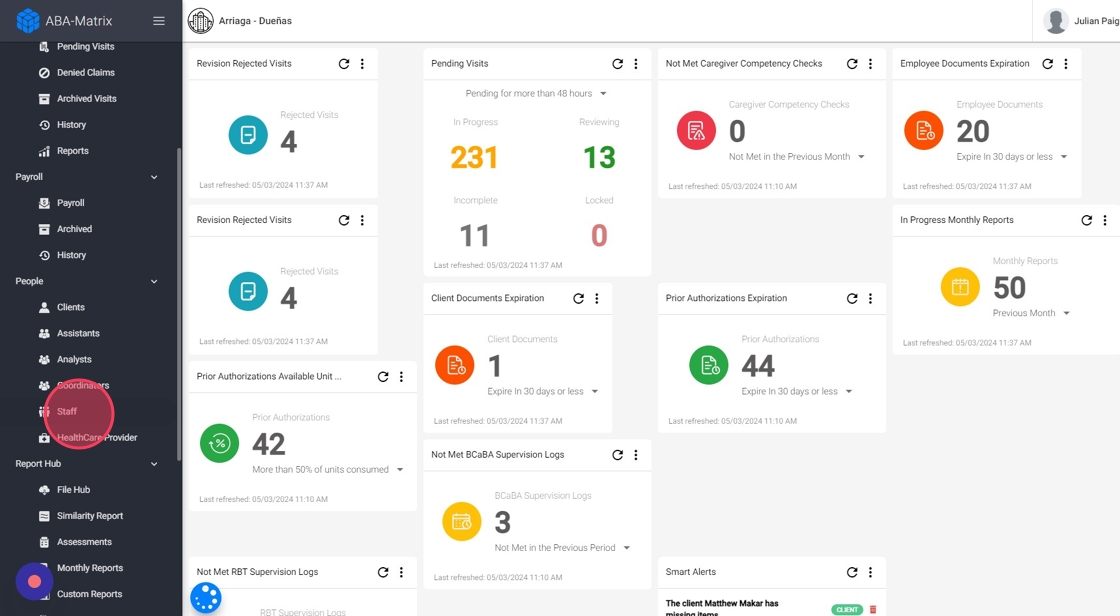
1. To add a new staff, click the “staff” button, located in the navigation bar on the left side of your monitor. You can see it in the image.
Add new staff member
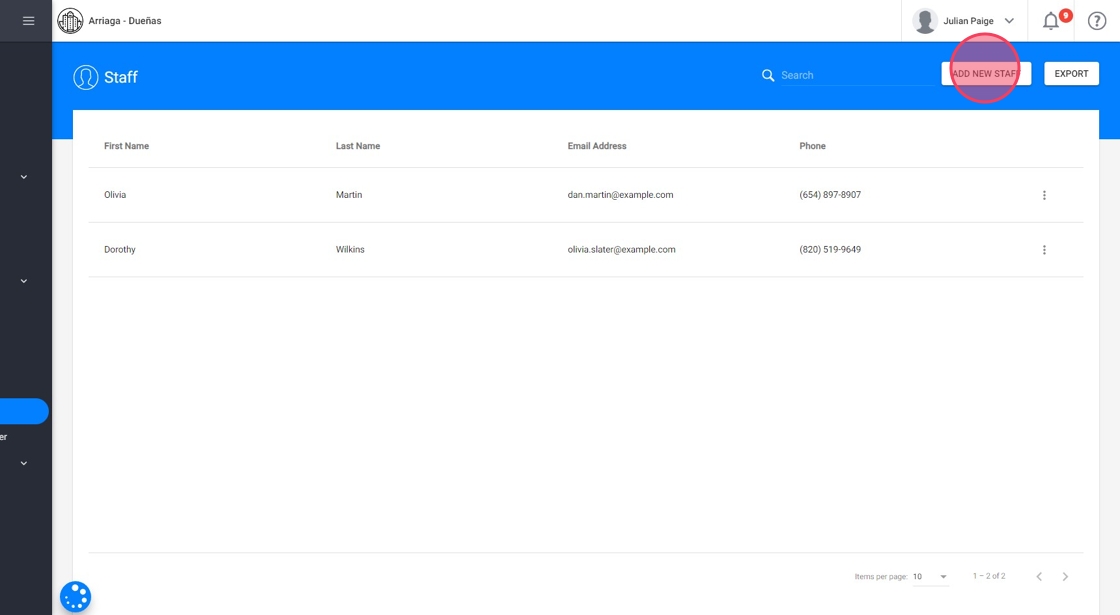
2. After opening the "staff" tab, press the "Add new staff" button, located in the upper right part of the screen, as shown in the image.
Complete the information
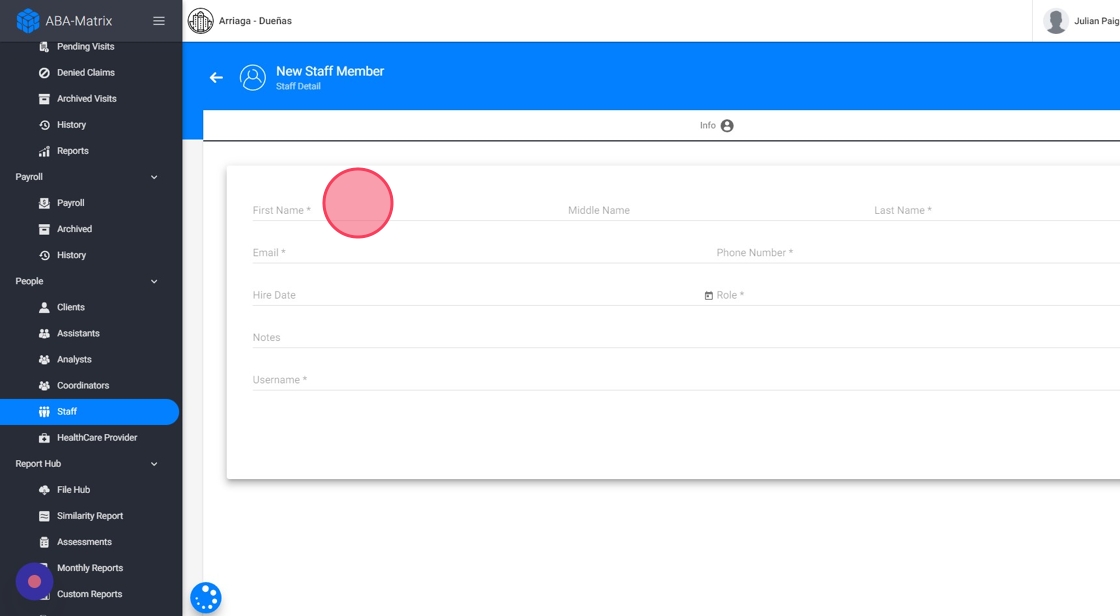
3. Once inside the "add new staff" screen, you will see a window like the one in the image where you must enter the personal information of the staff.
- The fields with an asterisk (*) must be completed.
- The “Note” field is used to add extra necessary information about the staff.
Assign the username
4. Remember that in the "username" field, you must enter the username with which the staff will access the program. The username is chosen by the coordinator, it must be unique and not contain spaces. Once assigned, it cannot be changed, as shown in the image.

Assign a role
5. In the "Role" field, it is necessary to specify the role assigned to each assistant. Just select one of the options offered in the menu that appears in the field. It can be seen in the image, marked with an arrow.
1- Administrator: This category is the one with the highest level of accessibility within the staff members. They will be able to handle the information of the agency's employees and also the information of the clients.
2- Quality Assurance: In this category, the staff member will only have access to the information of the agency's clients.
3- Human Resources: In this category, the staff member will only have access to the information of the agency's employees.

6. After all the fields are completed, the "Add" button, located in the lower right part, is pressed to conclude the introduction of new personnel to the system. It is seen in the image.

Once successfully completed, an email will be received at the email address entered as part of the creation process, with a password to access the program. The password can be changed to suit the staff.
Edit permissions
7. By editing the permissions of the account, you can control the access of that account to the system:
